50
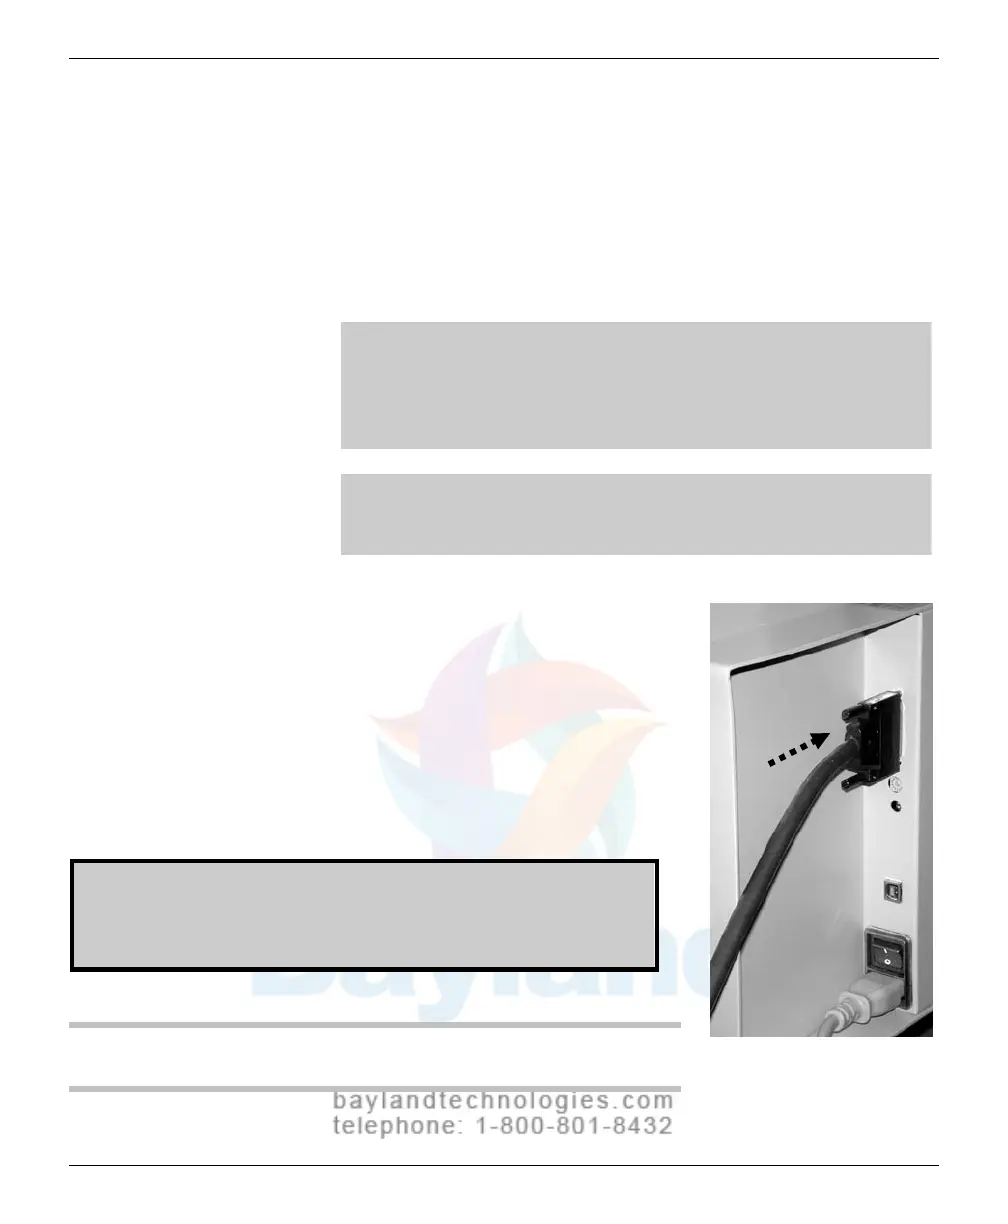
Connect the SCSI cable to the digitizer
Use only
a shielded 1.8 meter (6 ft) VIDAR SCSI cable (part number
4270).
Th
is cable has a 68-pin hi
gh density connector that attaches to the
digitizer, and a 50-pin connector that attaches to the SCSI adapter in the
computer (to be installed later). Use of SCSI cables from other sources
may violate safety and emissions compliances.
Note: Attach or remove the SCSI cable carefully to avoid
bending the connector pins. Insert the connector straight into
the SCSI port. Inserting the connector at an angle may damage
the pins. If the pins or cable are damaged, improper SCSI
operation may result.
Note: Before connecting the SCSI cable, be certain that the
SCSI cable isn’t connected to anything else and the digitizer
power supply is unplugged.
1. Carefully attach the 68-pin high density
SCSI connector to the film
digitizer’s
SCSI port, located on the rear of the
digitizer
. Apply even pres
sure to avoid
bending
SCSI connector pins.
Do not
force the connectors together.
Do not connect the other end of the cable at
this time.
WARNING: If the SCSI connector has bent pins, it will damage
the SCSI port in the digitizer. Do not attempt to straighten bent
pins. Discard any SCSI cable with bent pins and replace it with
a new cable.
NEXT: Go to “Installing SCSI hardware”
VIDAR Advantage Series Installation and Operation Guide
 Loading...