87
Basic operating instructions
1.
Turn on the film digitizer and wait for all three LEDs to turn
green.
Note: Always turn on the film digitizer before turning on the
computer. This enables the computer to recognize the digitizer.
Note: Several minutes are required for the digitizer to carry out
its internal diagnostics and establish communications with the
scanning application. These activities must be completed
before you can load film into the digitizer.
2.
Turn on the computer
.
3.
Launch the scanning ap
plication.
IMPORTANT: Remove stickers, tape, staples, paper clips, etc.
from films before scanning. These may cause serious film
feeding problems. Failure to remove extraneous items from
films will void your warranty.
4.
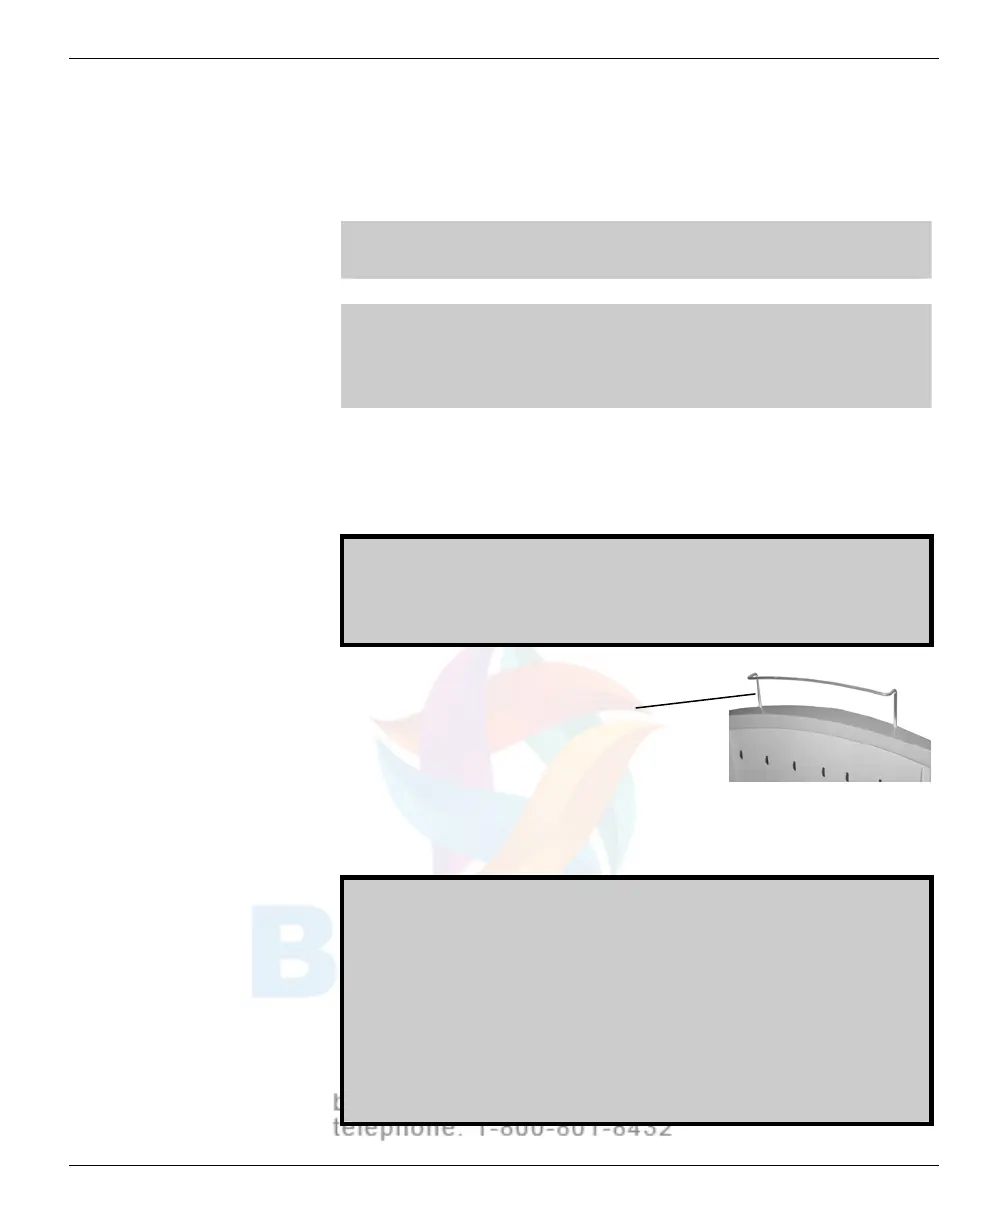
If you will be digitizing films 17" (43.2cm)
or longer, raise the film
support bar
.
5. Load the film.
How y
ou load the film depends on whether you are digitizing one film
or m
u
ltiple films. See the next pages for details.
CAUTION: X-ray images displayed on a computer monitor are
representative only. A variety of factors influence image density
and size—including monitor luminance and calibration, window
and level settings, zoom level, and dimensional and grayscale
inaccuracies resulting from build-up of tolerances in the
digitizer, display board and computer. For this reason, special
precautions must be exercised (e.g., calibrating the software
ruler and computer monitor) when taking measurements from
digitized images. Please refer to the user’s manual for your
digitizing software for more information.
VIDAR Advantage Series Installation and Operation Guide
 Loading...