Conguring Client Settings
Conguring Network Settings
93
93
Stopping a Wireless Network Connection
To stop a wireless network connection, please do the following:
1. On ViewSonic Client Setup, click Network > Wireless to open the Wireless Network list.
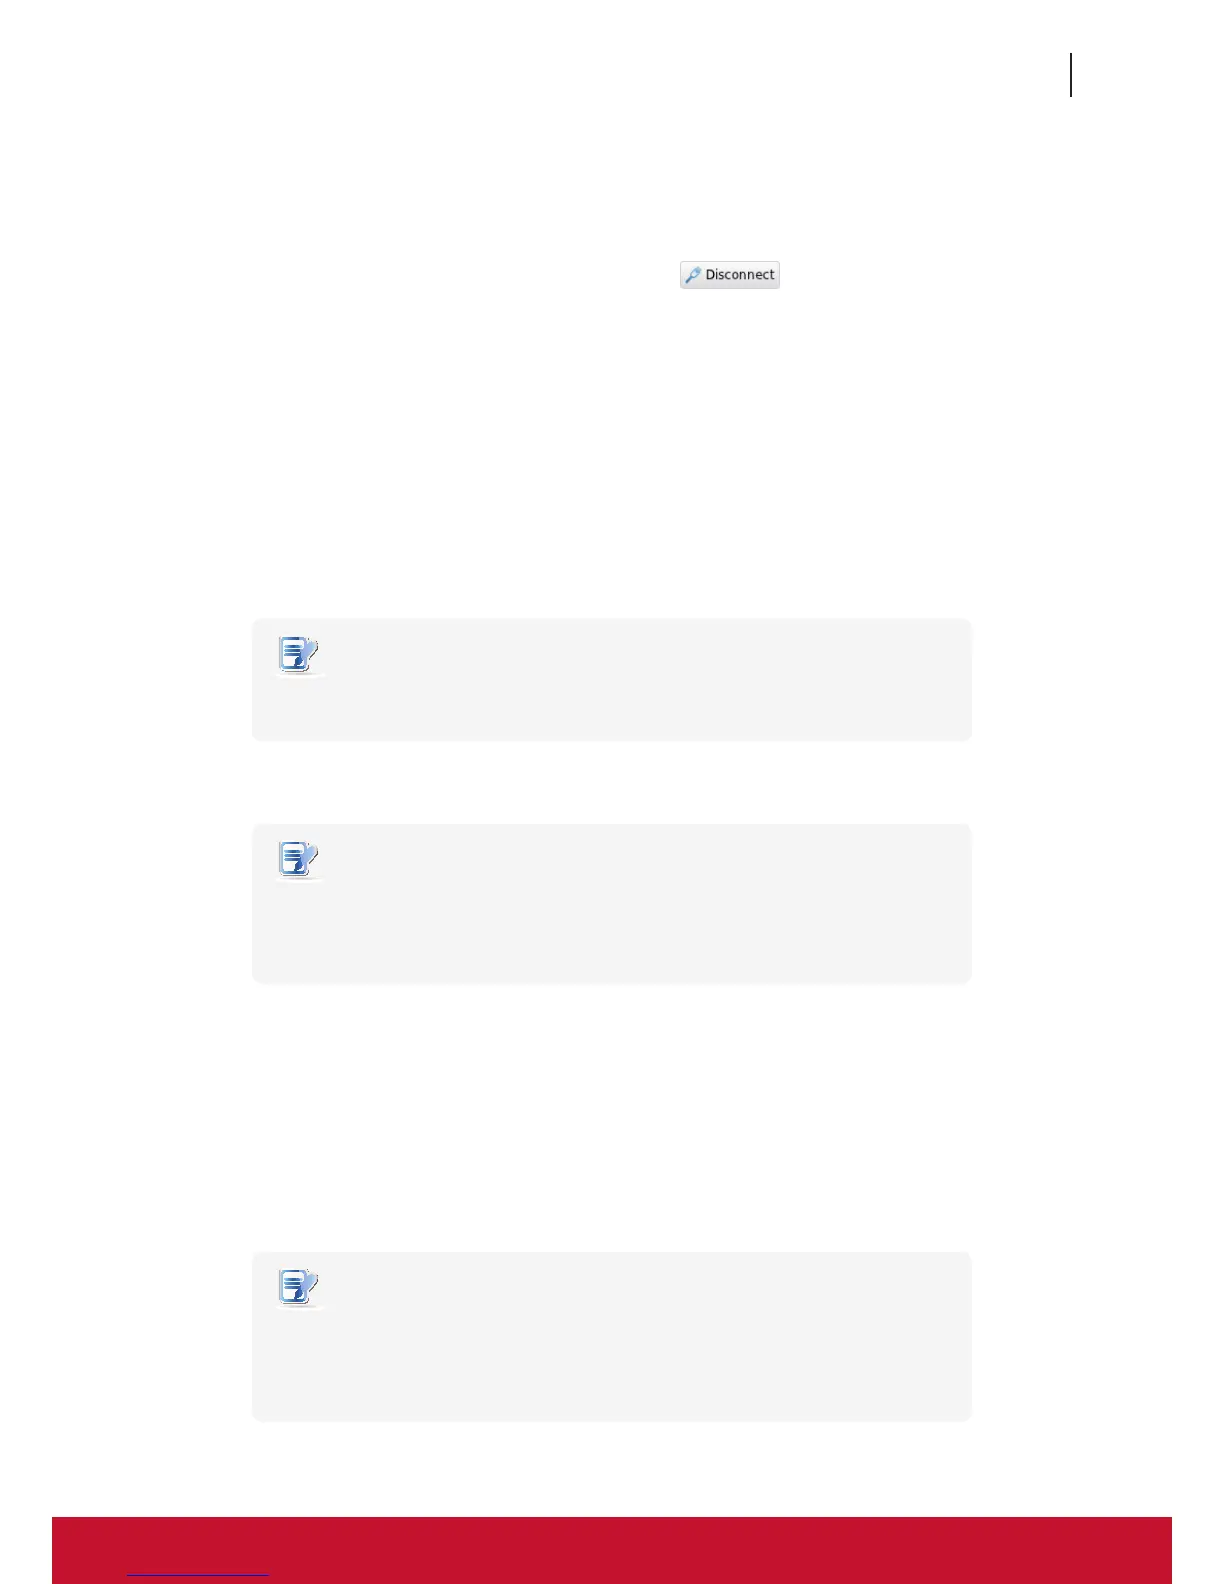
2. Click to check the desired wireless network. The Disconnect
button appears on the top of the
Wireless Network list.
3. Click Disconnect to stop the wireless network connection.
Adding a Wireless Network
In case that you cannot nd the desired wireless network in the Wireless Network list, you can manually add it.
To add a wireless network to the Wireless Network list, please do the following:
1. On ViewSonic Client Setup, click Network > Wireless to open the Wireless Network list.
2. Click Add on the top of the Wireless Network list.
3. On General tab, type in or click drop-down menus to provide information about conguration and
authentication.
NOTE
• Consult your network administrator for required information on conguration and
authentication.
4. On IPV4 Settings tab, congure the IP address related settings.
NOTE
• For instructions on how to congure the IP address settings, please refer to section
“4.5.3 Conguring Wired Network Settings” on page 79.
• The default is to use a dynamic IP address assigned by the DHCP server.
5. Click Save to add the wireless network.
Deleting a Wireless Network
To delete a wireless network, please do the following:
1. On ViewSonic Client Setup, click Network > Wireless to open the Wireless Network list.
2. Click to check the desired wireless network.
3. Click Delete to remove the selected wireless network.
NOTE
• Your SC-T46 detects available wireless networks automatically and put the
discovered networks on the Wireless Network list. A deleted wireless network may
therefore appear again on the list, but the connection settings, including the stored
authentication data, will be removed.