26
Setting the self-timer
This setting allows still images to be captured with the self-timer.
1. Turn on the power by pressing and holding the button.
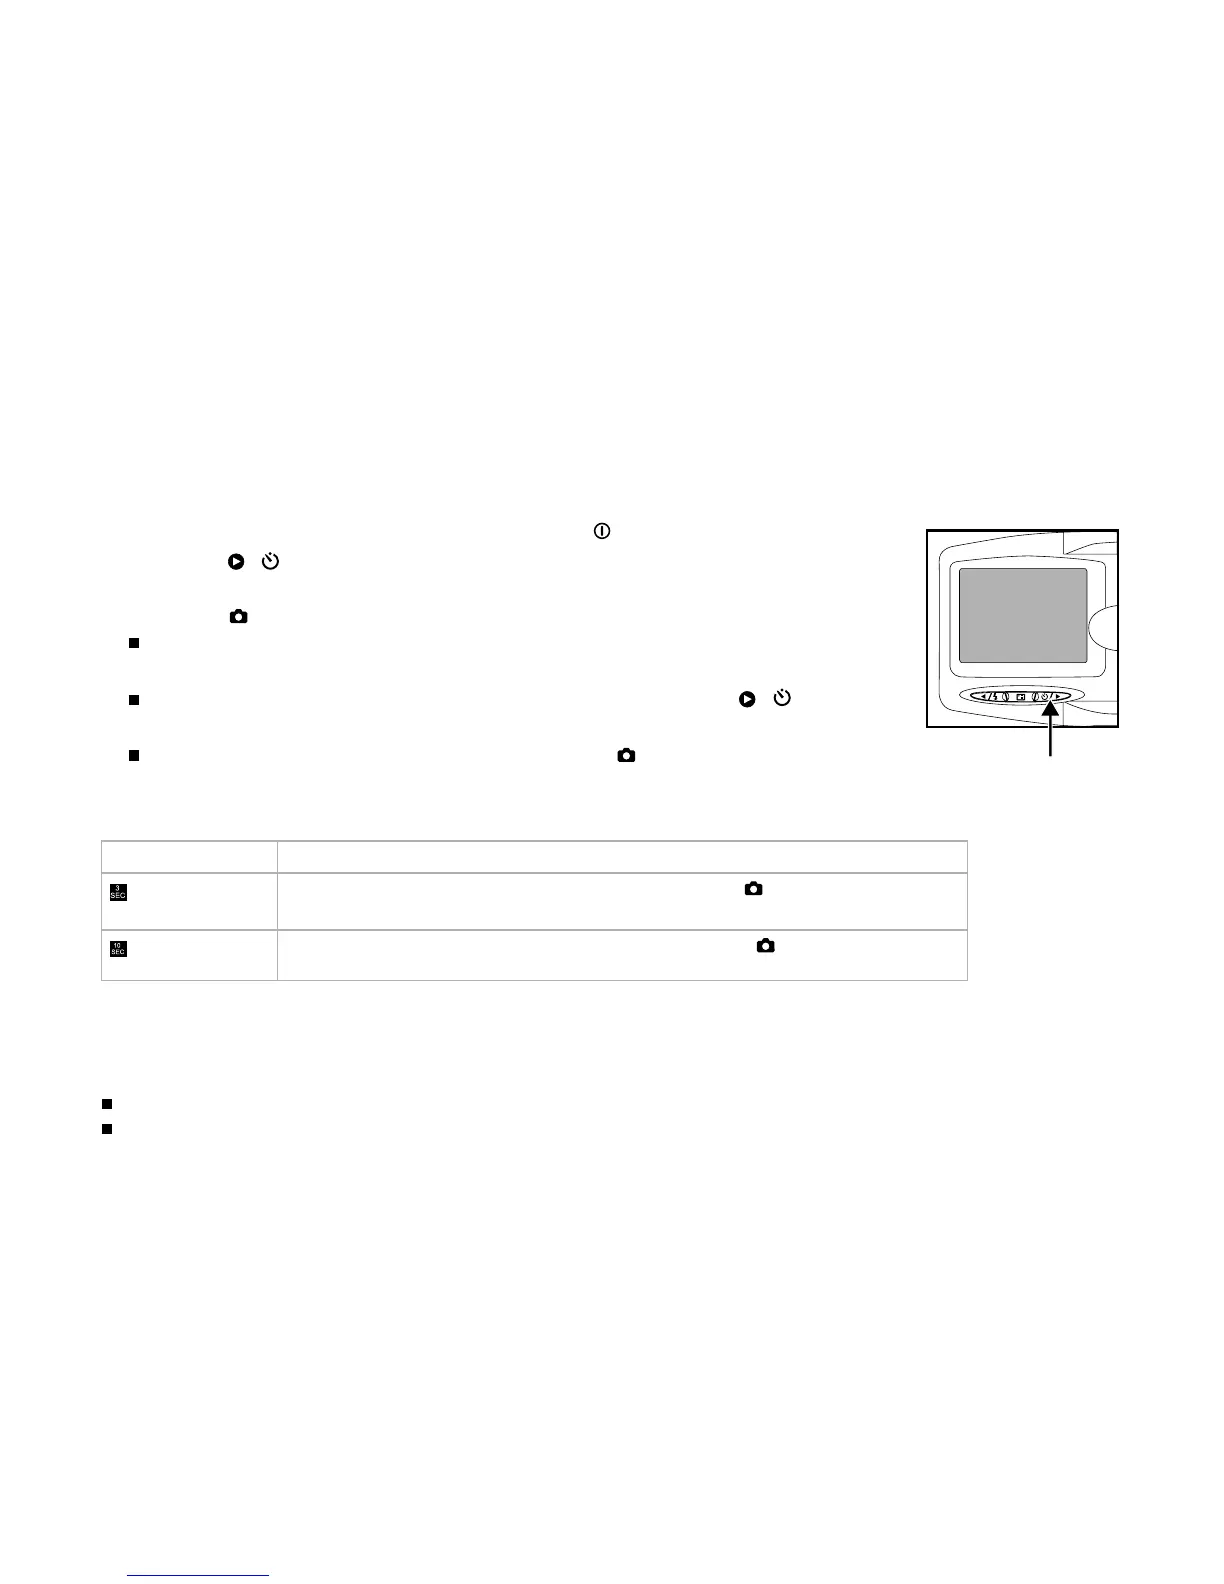
2. Press the ( ) button to select the setting.
3. Compose the shot.
4. Press the button.
The self-timer LED and self-timer icon flash, and then the image is
captured after the preset time has elapsed.
To cancel the self-timer during operation, press again the
( )
button.
Once the self-timer has been activated and the button has been
pressed, you can not slide the zoom lever.
The table below will help you choose the appropriate self-timer mode:
Self-timer mode Description
The picture is taken about 3 seconds after the button is pressed.
3 sec.
The picture is taken about 10 seconds after the button is pressed.
10 sec.
Note:
Self-timer cannot be set in the video mode.
The self-timer setting is automatically cancelled after an image is captured.