Devices: Expanded Menu
The expanded menu view allows you to easily see the list of your devices and to quickly enter
the selected device’s dashboard.
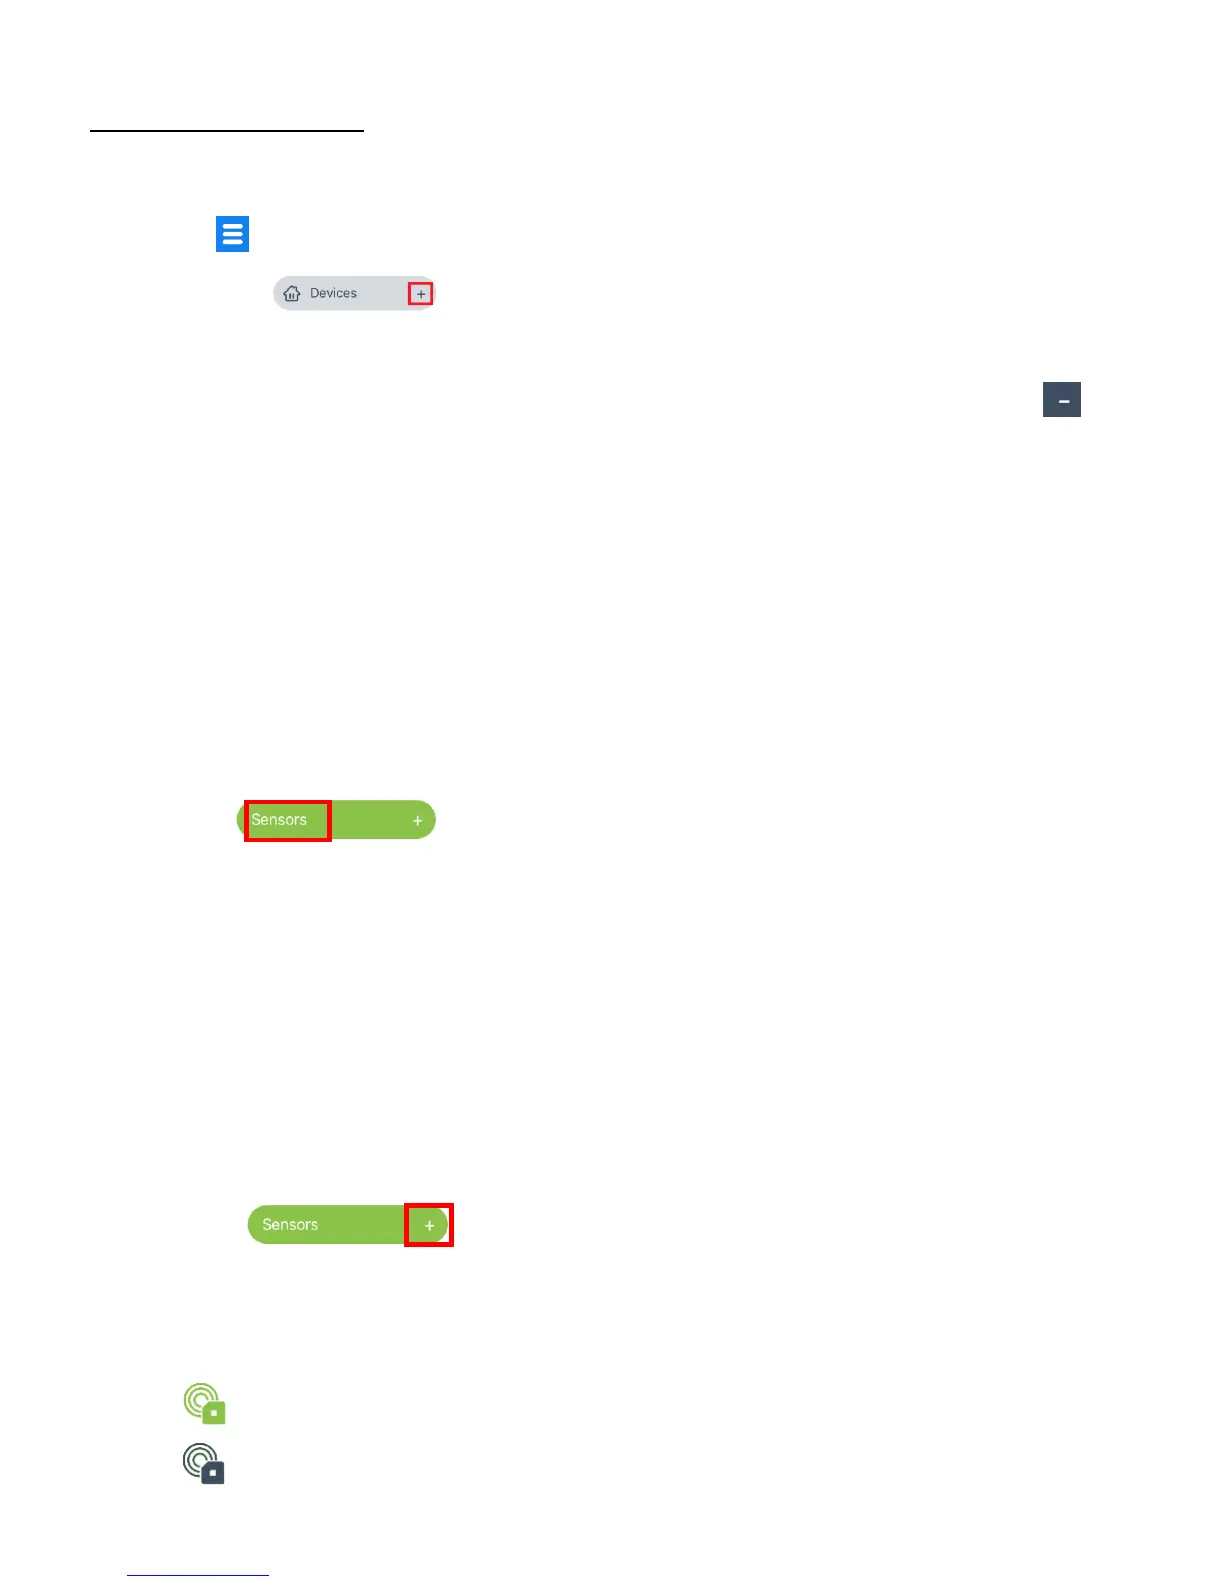
1. Tap the Main Menu button.
2. Then tap the + plus symbol) on the right side of the Devices menu button
to expand the list of devices within the Main menu.
NOTE: After expanding the Devices menu option, to close the expanded view, tap the
(minus symbol) on the right part of the Devices menu button.
3. The following devices are shown under the Devices menu option:
IP Cameras, Lights, Outlets, Power Strips, Sensors, Panic Buttons
NOTE: Once a device has been added, a + plus symbol appears next to the specific device
menu option to which the device has been added.
4. The Sensors menu includes these options: Viewing the Dashboard screen, the ‘Sensors’
screen or viewing the Expanded Menu Sensors List.
a) DASHBAORD/SENSORS SCREEN:
Tap on Sensors to open the Dashboard screen or the ‘Sensors’
screen.
NOTE:
- DASHBOARD SCREEN: The Dashboard screen opens automictically if you have added
only ONE DEVICE.
- SENSORS SCREEN: If you have MULTPLE DEVICES added to your app, then the
‘Sensors’ screen opens with the list of registered sensors. Tap on the sensor you would
like to use in order to open that device’s Dashboard view.
b) EXPANDED MENU SENSORS LIST:
Tap on the + symbol to view your sensor(s) as a list under the
Sensors menu.
Tap on a device to select it and open the Dashboard screen for that device.
NOTE: If you have added multiple sensors, each sensor appears in the expanded
Sensors list.
- Connected devices appear with a colored device icon.
- Disconnected devices appear with a black device icon.