Chapter 3 BASIC OPERATION
Moving the Telescope
Changing the Go-To Slewing Speed
1
2
3
4
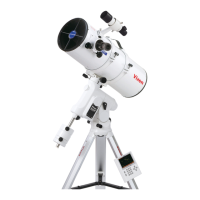
Make sure that the R.A and DEC clamps on the SXD2 mount are locked tightly. Advance
the “Initial Configuration” screen in the following procedure to display the telescope's
home position setting screen.
Choose OK with the or key in “Initial Configuration” and press the key to
display the “Warning” screen for solar observation.
Then, choose “Confirm” with the or key and press the key to display the
telescope home position setting screen. Pressing the key will return the screen to
the initial setting menu at this stage.
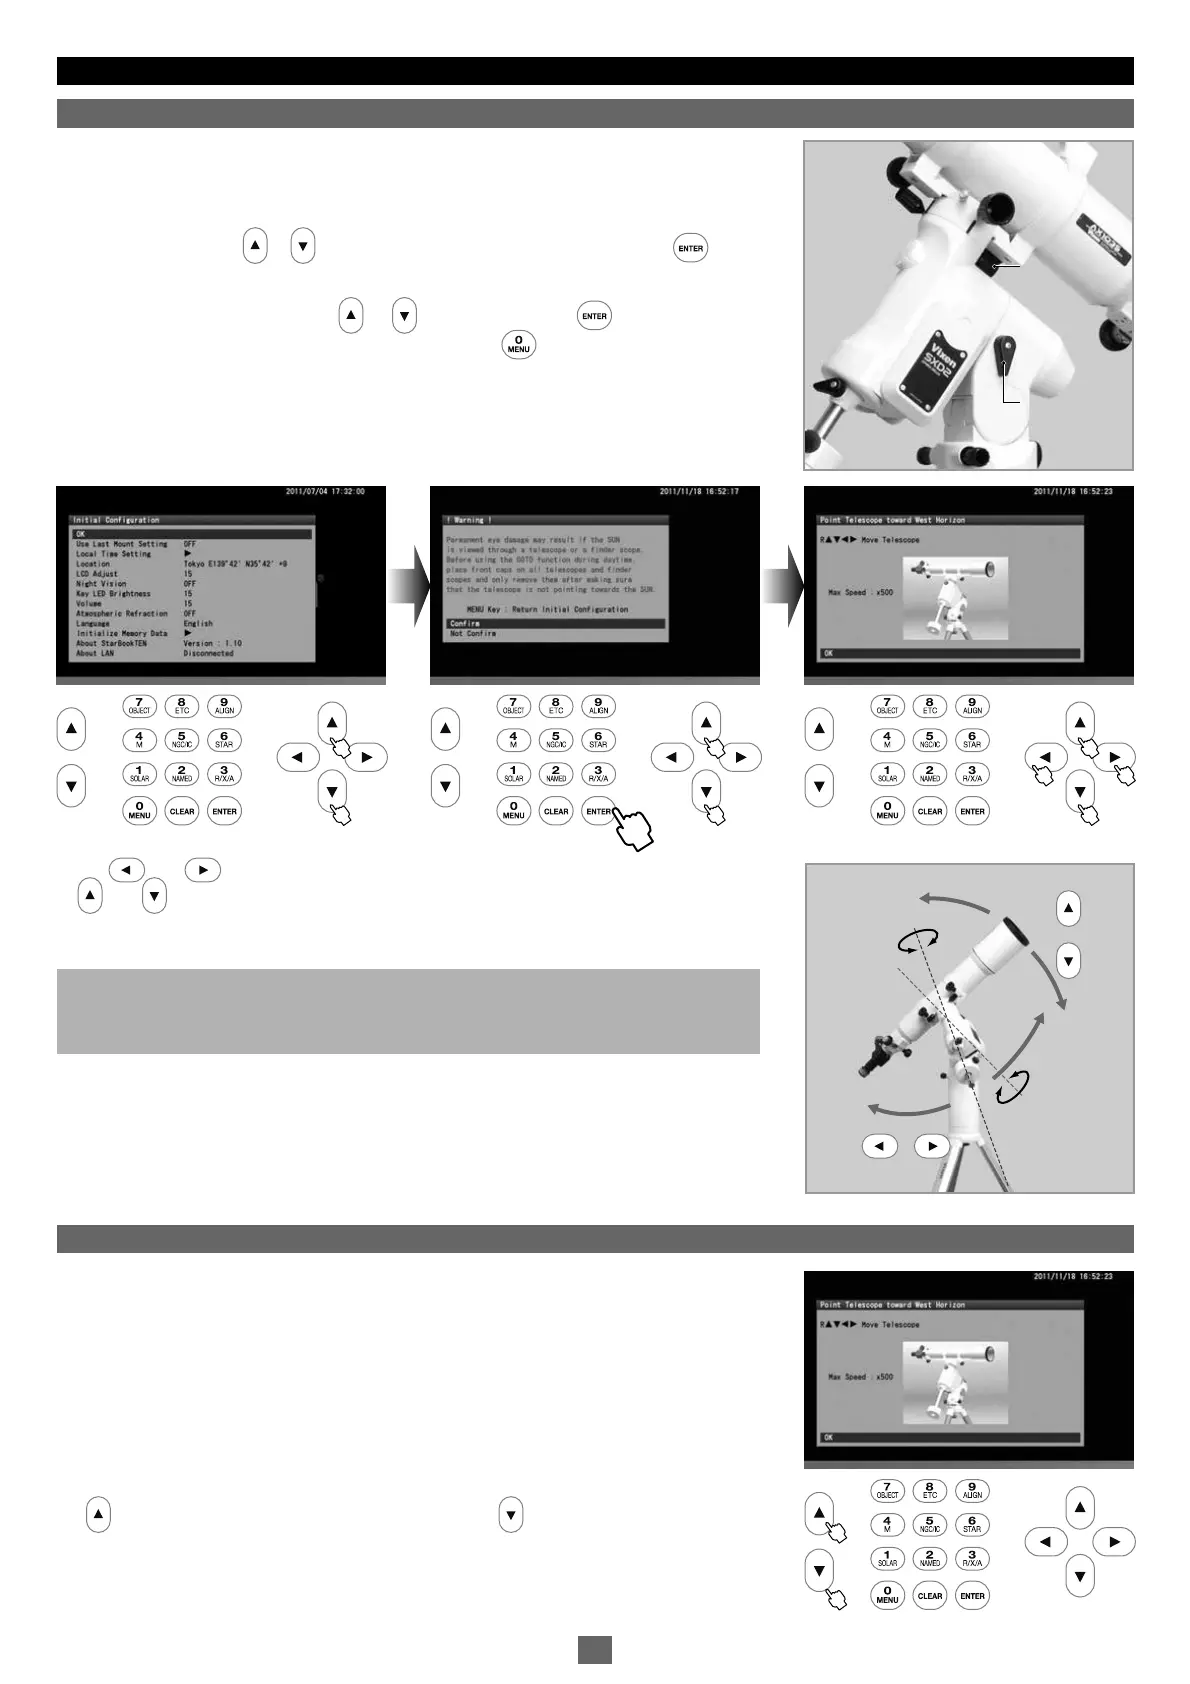
Your telescope is ready to slew to all directions as soon as the telescope's home
position setting screen is displayed on the screen.
The and direction keys move your telescope in the direction of the R.A. The
and direction keys on the right side of the STAR BOOK TEN move the telescope
in the direction of the DEC.
You can slew the telescope at different speeds through use of the direction keys.
Default slewing speed: 500x of the sidereal rate at a maximum
Note: If the slewing speed is set at level 3 or below in “System Menu”, the maximum
available slewing speed is restricted within 400x of the sidereal rate. For using other
speed levels, refer to “Mount Setting” section in Chapter 5.
In the telescope's home position setting screen, pressing either of the zoom keys on the
left side of the STAR BOOK TEN will quickly vary the maximum slewing speed. The upper
key will decrease the motor speed and the lower key will increase the motor speed.
These keys are useful in
SCOPE MODE
wh e n you need a slow motion at high
magnification or a quick motion at low magnification.
Note: The mount does not start celestial tracking while the initial setting screen is
displayed. The celestial tracking starts at the same time the star chart appears on the
screen.
3322 44
11
R.A clamp
DEC clamp
R.A clamp
DEC clamp
DEC Axis
Polar Axis
M
o
v
e
s
i
n
t
h
e
D
E
C
d
i
r
e
c
t
i
o
n
M
o
v
e
s
i
n
t
h
e
R
.
A
.
d
i
r
e
c
t
i
o
n
DEC Axis
Polar Axis
M
o
v
e
s
i
n
t
h
e
D
E
C
d
i
r
e
c
t
i
o
n
M
o
v
e
s
i
n
t
h
e
R
.
A
.
d
i
r
e
c
t
i
o
n
23