Chapter 4 AUTOMATIC GOTO SLEWING
After setting up the telescope, locate the SXD2 mount so that its R.A. axis points toward the north celestial pole if you use the telescope in the
Northern hemisphere. If your intention is not to take lengthy astrophotography, you don't need to align the R.A. axis to the celestial pole
precisely. A rough setting will work well for visual observation. While looking for the polar star, locate the mount so that it faces toward the
north and the elevation of the R.A. axis matches the latitude of your observing site.
The SXD2 mount has guideposts on the R.A. and Declination
individually. The guideposts are useful when you position the telescope
tube to be level toward west in the northern hemisphere (toward east in
the southern hemisphere).
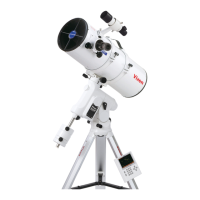
• Loosening the adjustment screw on one side will allow you to tighten the screw on the other side to change the altitude and azimuth directions.
• If you use the telescope in the Southern hemisphere, locate the SXD2 mount so that the RA axis points toward the south celestial pole and set
the elevation of the mount to be equal to the latitude of your observing site.
1
2
3
Flipping on the power switch on the bottom of the declination body of the SXD2 mount will
turn on the STAR BOOK TEN. Complete all the initial settings such as time and location.
Advance the screen on the STAR BOOK TEN until the image shown on the right appears
on it. Use an eyepiece with magnification as low as possible.
Note: If the star chart is already displayed on the screen, turn off the power switch and
reboot the STAR BOOK TEN to start from the initial setup screen
In the “Initial Configuration” menu, choose OK with the or key and press the key.
The “Solar Warning” notice appears on the screen. Choose “Confirm" with the or key
and press the key to advance.
The home position setting appears on the screen and the mount is now ready to move in all
directions using the the • • • direction keys. The mount does not start
tracking at the celestial rate during this stage.
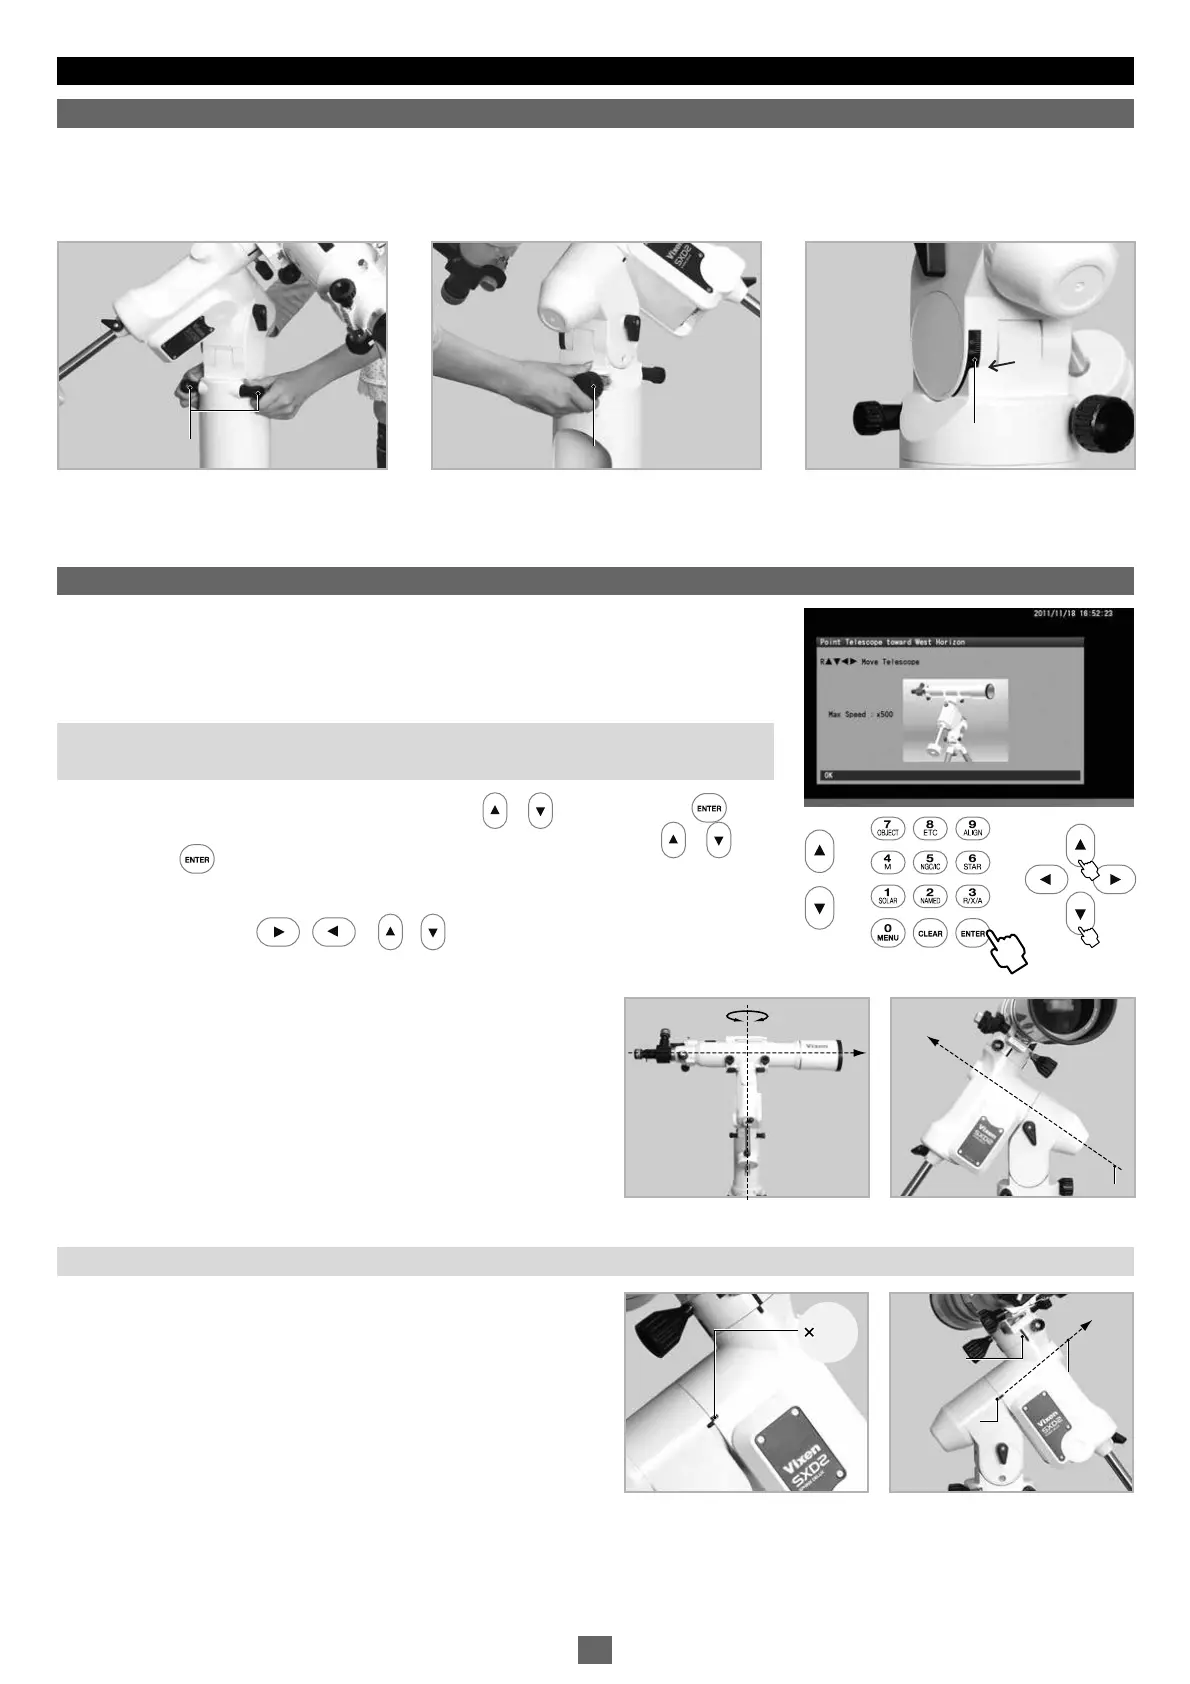
Loosen the R.A. and Declination lock clamps on the mount and
position the telescope's optical tube so that it points toward the west
and is level. Refer to the image of the telescope displayed on the
screen to understand it correctly. When you fix the position of the
optical tube, tighten the R.A. and declination lock clamps on the
mount. After this, do not touch the lock clamps until you finish your
observing. The home position is the first positioning of your telescope
to determine. Set the home position by measuring with your eye as
close as possible.
. Locating the SXD2 Mount
Ⅰ
. Home Position
About Home Position Guideposts
Ⅱ
北
Azimuth Adjustment Knobs
Altitude Adjustment Knobs
Altitude Scale
Reading Guide
Azimuth Adjustment Knobs
Altitude Adjustment Knobs
Altitude Scale
Reading Guide
North
Polar Axis
North
Polar Axis
BadBad
Guidepost
Guidepost
NorthNorth
Polar AxisPolar Axis
Guidepost
Guidepost
25