3. Remove the protective cover of the adhesive surface and stick it on
a clean, at and smooth surface.
Note: If the surface is not very at or a bit curved, such as that of
a helmet, add the extra two double-sided adhesive tape strips
(included) onto the adhesive at mount to improve the contact area
between the surface and the adhesive at mount.
Remove the protective covers of the adhesive at mount and the
extra double-sided adhesive tape strips, stick the two tape strips onto
both tips of the adhesive surface of the adhesive at mount before
sticking the adhesive at mount to the surface you would like to stick
it on.
4. Apply rm pressure to the adhesive at mount and the contact
surface, making sure that the surface makes contact over the entire
area.
Note: Maintain this pressure for several minutes to increase the
adhesive bond strength.
5. It is recommended that the adhesive at mount stay on the
surface at room temperature for 1 day before using to allow
the ultimate strength to be achieved. At room temperature,
approximately 50% of the ultimate strength will be achieved
after 20 minutes, 90% after 24 hours and 100% after 72 hours.
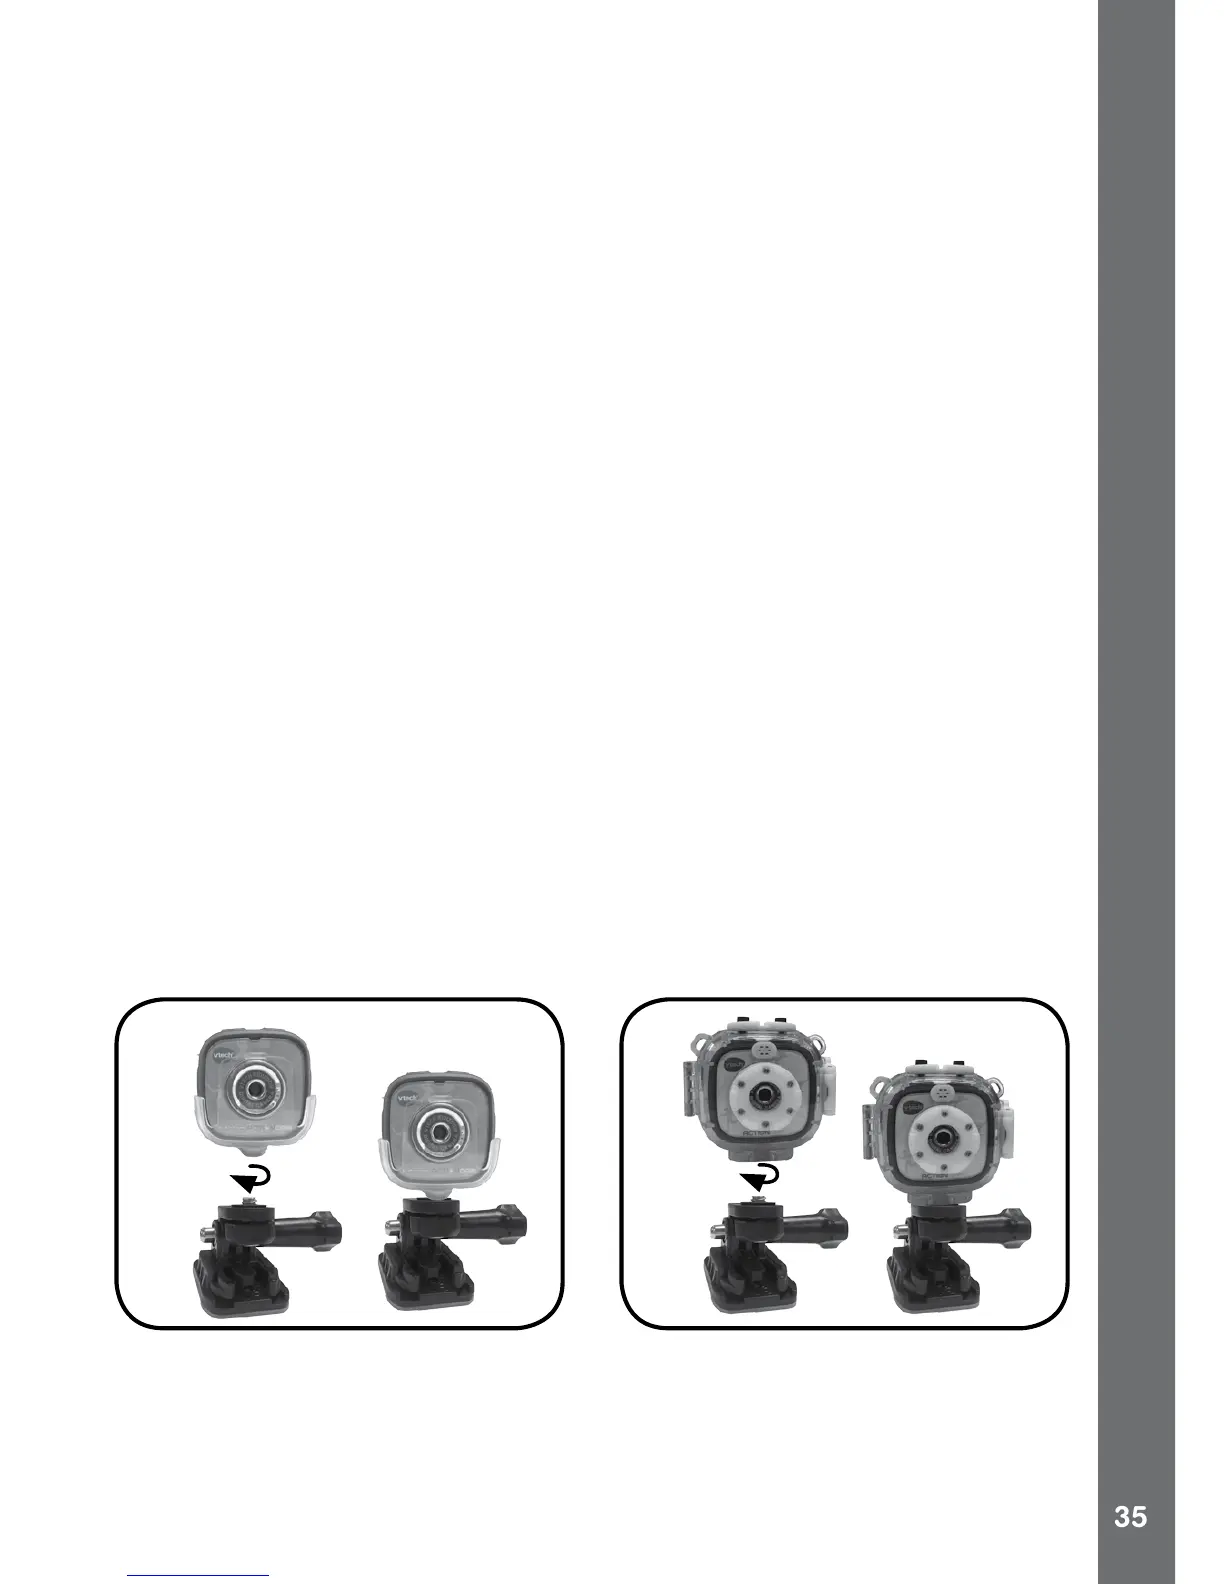
6. Mount the holder / waterproof case onto the adhesive mount. Align
the tripod screw hole on the camera holder / waterproof case to the
screw of the adhesive mount. Screw the knob on the adhesive mount
clockwise to afx the camera on the mount.
7. Loosen the angle adjustment handle and you can rotate the angle
adjustment arm to adjust the capture angle.
8. Tighten the angle adjustment handle after you set the capture angle.
KIDIZOOM
®
ACTION CAM ACCESSORIES