22
10
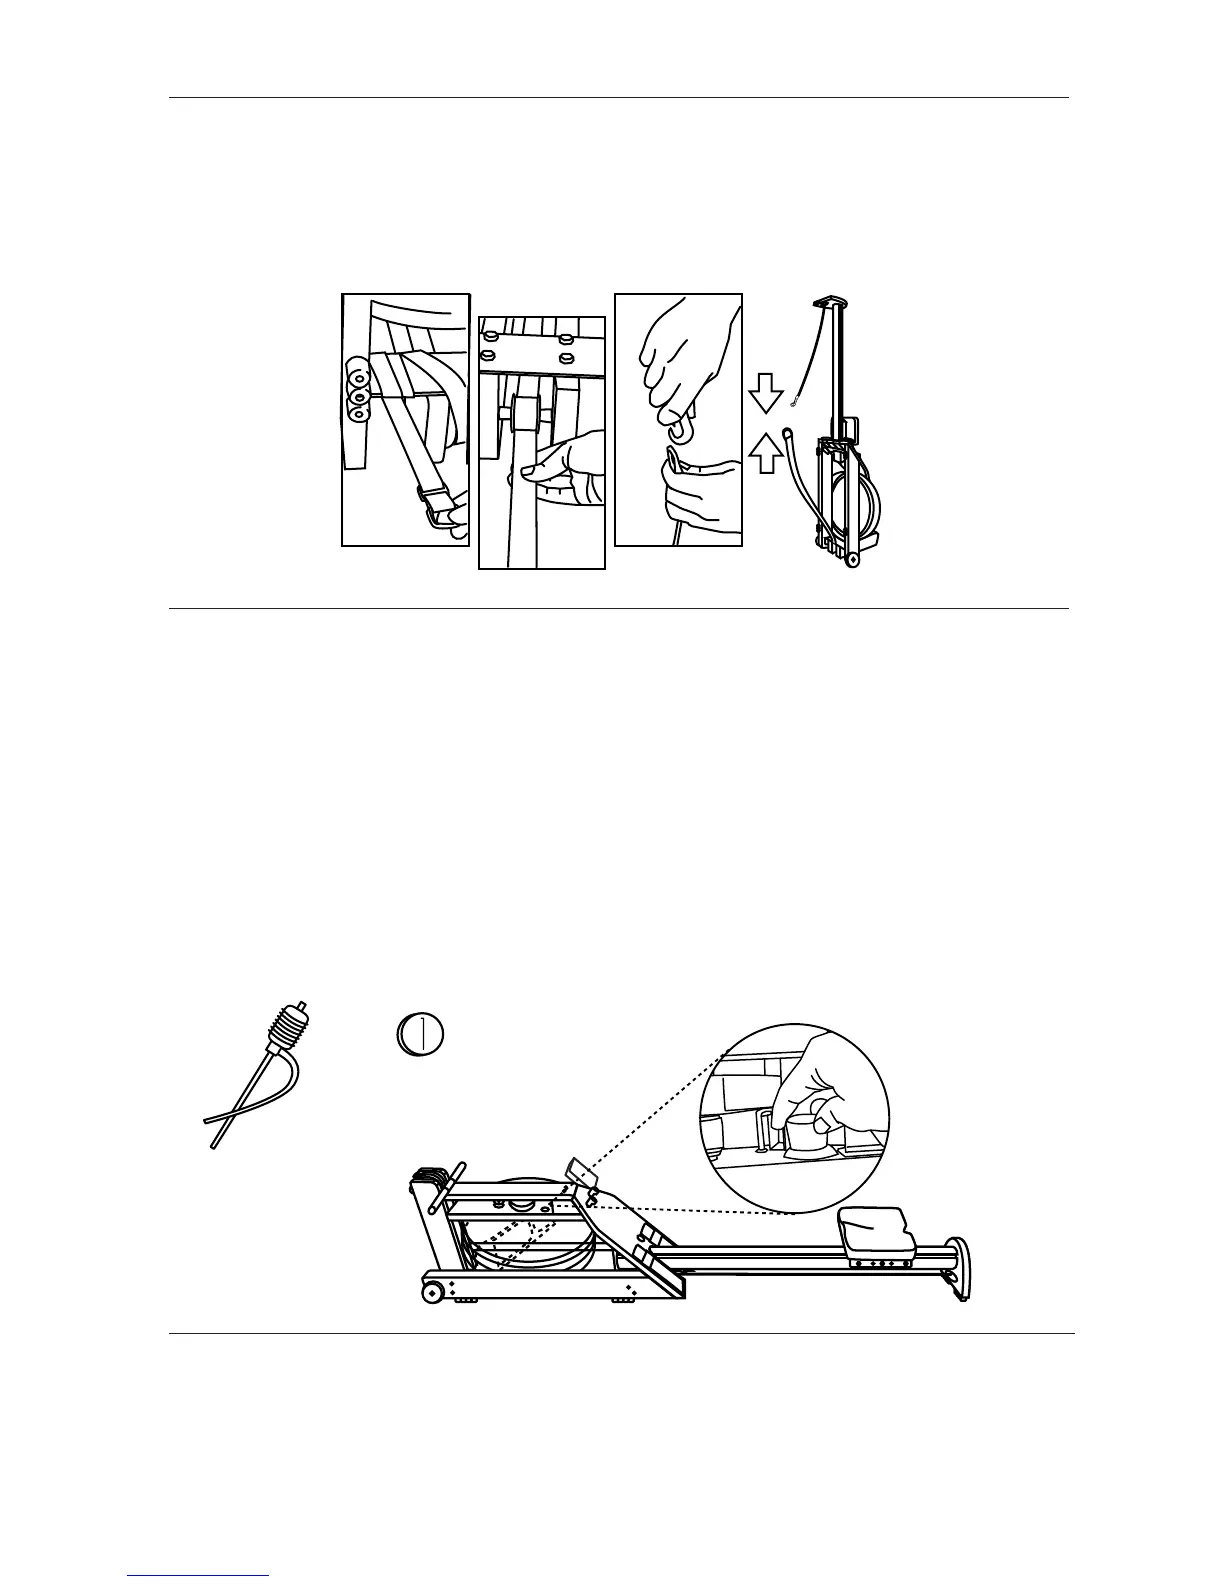
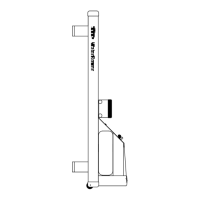
Unwrap the recoil belt from the
forward riser bracket, making sure
the belt runs below and around
the pulley.
Attach the D ring on the recoil belt to
the bungee hook.
Détachez la sangle située sur le
support arrière, en vérifiant que
celle-ci passe bien entre les poulies.
Attachez l’anneau D de cette sangle
au crochet du tendeur.
11
Lay the unit flat and remove the tank
stopper from between the top and
bottom deck.
Use the included syphon pump (O) to
fill the tank to the level indicated on
the level gauge sticker located on the
tank. (See next page.)
Do not fill above the “19” level mark.
Insert one purification tablet (P) every
six months. Additional Purification
tablets are available upon request.
Posez l’appareil à plat et enlevez le
bouchon du réservoir situé entre les
deux parties horizontales.
Utilisez la pompe incluse (O) pour
remplir le réservoir jusqu’au niveau
indiqué sur l’autocollant situé sur le
côté du réservoir.
Ne remplissez pas au-delà de la
marque « 19 ».
Insérez une pastille de purification
(P) tous les six mois. Des pastilles
supplémentaires sont disponibles sur
simple demande.
P
O
12
Go back and tighten all the bolts in
steps 2,3, 6 and 7.
Should you experience any problem
with aligning the components, loosen
all the bolts, align and retighten.
Revenez en arrière et serrez toutes
les vis des étapes 2, 3, 6 et 7.
Si vous rencontrez un problème
d’alignement, desserrez toutes les vis,
alignez à nouveau et resserrez le tout.