3-6 Maintaining the Detector
• Use a 1/4-inch flat-blade screwdriver to loosen the three
thumbscrews on the flow cell assembly’s front plate.
• Grasp the handle and gently pull it toward you.
6. Unpack and inspect the new flow cell.
7. Square the flow cell assembly in front of the opening, and then insert it
into the optics bench. Note that the flow cell uses the alignment pins on
the optics bench.
8. Gently push the front of the assembly until it seats on the front
alignment pins.
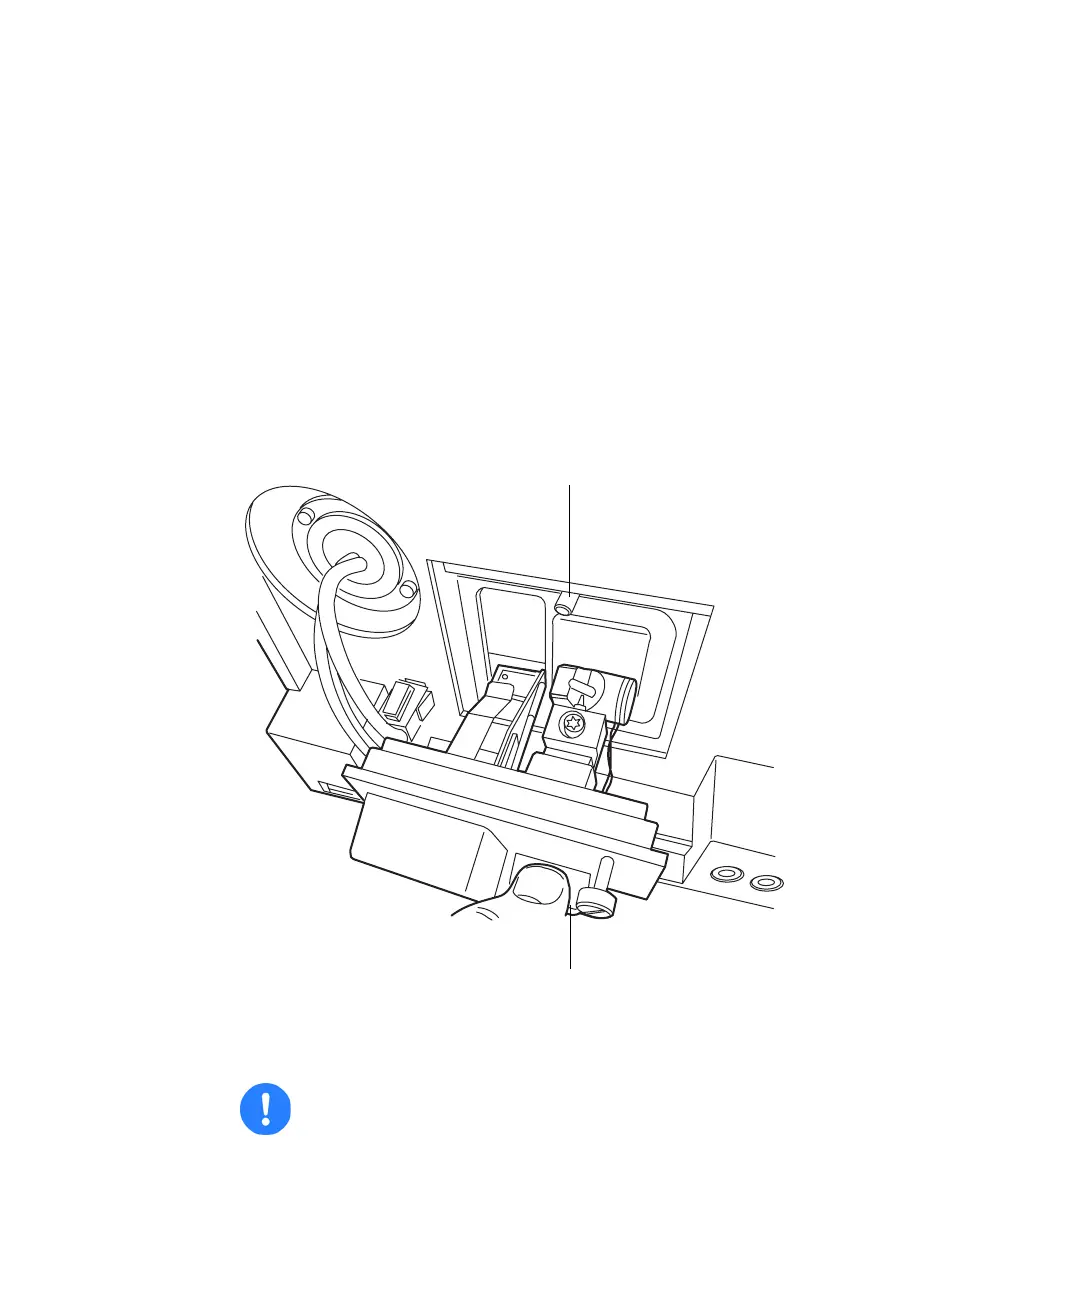
Installing the analytical flow cell assembly
9. Continue to insert the flow cell until the three thumbscrews align with
their holes in the bulkhead.
Caution: To prevent the flow cell from binding and ensure that it
is properly seated in the bulkhead, alternate between tightening
the captive screws and pushing the flow cell forward.
TP0275
Alignment pin
Flow cell handle