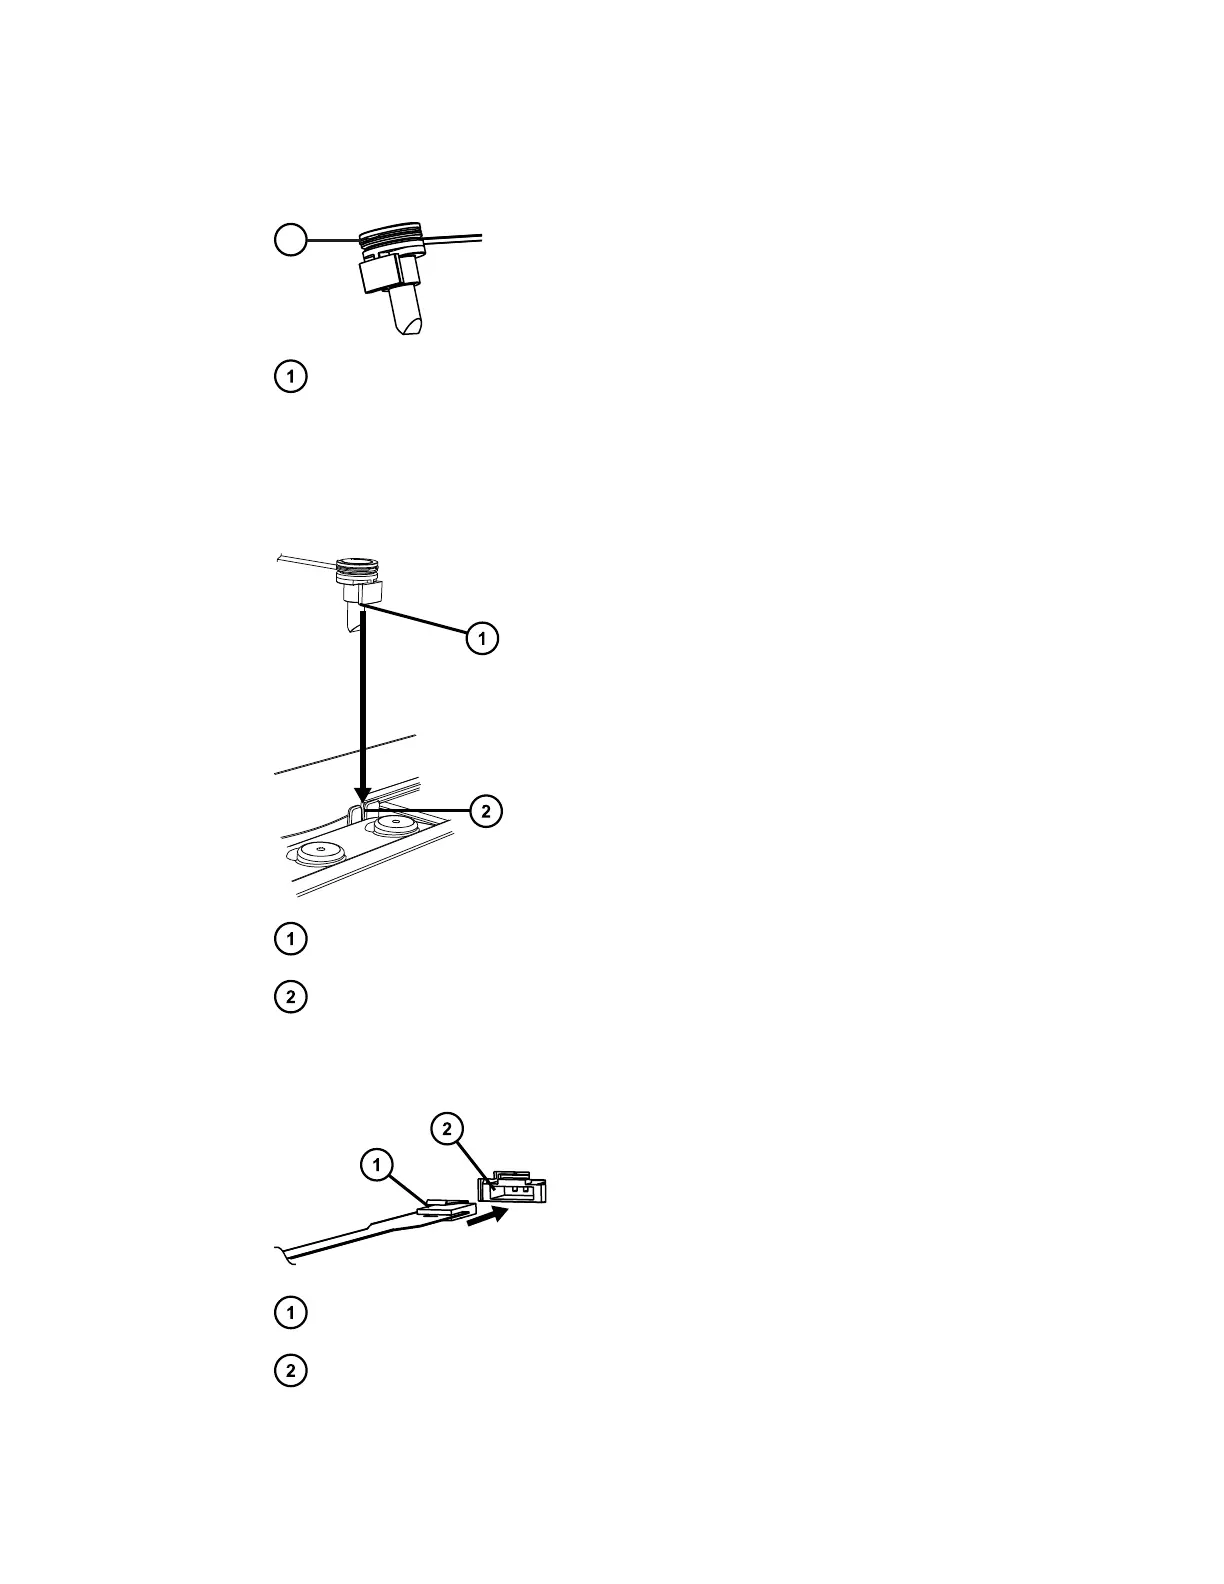
3. Grasp the leak sensor by its serrations and pull it upward to remove it from its reservoir.
Figure 3–24: Leak sensor serrations
Serrations
4. Unpack the new leak sensor.
5. Align the leak sensor’s T-bar with the slot in the side of the leak sensor reservoir and slide
the leak sensor into place.
Figure 3–25: Aligning T-bar with slot
T-bar
Slot in leak sensor reservoir
6. Connect the leak sensor connector to the front of the device.
Figure 3–26: Attaching leak sensor connector
Leak sensor connector
Leak sensor port on front of device
7. Close the instrument door.
August 20, 2021, 715005003 Ver. 04 (Previously released as Revision C)
Page 59