Cleaning the ion guide assembly
January 11, 2016, 715004599 Rev. B 145
To fit the ion guide assembly and differential aperture onto the pumping
block assembly:
1. Check the seals on the pumping block assembly to make sure they are not damaged.
2. Place the ion guide assembly and differential aperture onto the two studs of the
pumping block assembly.
3. Use the 3.5-mm Allen wrench to fit and tighten the 2 screws that secure the ion
guide assembly and differential aperture onto the pumping assembly.
Fitting the pumping block assembly and ion guide assembly onto
the instrument
Required materials
• Chemical-resistant, powder-free gloves
• 3-mm Allen wrench
To fit the pumping block assembly and ion guide assembly onto the
instrument:
1. Check the seals between the pumping block assembly and the instrument to make
sure they are not damaged.
2. Use the 3-mm Allen wrench to tighten the 4 screws that secure the pump block
assembly to the instrument.
3. Fit the source enclosure to the instrument (see page 100).
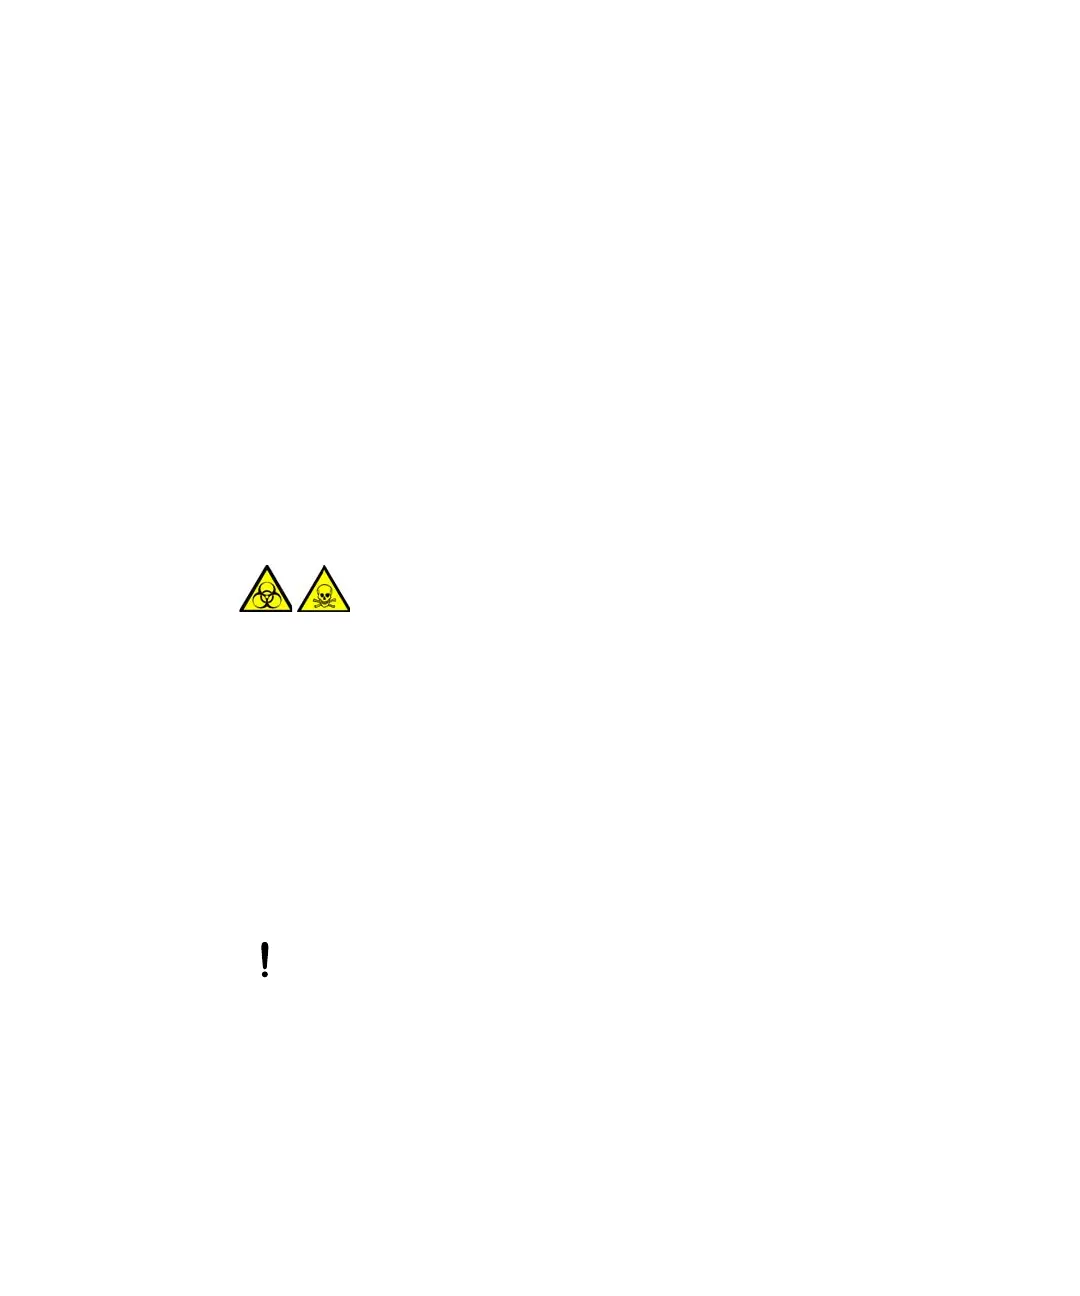
Warning: To avoid personal contamination with biohazards or toxic
materials, and to avoid spreading contamination to uncontaminated
surfaces, wear clean, chemical-resistant, powder-free gloves when
working with the source components.
Notice: To avoid damaging the ion guide assembly when fitting the
pumping block assembly, do not grasp the ion guide by its metal lens plates.
Instead, grasp the circuit boards on the top and bottom of the device
 Loading...