4 Maintenance Procedures
170 January 11, 2016, 715004599 Rev. B
To install the new capillary:
1. Use the sharp knife or PEEK tubing cutter to cut a piece of red PEEK tubing
approximately 60 cm (24 inches) long.
Requirement: Cut the tubing squarely (that is, perpendicular to its horizontal
axis).
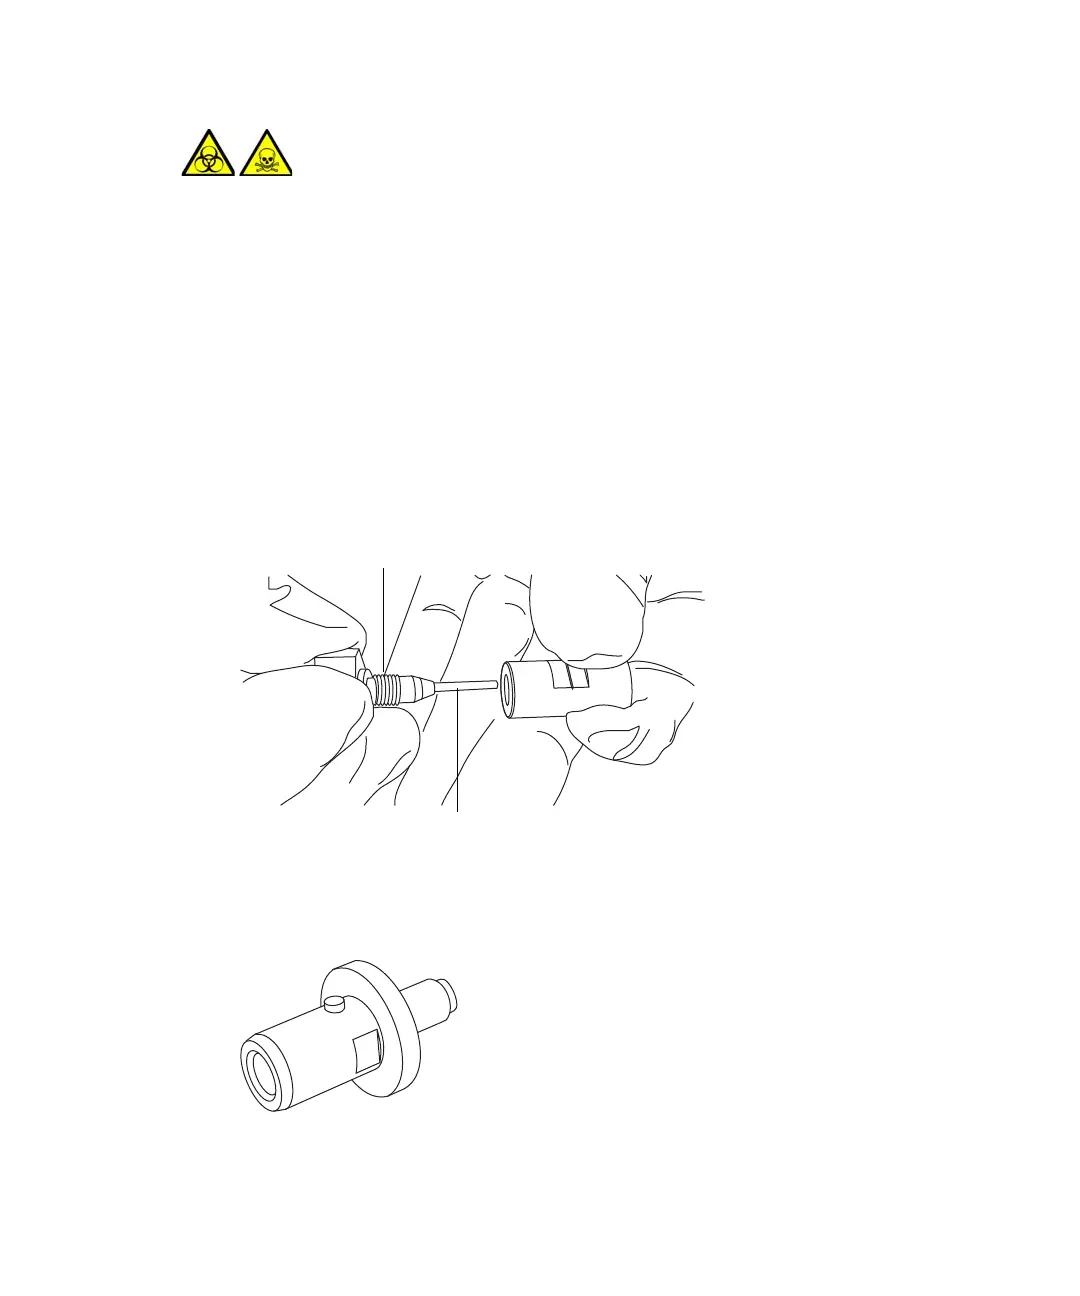
2. Insert one end of the red PEEK tubing in the probe inlet connector, and screw the
connector, finger-tight, into the PEEK union.
Rationale: Doing so ensures a minimum dead volume when fitting the capillary.
3. Fit the UNF coupling to the new capillary.
Requirement: Use a UNF coupling with no grooves, which is appropriate for the
IonSABRE II probe.
4. Use the needle-nose pliers to slide a new ferrule onto the capillary.
Warning: To avoid personal contamination with biohazards or toxic
materials, and to avoid spreading contamination to uncontaminated surfaces,
wear clean, chemical-resistant, powder-free gloves when working with the
probe and source components.
Probe inlet connector
PEEK tubing
 Loading...