Shadow 8 User Manual 1139300
Installation and Checkout 2-21
Aligning Brackets
The design of your brackets must allow adjustment of the Shadow 8 heads once they are
mounted. Shadow 8 light curtains may have to be moved slightly up or down or rocked
slightly to one side or the other to align them.
Shadow 8 universal mounts can be rotated ±8° to facilitate installation and alignment. If you
need to pivot a bracket more than 8°, remove the mounting screws, move the bracket 45° or
90°, and reattach the bracket to the head.
Shadow 8s can be mounted with pigtails pointed up or down as long as both transmitter and
receiver are oriented in the same direction. Shadow 8 heads can be mounted at any angle as
long as they are in the same plane. Vertical mounting is easiest, however.
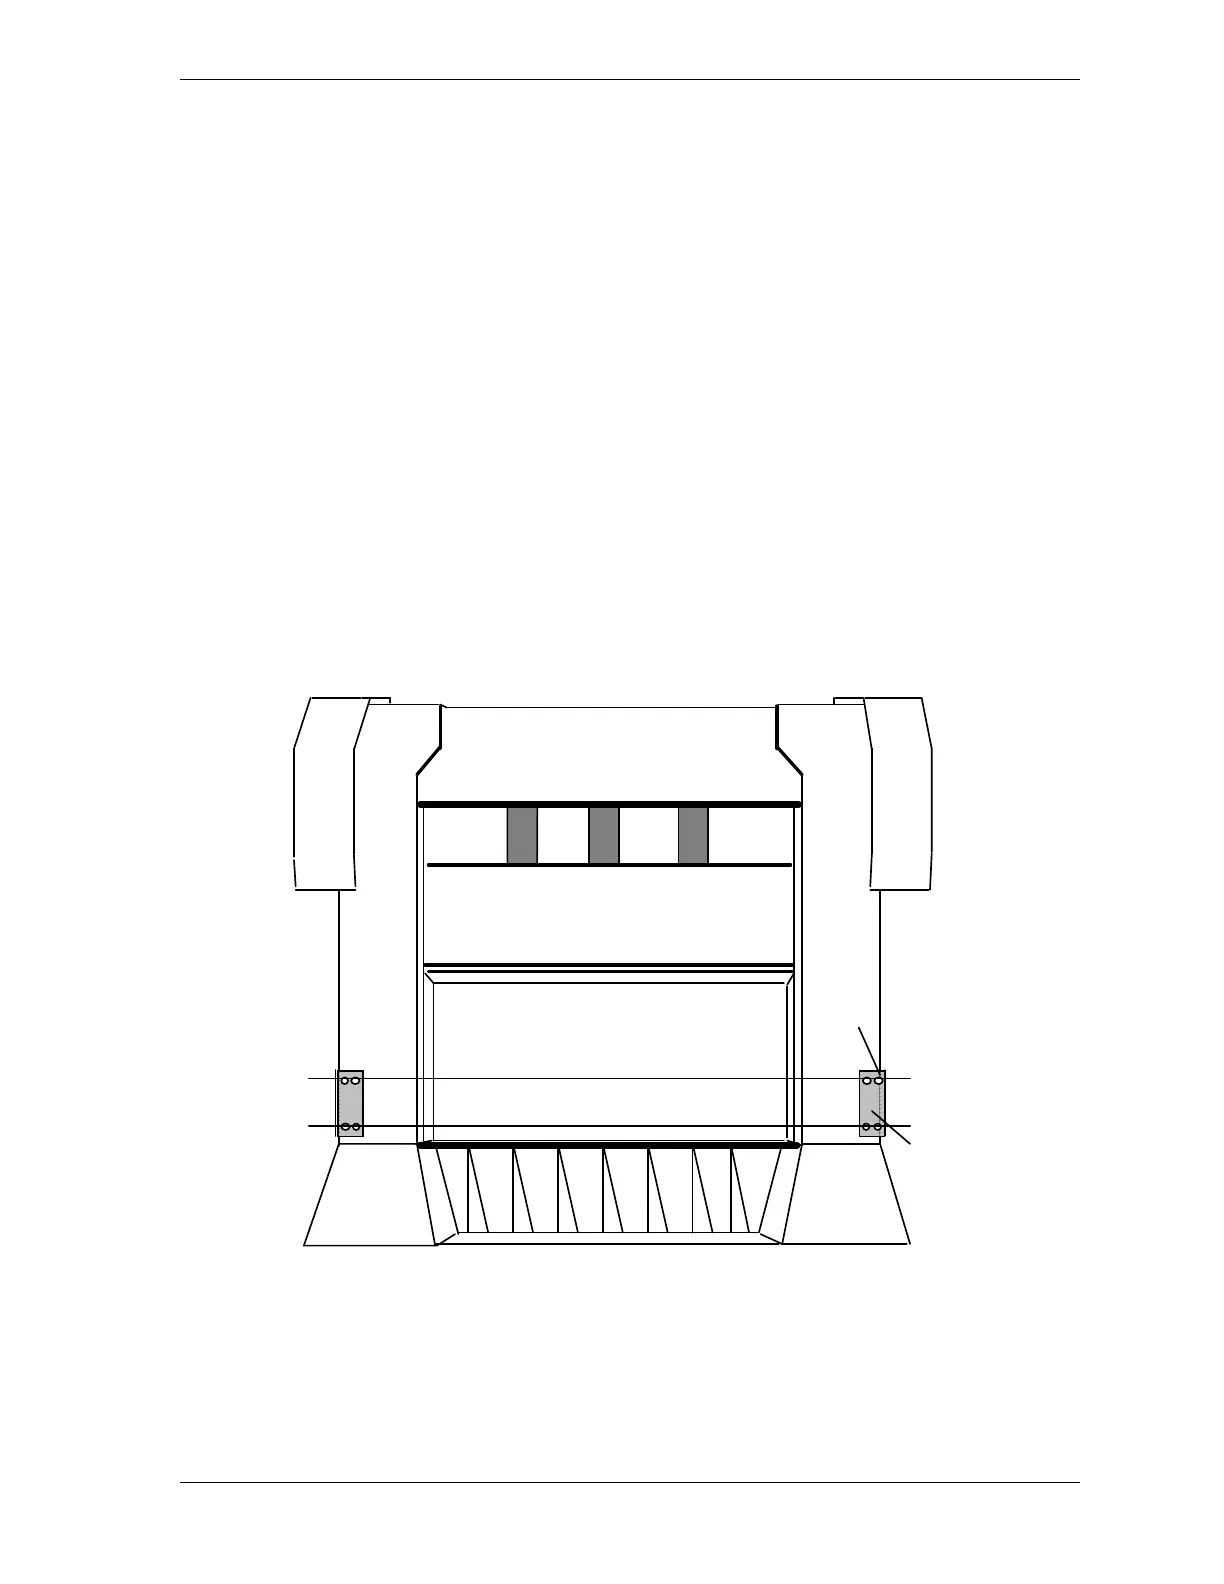
When mounting your brackets, you can draw a leveling line, using the center of the bracket
holes as the end points (see Figure 2-9). When you mount the Shadow 8 flanges onto the
bracket holes, the Shadow 8 light curtains will be aligned or close to being aligned.
Use a plumb or leveling line and square to properly align the brackets. Use the bed of your
press (if applicable) or the floor as a leveling reference point. Make sure that the brackets are
placed in the same plane.
Figure 2-9. Aligning Brackets Using Mounting Holes
levelling lines through
center of bracket holes
bracket
top mounting
holes