38 | Page
This is the main Docking slot used to charge, transfer and or link the Vision
and Accessory Packs
How to Charge the Devices while using the Docking station (Charging Only)
Plug the supplied 12v ac wall adapter into the wall and the other side into the power socket(#5) on the back of
the docking station. Power on the Docking station by using the On/Off switch(#2).The status LED(#1) on the
front of the docking station will light up RED. When inserting the Unit or packs into the docking station make
sure the "WOLFCOM" logo is facing forward. (Note: if the unit is put in backwards you will damage the USB
connection. The unit only goes in one way "DO NOT FORCE THE UNIT IN")
Charging the Wolfcom Vision:
Before inserting the Wolfcom Vision into the docking station make sure all switches on the Wolfcom Vision are
in the up position. The Wolfcom Vision can be inserted into any available port on the docking station. If you are
inserting the Wolfcom Vision with the clip still attached, rotate the clip to the horizontal position then insert the
Wolfcom Vision into the docking station. Once the Wolfcom Vision Is inserted, the status LED on the top of the
Wolfcom Vision will turn "Yellow" indicating the unit is charging. Once the Wolfcom Vision is fully charged, the
led will change from Yellow to Green.
Charging the Accessory Packs (GPS pack/Battery pack):
The Wolfcom Vision Accessory packs can be inserted into any available port on the docking station. If you are
inserting the accessory pack with the clip still attached, rotate the clip to the horizontal position then insert the
accessory pack into the docking station. Once the accessory pack Is inserted, the status LED on the top of the
unit will turn "Yellow" indicating the unit is charging. Once the Accessory pack is fully charged, the led will
change from Yellow to Green. (Note: Please make sure that the accessory pack is turned off before charging.)
IMPORTANT* The USB cables that are included with your Wolfcom Vision are specially designed with a 10 pin
connection. The AC wall power supply is specially regulated for the Wolfcom docking station. Using a 3rd party
USB cable or AC wall power supply will not work and may damage the Wolfcom Vision Docking station. Please
be sure to only use the cables that came with your Docking station.
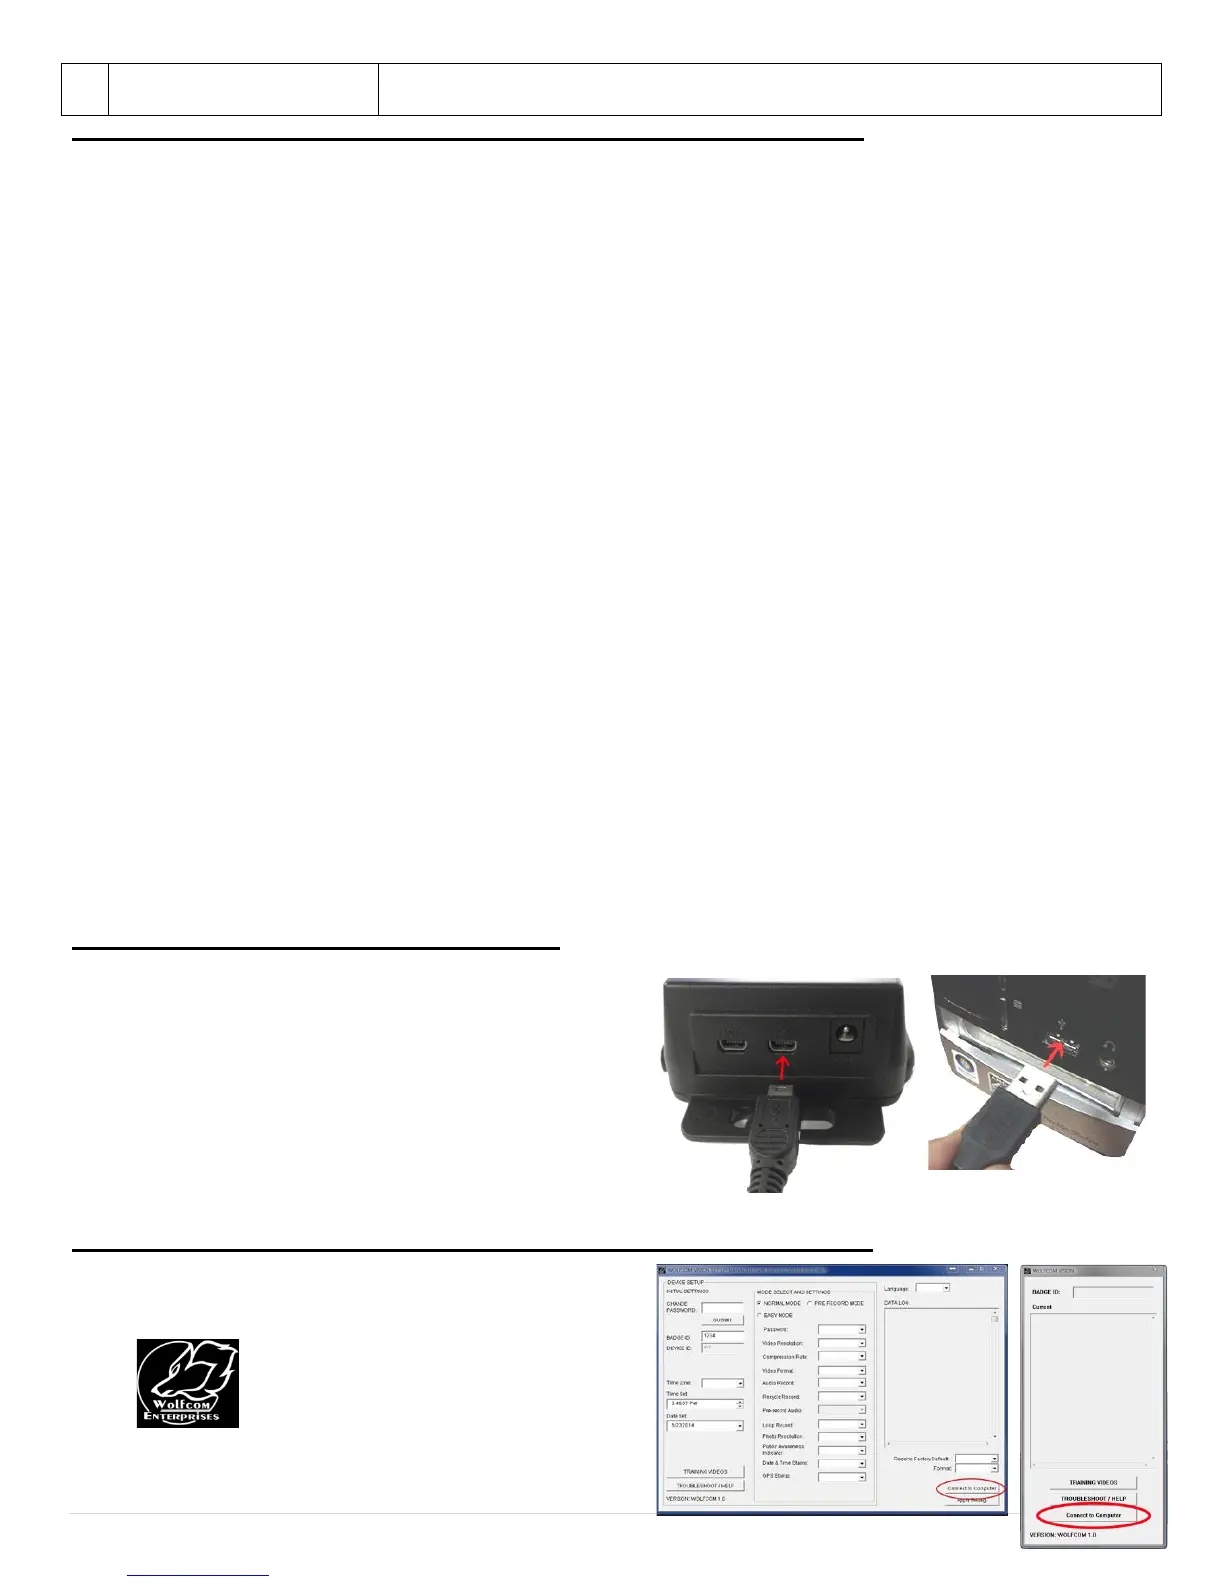
Setting up your Docking station to a Computer
Plug the supplied 12v ac wall adapter into the wall and
the other side into the power socket(#5) on the back of
the docking station. Plug the supplied 8ft mini USB cable
into the USB PC socket (#4) on the back of the docking
station and the other side into your computers USB 2.0
Socket. Power on the Docking station by using the
On/Off switch(#2).The status LED(#1) on the front of the
docking station will light up RED.
How to extract files from the Wolfcom Vision while using the docking station
Click on the Wolfcom Vision PC software icon on your
computer desktop. You should see an Icon that looks like
this:
 Loading...