39 | Page
1. First make sure that the OTR Switch is in the up position and that the Wolfcom Vision is powered off.
2. Next make sure that the Function Switch is set to the up position to "Normal".
3. Insert the Wolfcom Vision into any slot on the docking station.
4. Power on the Wolfcom Vision by sliding down the OTR switch.
5. On the Wolfcom Vision Setup Manager window. You will see the current settings populate. Click on the
"Connect to Computer" button on the bottom right of the screen. The Wolfcom Vision will connect and the auto
play window will pop up.
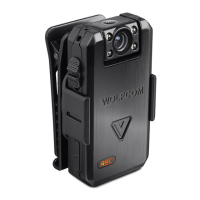
How to link multiple docking stations
Wolfcom Vision docking stations can be linked together for multiple file transfers.
1. Slide the docking stations together by interlocking the slide brackets (#6,7)
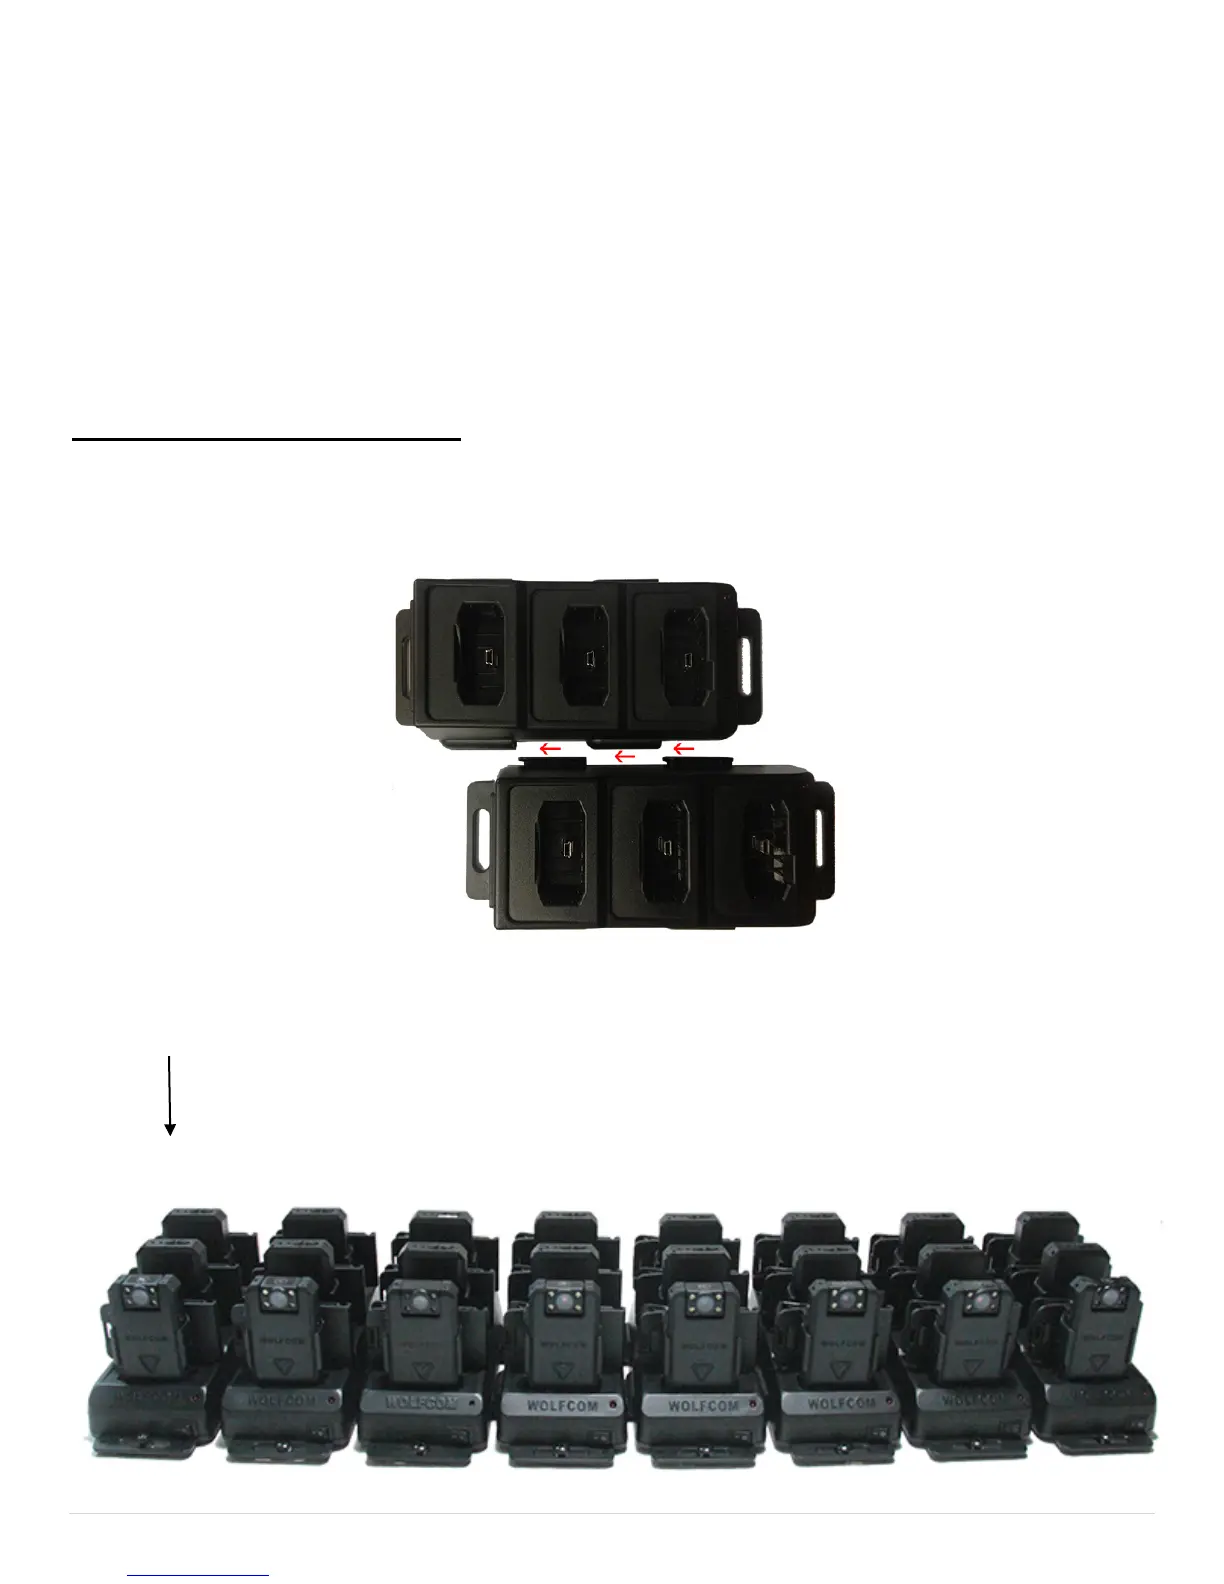
2. When linking multiple docking stations together, only the Main Docking Station is to be connected to the
Computer via USB for File transfers. Be sure to always use the first Docking Station as the Main Docking
Station.( See Photo Below)
Main Docking
 Loading...