16 World Precision Instruments
having to export or transfer the data to an external storage device. Each plate
is saved as an individual .CSV le which may be opened in Microsoft
®
Excel or
another spreadsheet application.
1. Press and hold the
Store
button on the main screen for 2 seconds or press
Store
Screen
on the
Setup
screen to congure your stored data les.
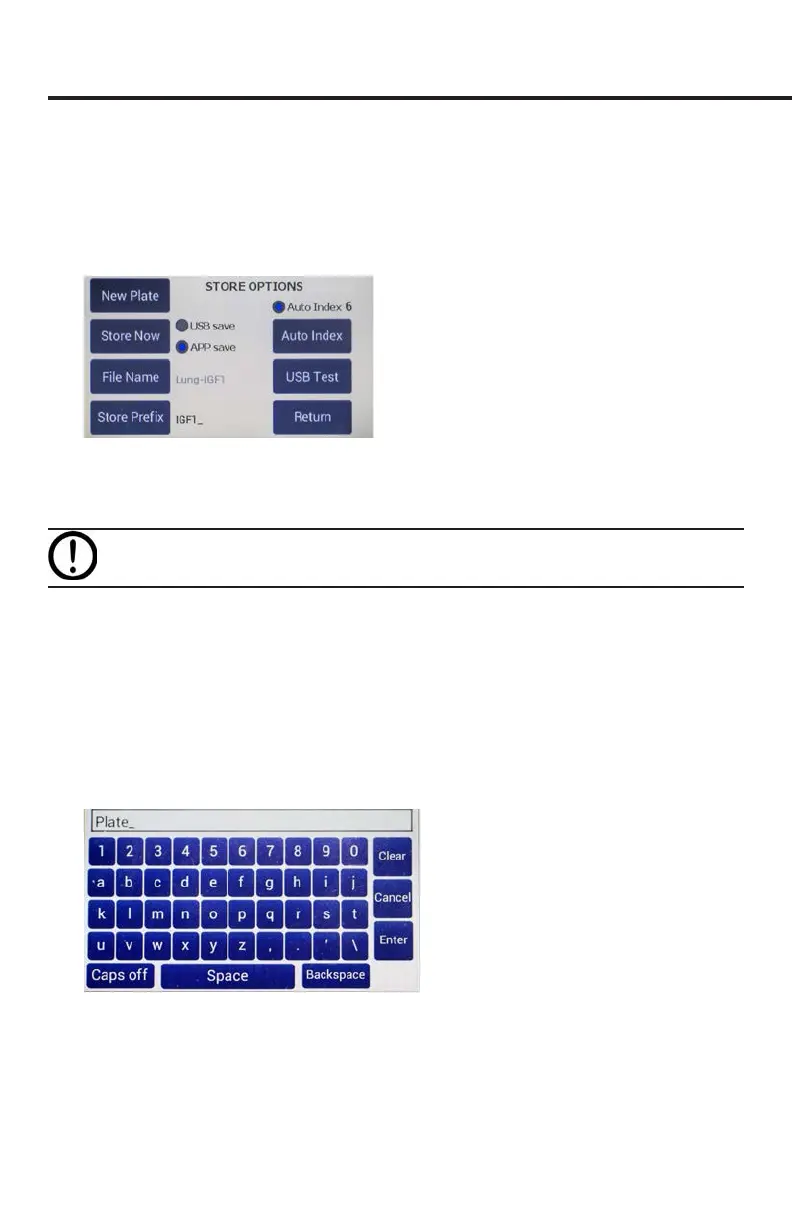
Fig. 23—Use the Store Options screen to save a data le.
2. Press
New Plate
to clear any recorded data on the preview screen and from
memory.
CAUTION: This will clear any readings saved in the preview grid.
3. Select either the
USB save
or the
APP save
radio button.
•
USB save
stores the les to the USB ash drive. Make sure the USB ash drive
is installed.
•
APP save
stores the les on a connected PC using the EVOM™ Companion
Application. Be sure to properly connect the EVOM™ Manual to the PC and
start the Companion Application before storing measurements.
4. Press
File Name
to enter a unique name for your data le. In the entry page, select
Clear
, then type the le name, and press
Enter
when you nish. If you choose to
use your le name, auto-indexing must be disabled.
Fig. 24—Press Clear. Type the desire name. Press Enter.
5. If you prefer to use the
Auto Index
function, press
Store Prex
to enter a unique
le name that will be appended with sequential numbers each time your le is
saved. Select the
Auto Index
radio button to enable the
Store Prex
and
Auto Index
buttons
.