EVOM™ Manual
World Precision Instruments 17
NOTE: When the
APP save
mode is selected,
Auto Index
is automatically selected. It
is the only le name method used when saving data les to a connected PC.
6. If you are using the USB save mode, you may select the
Auto Index
radio button
if you want the EVOM™ Manual to automatically number the new data les
sequentially. Auto indexing changes the name to a numeric sequence formatted
with a prex and a sequential number (prexN).
7. Press the
Return
button to go back to the main screen or press the
Store Now
button to save the current data set. The prompt you see depends on the storage
mode you chose in step 3.
• For USB Save, see "Storing Data on the USB Flash Drive" on page 17.
• For APP Save, see "Storing Data on a Connected PC" on page 19.
NOTE: Since there are three plates that can be held in the EVOM™ Manual’s
memory before data is exported to a storage device, there could be as many les
as the number of plates analyzed kept in the memory. A separate le is generated
for each plate in memory, each with a distinct le name.
Storing Data on the USB Flash Drive
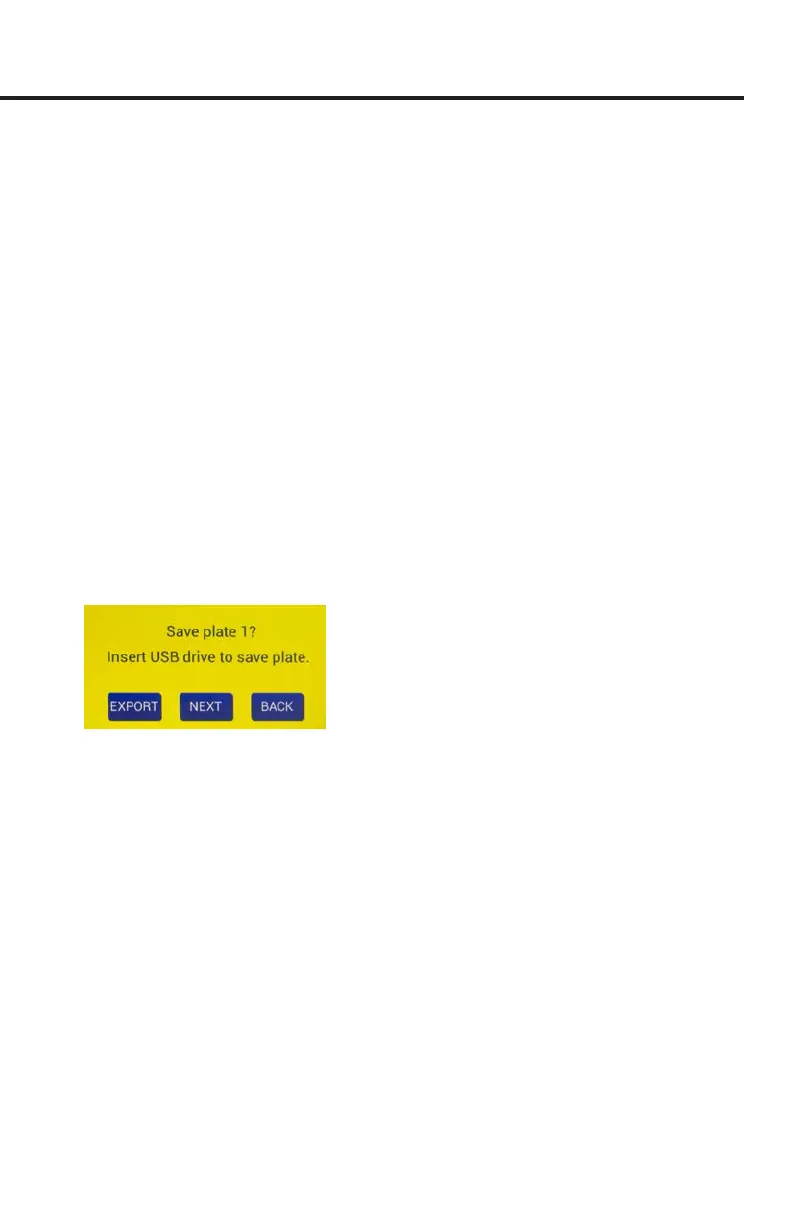
1. If you selected the
USB Save
option (Store Options screen) and pressed the
Store
button on the main screen or the
Store Now
button on the Store Options screen,
a prompt appears asking you to insert the USB ash drive (Fig. 25).
Fig. 25—Verify that the USB drive is inserted correctly into the USB port on the side of the
EVOM™ Manual.
NOTE: When you are using standard le naming instead of auto-indexing, a sux
of -1, -2, or -3 is appended to the le name to indicate which of the three stored
plates corresponds to each le.
NOTE: If you try to save a second set of plates with the same lename, a warning
screen displays indicating that a le with the same name already exists (Fig. 26).
You may press the
Back
button to return to the main screen. Then, hold the
Setup
button for 2 seconds to access the
Store Options
screen and change the name.
When you store the les, you are asked to conrm the write operation for each
le to be written separately.