26 World Precision Instruments
Taking Measurements
Conguring Data Storage Options
1. Power on the EVOM™ Manual using the power switch on the rear panel.
2. To congure your data le storage settings, hold the
Store
button on the main
screen for 2 seconds or press
Store Screen
on the
Setup
screen to access the
Store Options screen.
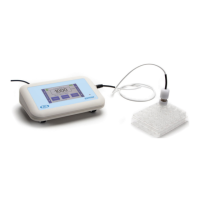
Fig. 44—Store options screen.
• Select the preferred storage mode by selecting one of the radio buttons,
USB Save
or
APP Save
. USB Save stores data les to a USB ash drive, and the
APP Save stores the data les on a connected computer using the EVOM™
Companion Application.
NOTE: Data can only be stored in one location. The same data cannot be
stored in both the PC Companion Application and a USB ash drive.
• If a lename other than the default (plate1) is required, choose whether you
will use a prex and auto-indexing or a unique le name. To use a prex and
auto-indexing, activate the
Auto Index
radio button. Then, press
Store Prex
to
enter a le name. To use a unique le name, deactivate the
Auto Index
radio
button. Then, select
File Name
to enter a new name.
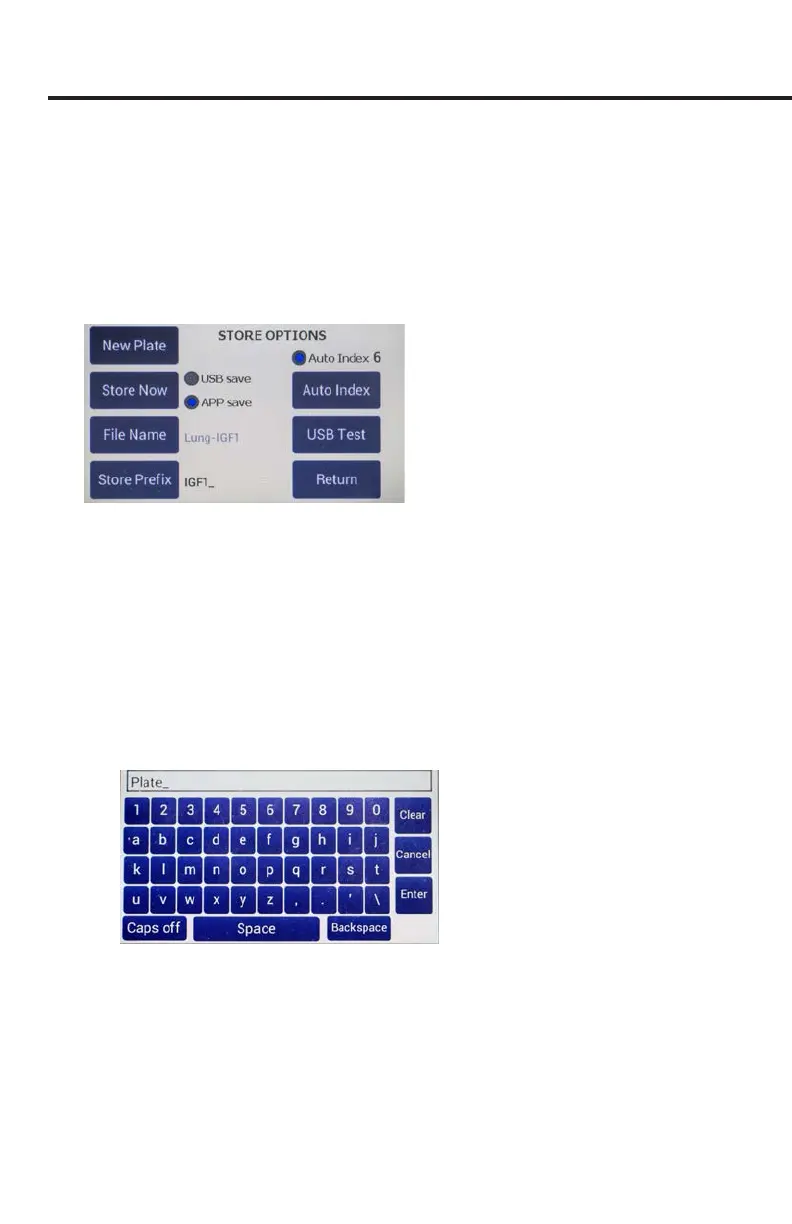
Fig. 45—A keyboard displays so you can enter a unique le name.
• Press
Clear
.
• Use the on screen keypad to enter a new name.
• Press
Enter
.
NOTE: Auto indexing changes the name to a numeric sequence formatted with
the name, a prex and a sequential number (name_prexN).