74 •Special features keys XEROX WIDE FORMAT COPY SYSTEM
LEAD + 1.0 IN
LEFT - 1.0 IN
RIGHT + 0.0 IN
TRAIL + 0.0 IN
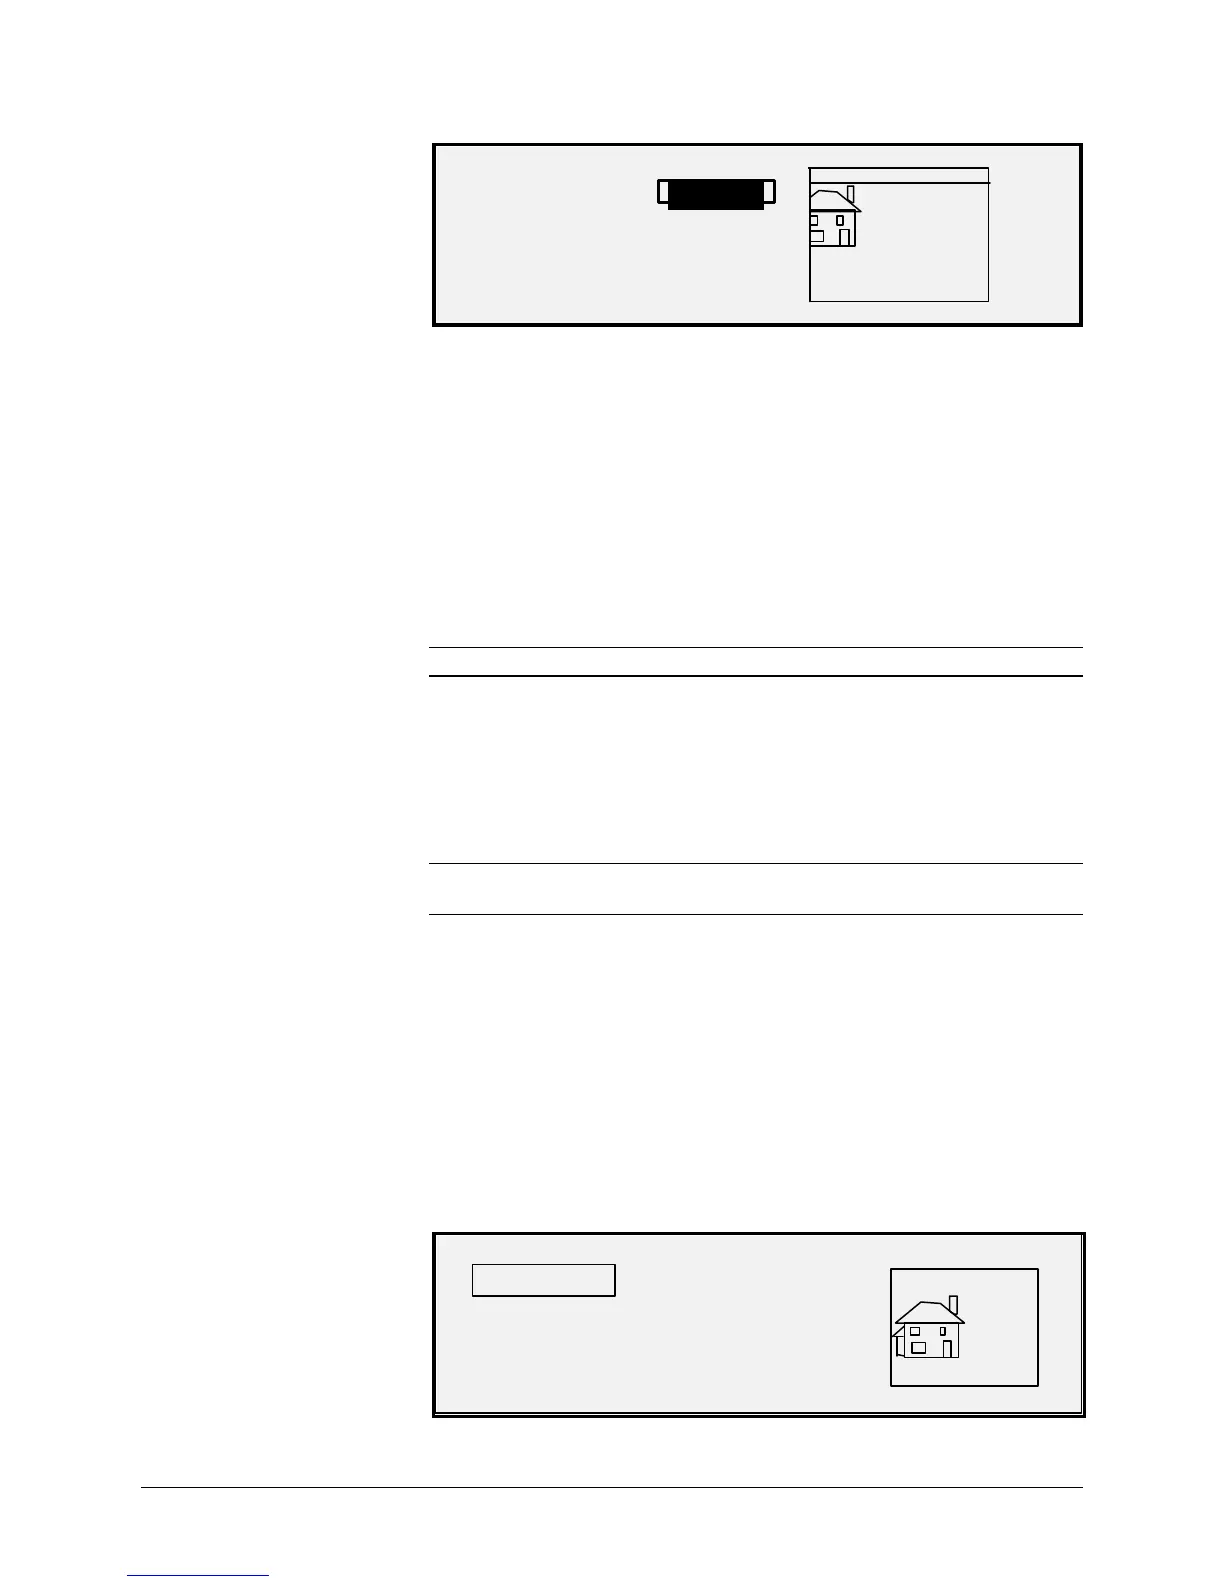
The illustration below shows a negative left margin with TOP LEFT
justification.
• To change the value setting, use the numeric keypad to enter the
value. The values can be set in increments of 0.1 in (1.0 mm)
and over a range of +4 to -4 in (+100 to -100 mm). Values
outside the allowed range are rejected. If you enter an invalid
value, press the Exit key to clear it. The default margins are 0.
6. Press the Enter key to confirm the setting. The graphical display
updates accordingly
NOTE: To cancel the setting, press the Exit key
7. When you have set all the margins as desired, press the Exit
key to return to the TRANSFORM MENU screen.
The JUSTIFICATION option of the TRANSFORM MENU allows you to
adjust the position of the image on the media.
NOTE: "Image" means the entire scanned page including the white
space.
To specify the image position:
1. Press the Transform key. The TRANSFORM MENU screen is
displayed.
2. Press the Next key to highlight JUSTIFICATION.
3. Press the Enter key to select JUSTIFICATION. The
JUSTIFICATION screen is displayed. This screen shows the
current settings for the X and Y coordinates. It also includes a
graphical display of the approximate position of the image as a
result of the settings.
Below is an example of the JUSTIFICATION screen.
JUSTIFICATION
X: LEFT
CENTER
Justification
 Loading...


