Scanning from ISIS
74 DocuMate 765 Scanner User’s Guide
• Binary&Gray—select this option to have the final image retain the
binary black and white on the page with grayscale graphics. This
option might be used to scan marketing brochures or business letters
where the text on the page is black while the image or logo are in gray
or color. The resulting file size is larger than binary (black and white)
scanning, but the images are clear and the file size is smaller than a
grayscale, color, or binary and color scan.
Dots per inch (dpi)—this option, also called the scan resolution, sets the
clarity of the scanned image.
• When making a direct copy of a letter or grayscale document,
resolution between 150dpi or 200dpi will create an image of similar
quality to the original.
• When making a direct copy of a color document or color photograph,
resolution between 200dpi and 300dpi will create an image of similar
quality to the original.
• Higher dpi settings should be used when you are scanning a
document to create an enlargement of the original.
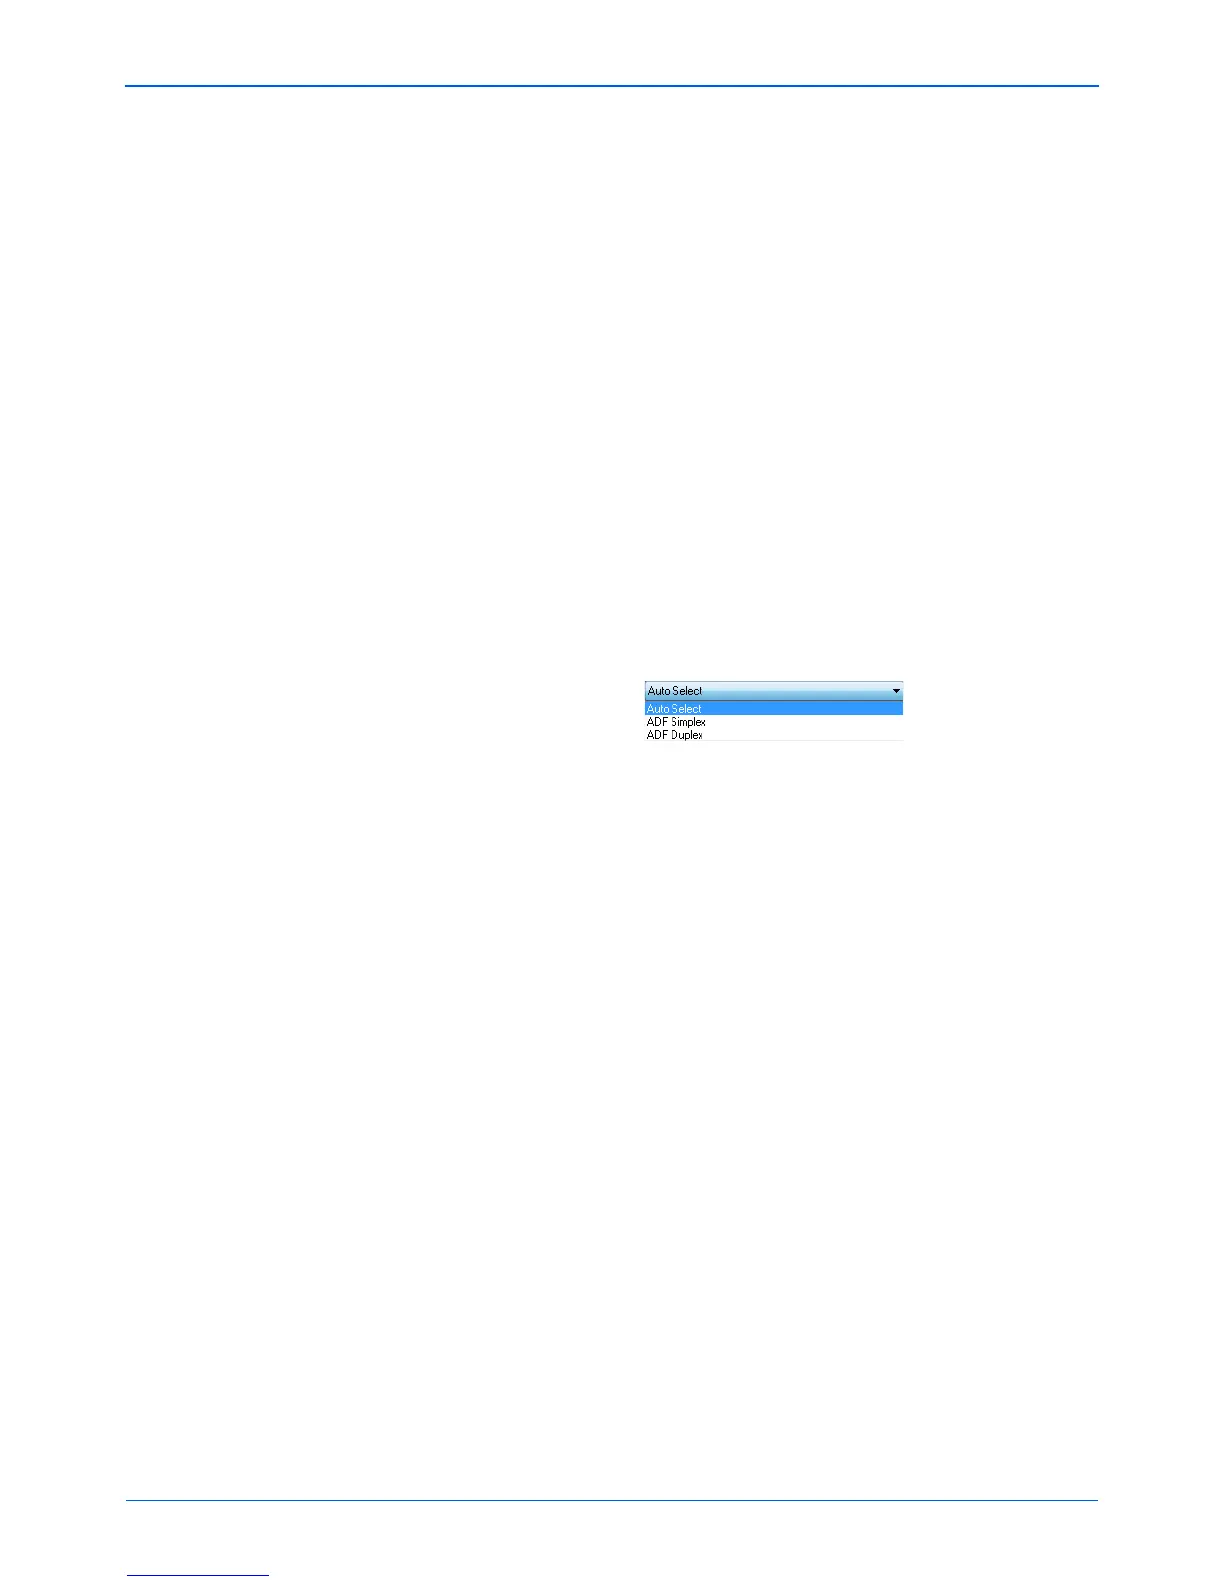
Paper Source—click on the arrow and select either ADF Simplex or ADF
Duplex. If you choose to leave the default Auto Select then all scans will
be simplex.
ADF Simplex—this is single side scanning, only the side of the page
facing up is scanned.
ADF Duplex—this is double side scanning, both sides of the page
are scanned at the same time.
Dither—dither is the intentional application of noise in the image to help
alleviate banding when scanning in binary mode. For example, if you
scan a color photo in black and white, the image file will have large blocks
of black and white and barely recognizable when compared to the
original. Dithering the image creates a black and white image that is
recognizable as the original. The dither option is only available when you
are scanning in black and white or a multistream color mode, and the
Brightness mode must be set to Manual.
Brightness—use brightness when the original is too dark or light to be
seen clearly. For example, a note written with a pencil may be too light to
see in the final image clearly, decreasing the brightness will help the
software to provide a clearer image of the original.
When you select Manual, you can manually adjust the brightness level by
moving the slider left or right, or by clicking on one of the preset options.
When you select Automatic, all other options in the Brightness field
automatically disable and the software attempts to determine the needed
level of brightness during the scan process.
 Loading...