EasyManuals Logo

Xerox Phaser 3260 User Manual

Xerox Phaser 3260
144 pages
To Next Page IconTo Next Page
To Previous Page IconTo Previous Page
Page #69 background imageLoading...
Page #69 background image
June 2014
4-17
Xerox® Phaser® 3052/3260 Service Manual
REP 1.9
Repairs
5. Install and tighten the Frame screws from the center of the Frame:
To the Front of the printer, then to the Rear of the Printer (Figure 9).
a. Tighten the Front Paper Path Module screws (3) installed in Step 3b.
b. The ROS Support screws (2)
c. The Rear Paper Path Module screws (3)
d. Tighten all the Fuser Module Screws (2) installed in Step 3a.
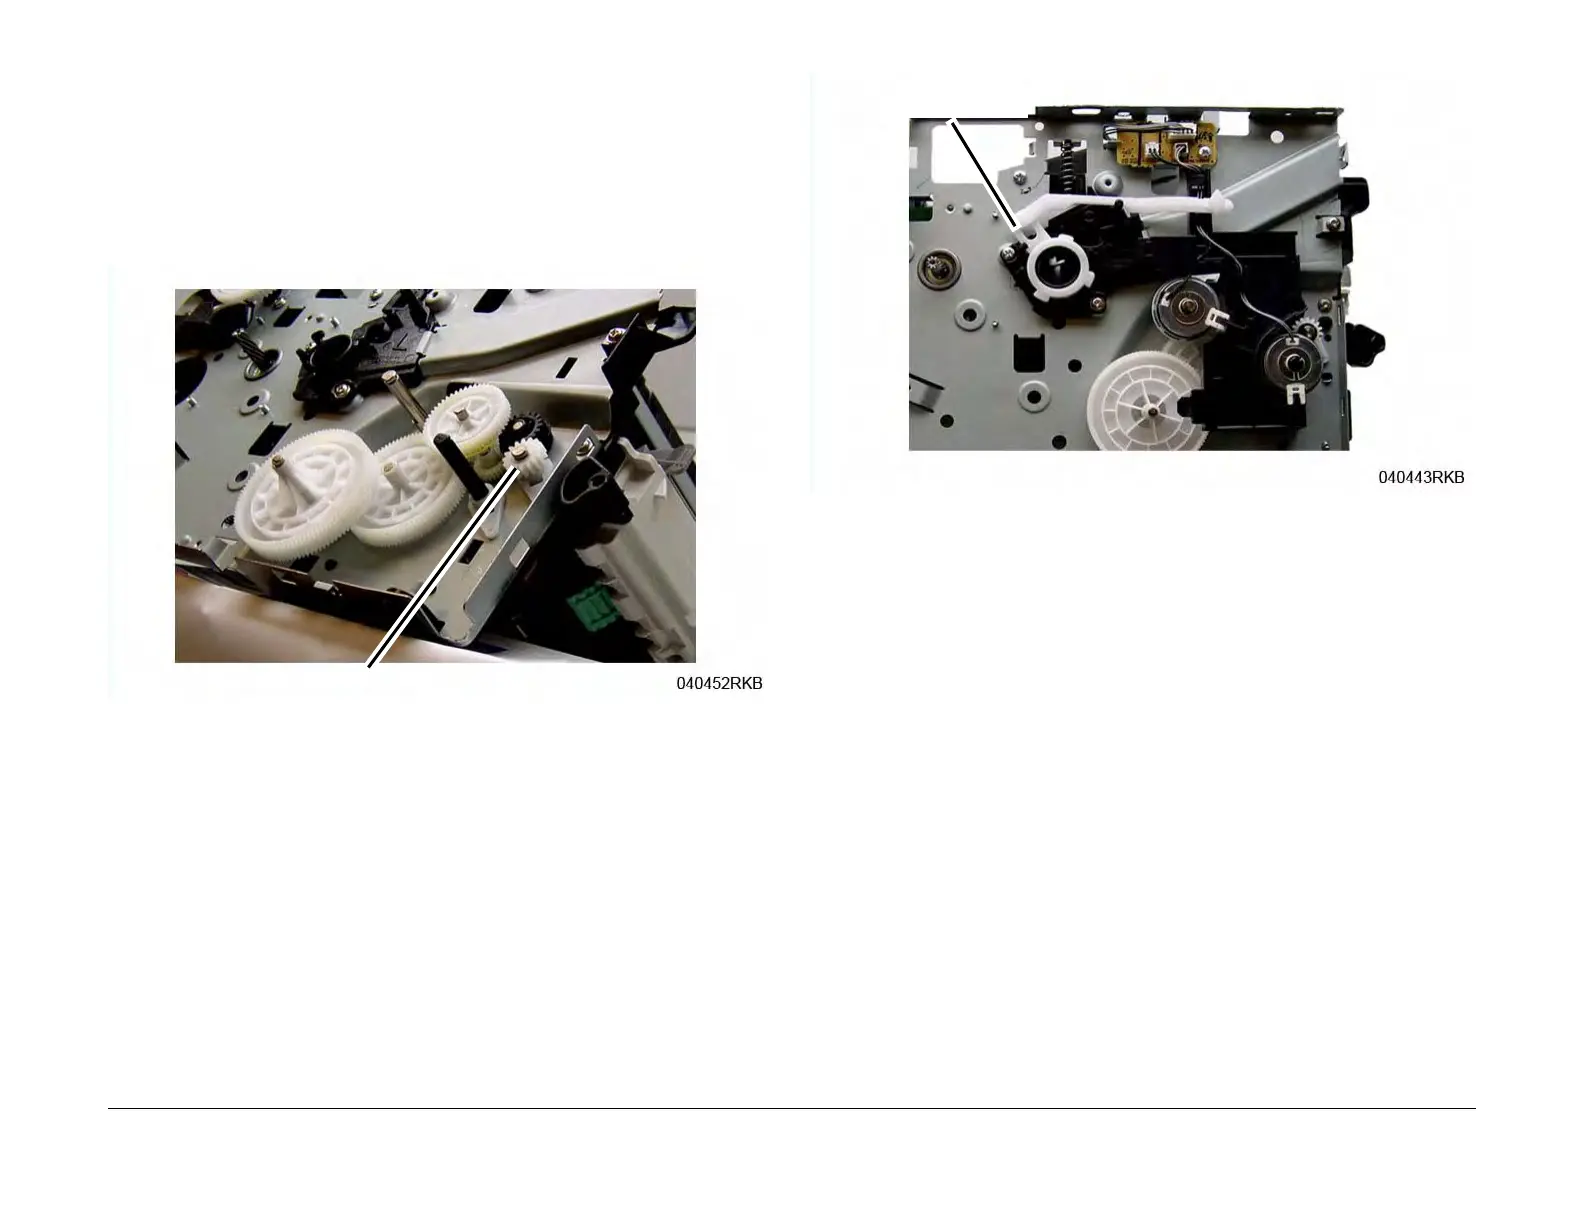
6. Reinstall the Drive Gears, and Snap Ring.
Refer to (Figure 10) for correct installation the Feed and Registration Drive Gears.
Figure 10 Feed and Registration Drive Gears
7. Install the remaining components in the reverse of removal.
When installing the Front Cover Support Arm make sure it is correctly placed on the Stop
Bracket (Figure 11).
Figure 11 Front Cover Support Arm Placement
Snap Ring
Support Arm

Table of Contents

Other manuals for Xerox Phaser 3260

Questions and Answers:

Question and Answer IconNeed help?

Do you have a question about the Xerox Phaser 3260 and is the answer not in the manual?

Xerox Phaser 3260 Specifications

General IconGeneral
Print TechnologyLaser
Print SpeedUp to 29 ppm
First Page OutAs fast as 8.5 seconds
Duplex PrintingAutomatic
Monthly Duty CycleUp to 30, 000 pages
Output Capacity150 sheets
Processor Speed600 MHz
Memory128 MB
Supported Operating SystemsWindows, Mac OS, Linux
ConnectivityUSB 2.0
Input Capacity250 sheets
Media Sizes SupportedA4, A5, A6, B5, Executive, Folio, Legal, Letter, Oficio
PDLPCL 6, PCL 5e, PostScript 3

Related product manuals