June 2014
4-6
Xerox® WorkCentre® 3025 Multifunction Printer Service Manual
REP 1.3, REP 1.4
Repairs
6. Remove the Rear Cover top screws (Figure 3).
Figure 3 Rear Cover Top Screws (Top View)
7. Remove the Rear Cover.
Replacement
Important: If the Rear Cover is replaced, remove the Data Plate Label from the old Rear
Cover and install it onto the new Rear Cover (Figure 2).
NOTE: If the Rear Cover is being replaced on a 3025 NI, remove the “knockouts” for the FAX
and Network connectors (Figure 2).
NOTE: Tapered Plastic Screws and Round Machine Screws are used to hold the PWB to the
frame. Make sure that the Plastic Screws go into plastic components and Machine Screws go
into the metal frame.
Install the components in the reverse of removal.
REP 1.4 Middle Cover
Parts List on PL 1.1 and PL 1.2
Removal
1. Switch Off the Printer and disconnect the Power Cord.
2. Remove the Print Cartridge.
3. Remove the following covers:
a. The Front Cover (REP 1.2).
b. The Left and Right Side Covers Cover (REP 1.1).
c. The Rear Cover (REP 1.3).
4. Remove the Scan Module (REP 1.10).
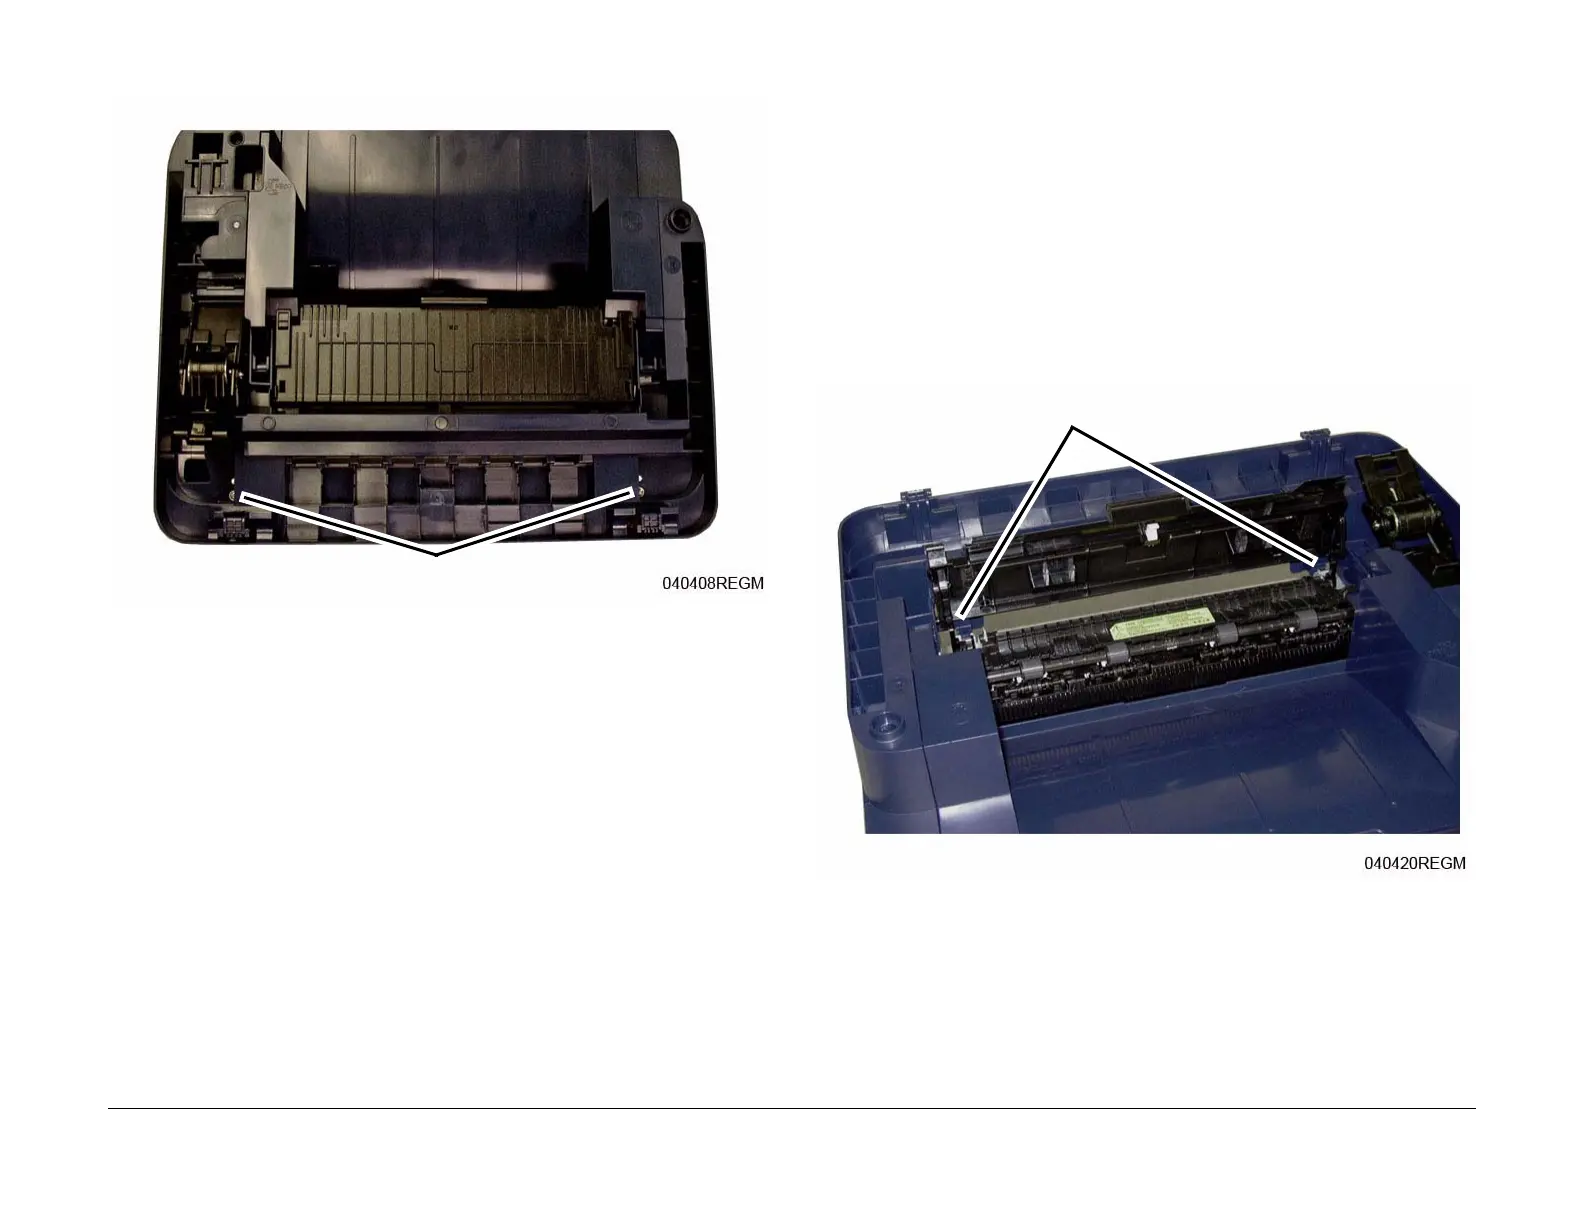
5. Release the Exit Jam Cover pivots (2).
Use a small screwdriver to move the pivots out of the slots on the cover (Figure 1).
Figure 1 Exit Cover Pivots (Top View)
Screws
Pivots
 Loading...


