Virtex-6 FPGA Connectivity Kit Getting Started www.xilinx.com 55
UG664 (v1.4) July 6, 2011
Modifying the Virtex-6 FPGA Targeted Reference Design
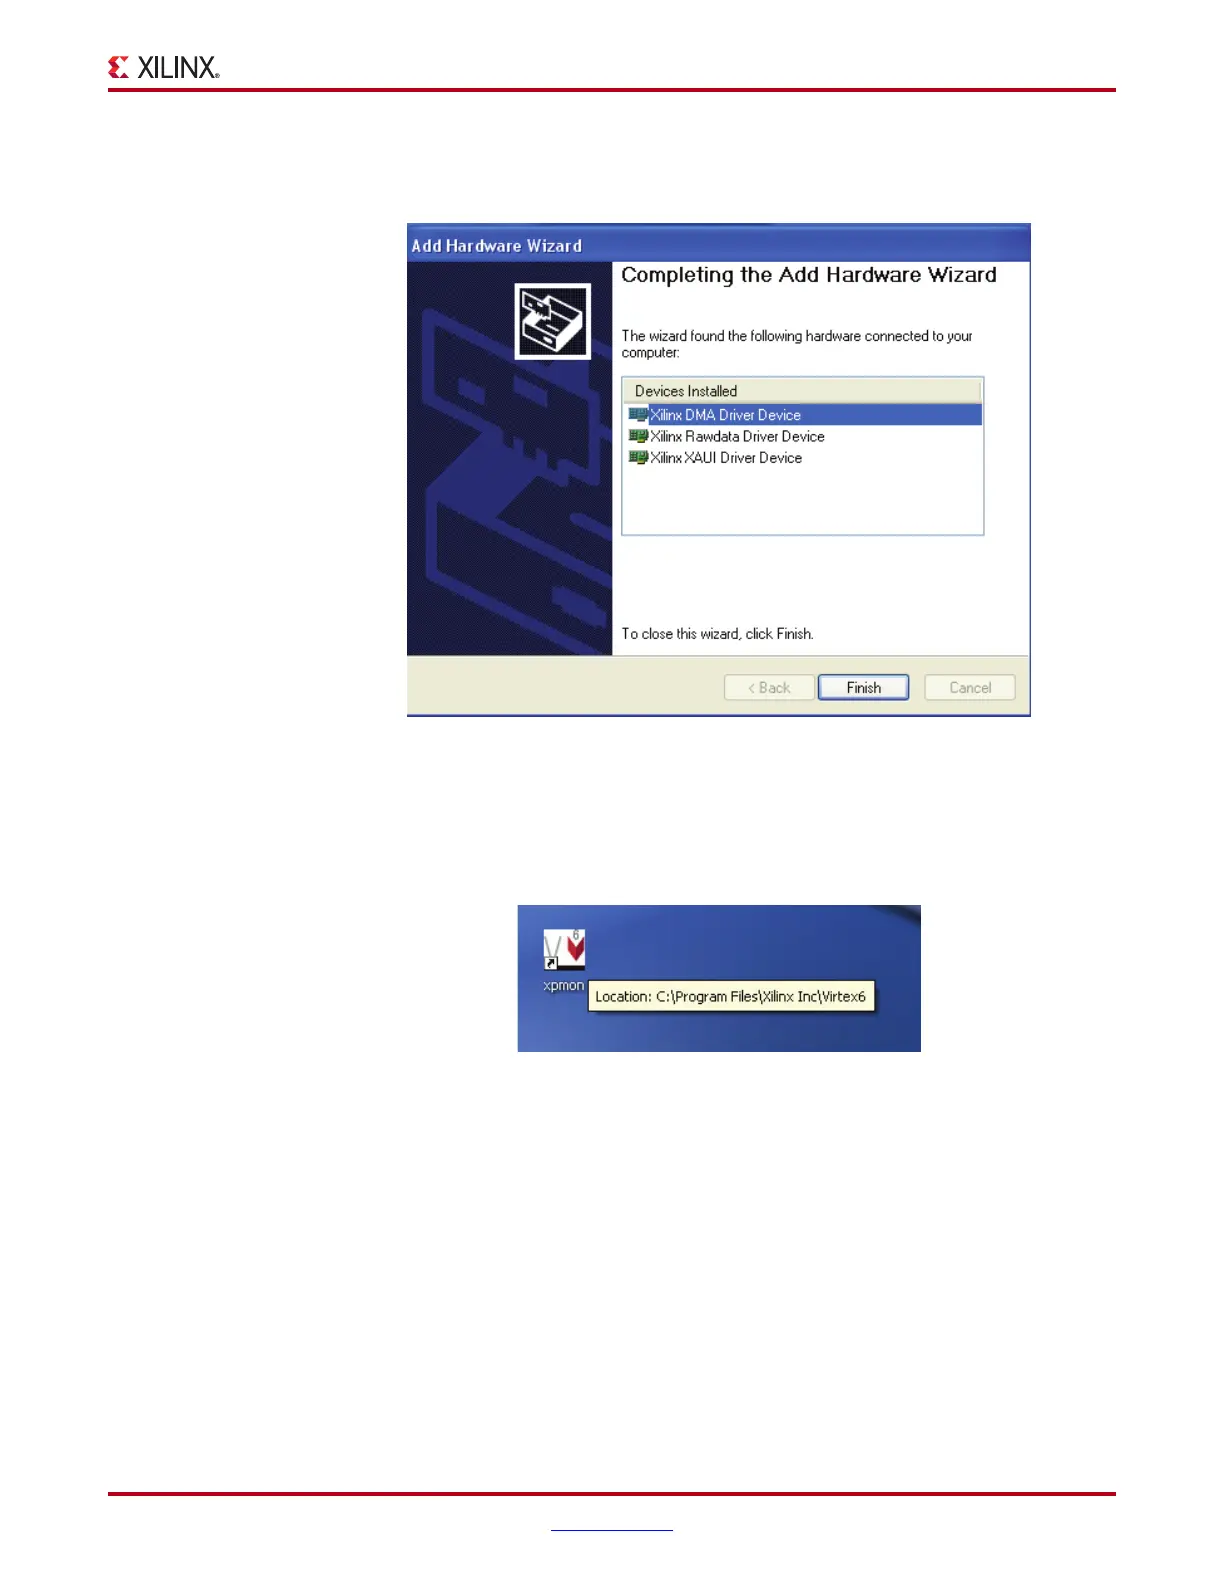
All the drivers required to run the Virtex-6 FPGA Connectivity TRD are found. Click
Finish to exit the Add Hardware Wizard (Figure 50).
7. Launch GUI:
Double-click on the xpmon icon available on the desktop to launch the Performance
Monitor application.
8. Follow step 16, page 30 through step 18, page 32 in Hardware Demonstration Setup
Instructions to completely verify the modified settings.
9. Follow step 1, page 33 through step 4, page 36 in Evaluating the Virtex-6 FPGA
Connectivity TRD to evaluate the performance for the modified design.
10. Click System Status to review:
a. PCIe link status, Vendor ID, and Device ID information.
b. The vendor ID displayed on this screen should be equal to 19AA, corresponding to
the hardware change that was performed.
X-Ref Target - Figure 50
Figure 50: All Virtex-6 FPGA Connectivity TRD Drivers are Installed
X-Ref Target - Figure 51
Figure 51: Launch GUI
UG664_80_052011
UG664_81_052011
 Loading...