7-6
7
EDITING POINT DATA
7-3 Direct Teaching
7) Move the robot to the teaching position by hand.
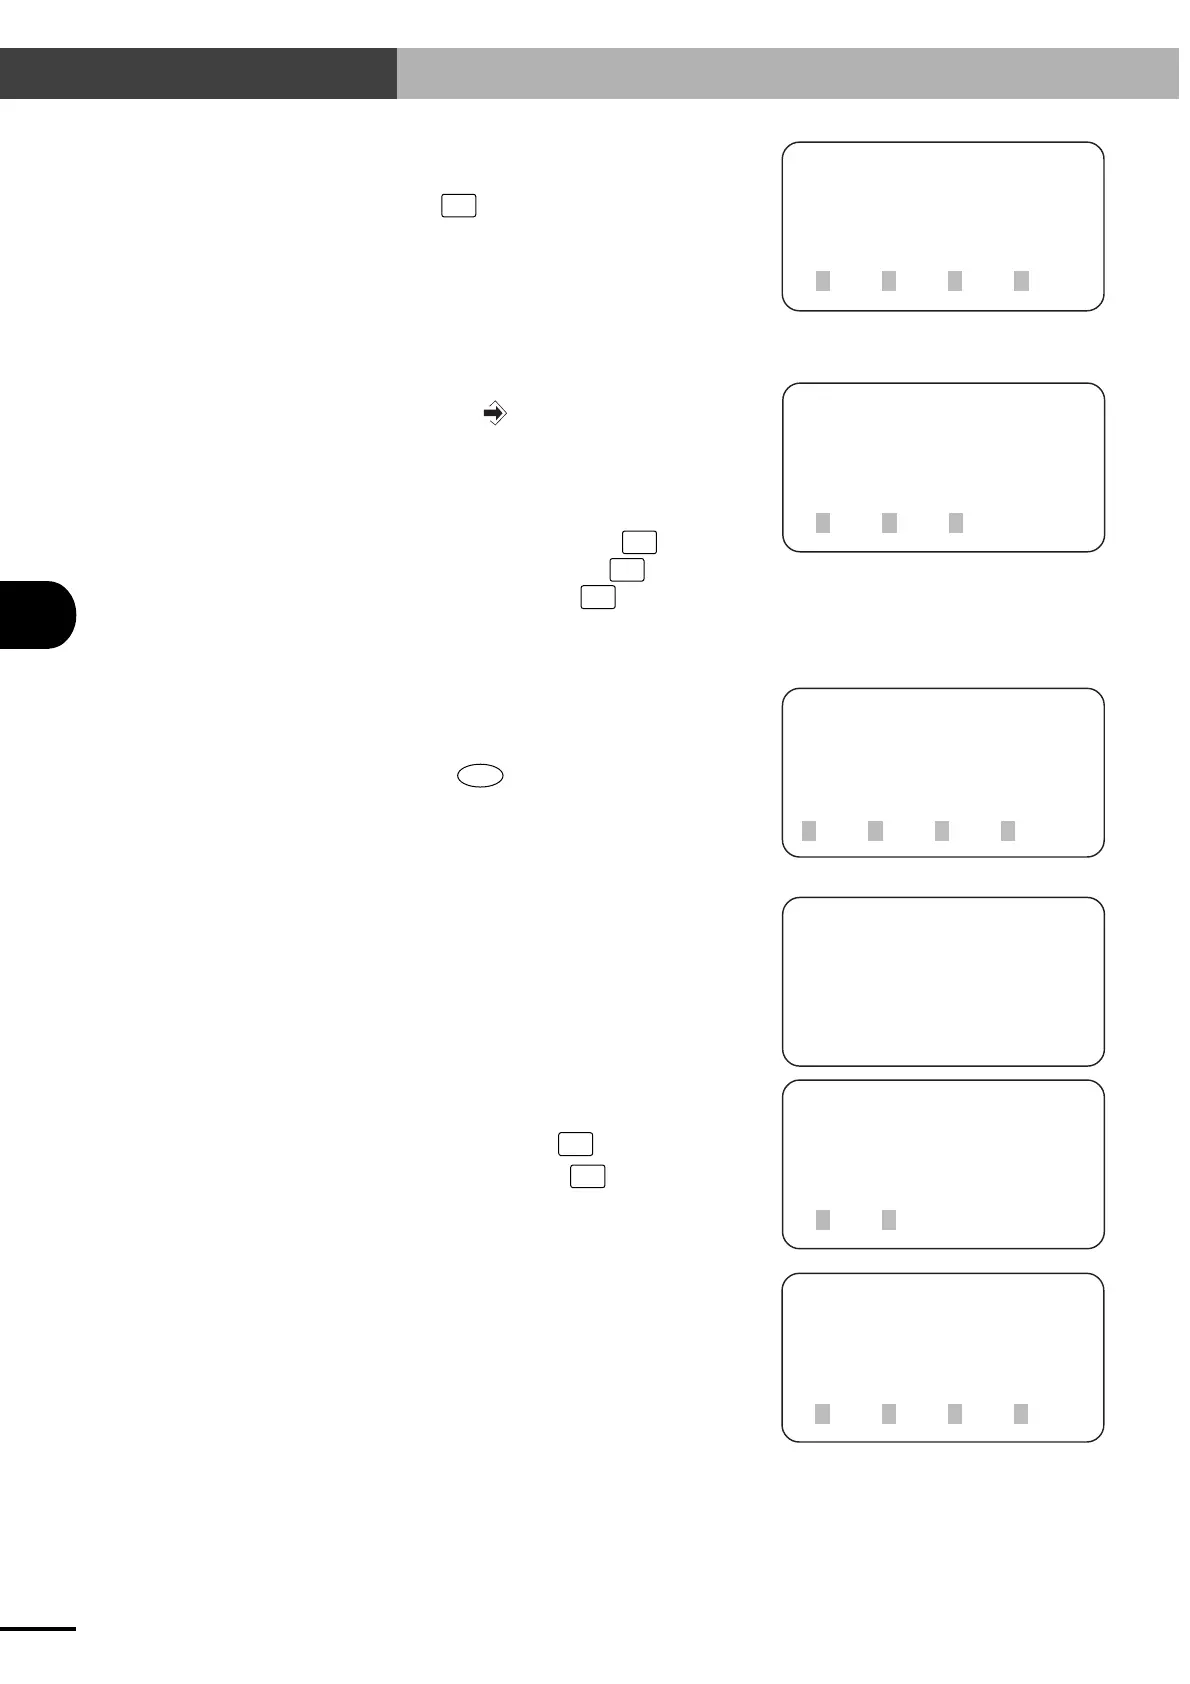
[EDIT-PNT-DTCH]
P500 X=19.27 [mm]
[ 0.00, 0.00]
1CHG 2DO 3Y 4next
[EDIT-PNT-DTCH]
servo on ready ?
1yes 2no
[EDIT-PNT]
select menu
1MDI 2TCH 3DTCH4DEL
[EDIT-PNT-DTCH]
release EMG.button
[EDIT-PNT-DTCH]
P500 X=19.27 [mm]
[ 167.24, -51.58]
1XY 2X 3Y
[EDIT-PNT-DTCH]
P500 X=167.24 [mm]
[ 167.24, -51.58]
1CHG 2DO 3Y 4next
To check the point data which is already regis-
tered, press
F3
(X (Y)) and change the axis
for point data display.
8) Move the robot to the teaching position in this
way and press the key. The current position
is input as point data.
When registering again the point which is al-
ready registered, the axis selection screen ap-
pears.
To register both X and Y axes, press
F1
(XY).
To register the X-axis only, press
F2
(X). To
register the Y-axis only, press
F3
(Y).
9) The screen will return to step 7, and the current
position will be input as the point data.
When all points have been edited in the same
way, press the
ESC
key.
10)Following the message, release the emergency
stop button on the TPB.
11)A confirmation message appears asking
whether to turn the servo on.
To turn the servo on, press
F1
(yes).
To leave the servo off, press
F2
(no).
12)The screen returns to step 3.
Artisan Technology Group - Quality Instrumentation ... Guaranteed | (888) 88-SOURCE | www.artisantg.com