9-4
Tiller handle
0
1
2
3
4
5
6
7
8
9
10
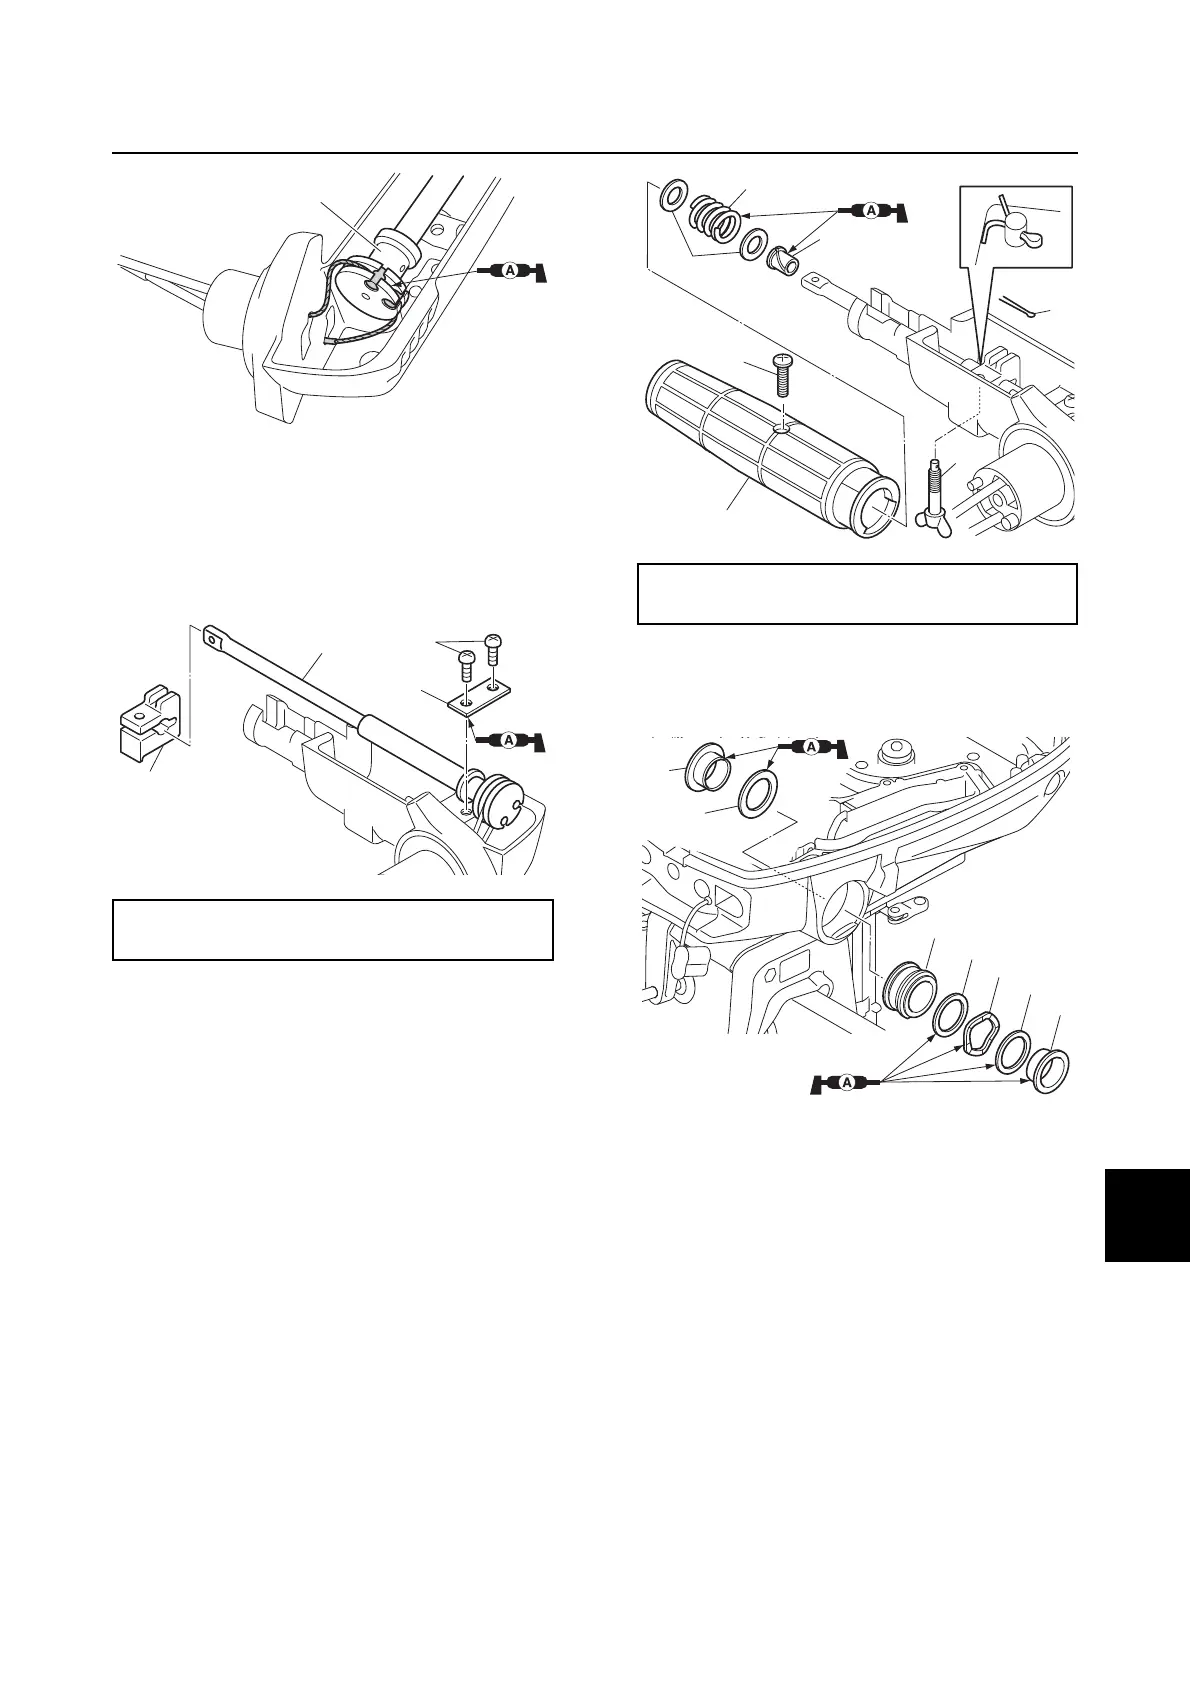
A
3. Install the friction piece d onto the
throttle rod c, and then install the plate
e.
4. Tighten the throttle rod screws f to the
specified torque.
5. Install the throttle friction adjuster g, and
then install a new cotter pin h.
NOTICE: Do not reuse a cotter pin,
always replace it with a new one.
6. Install the bushing i, washers j, spring
k, throttle grip l, and then tighten the
throttle grip screw m to the specified
torque.
7. Install the bushing n, and then install the
washers o, wave washer p, bushing q,
washer r, and bushing s.
8. Install the tiller handle assembly t and
plate u, and then tighten the tiller handle
mounting bolt v to the specified torque.
Throttle rod screw f:
4 N·m (0.4 kgf·m, 3.0 ft·lb)
Throttle grip screw m:
4 N·m (0.4 kgf·m, 3.0 ft·lb)
g
h
i
j
k
l
m