3. Tighten the axle nut and install a
new
cotter pin.
TIGHTENING TORQUE:
100
Nm
(10.0m
'kg,
72.3fHb)
4. Before tightening the axle holder nuts,
compress the front forks
several times
to
check for proper fork operation.
5.
Tighten the axle holder nuts.
TIGHTENING TORQUE:
10
Nm
(1.0 m
'kg,
7.2
ft
'Ib)
NOTE:
______________________
__
Always perform the following procedures
when
installing the front wheel shaft.
1. Finger-tighten the
axle holder nuts.
2.
Tighten the front wheel shaft.
3. Lock the motorcycle by the front brake
and
push/pull the front forks several
times by the handlebars,
so
that the
forks will move
smoothly.
4.
Tighten the axle holder nuts.
CAUTION:
First
tighten
the
nuts
on
the
upper
end
of
the
axle
holder,
then
tighten
the
nuts
on
the
bottom.
----------------
5-3
REAR WHEEL
A.
Removal
1. Remove the axle nut cotter pin and
the
axle nut.
2.
Place
the motorcycle
on
a suitable
stand.
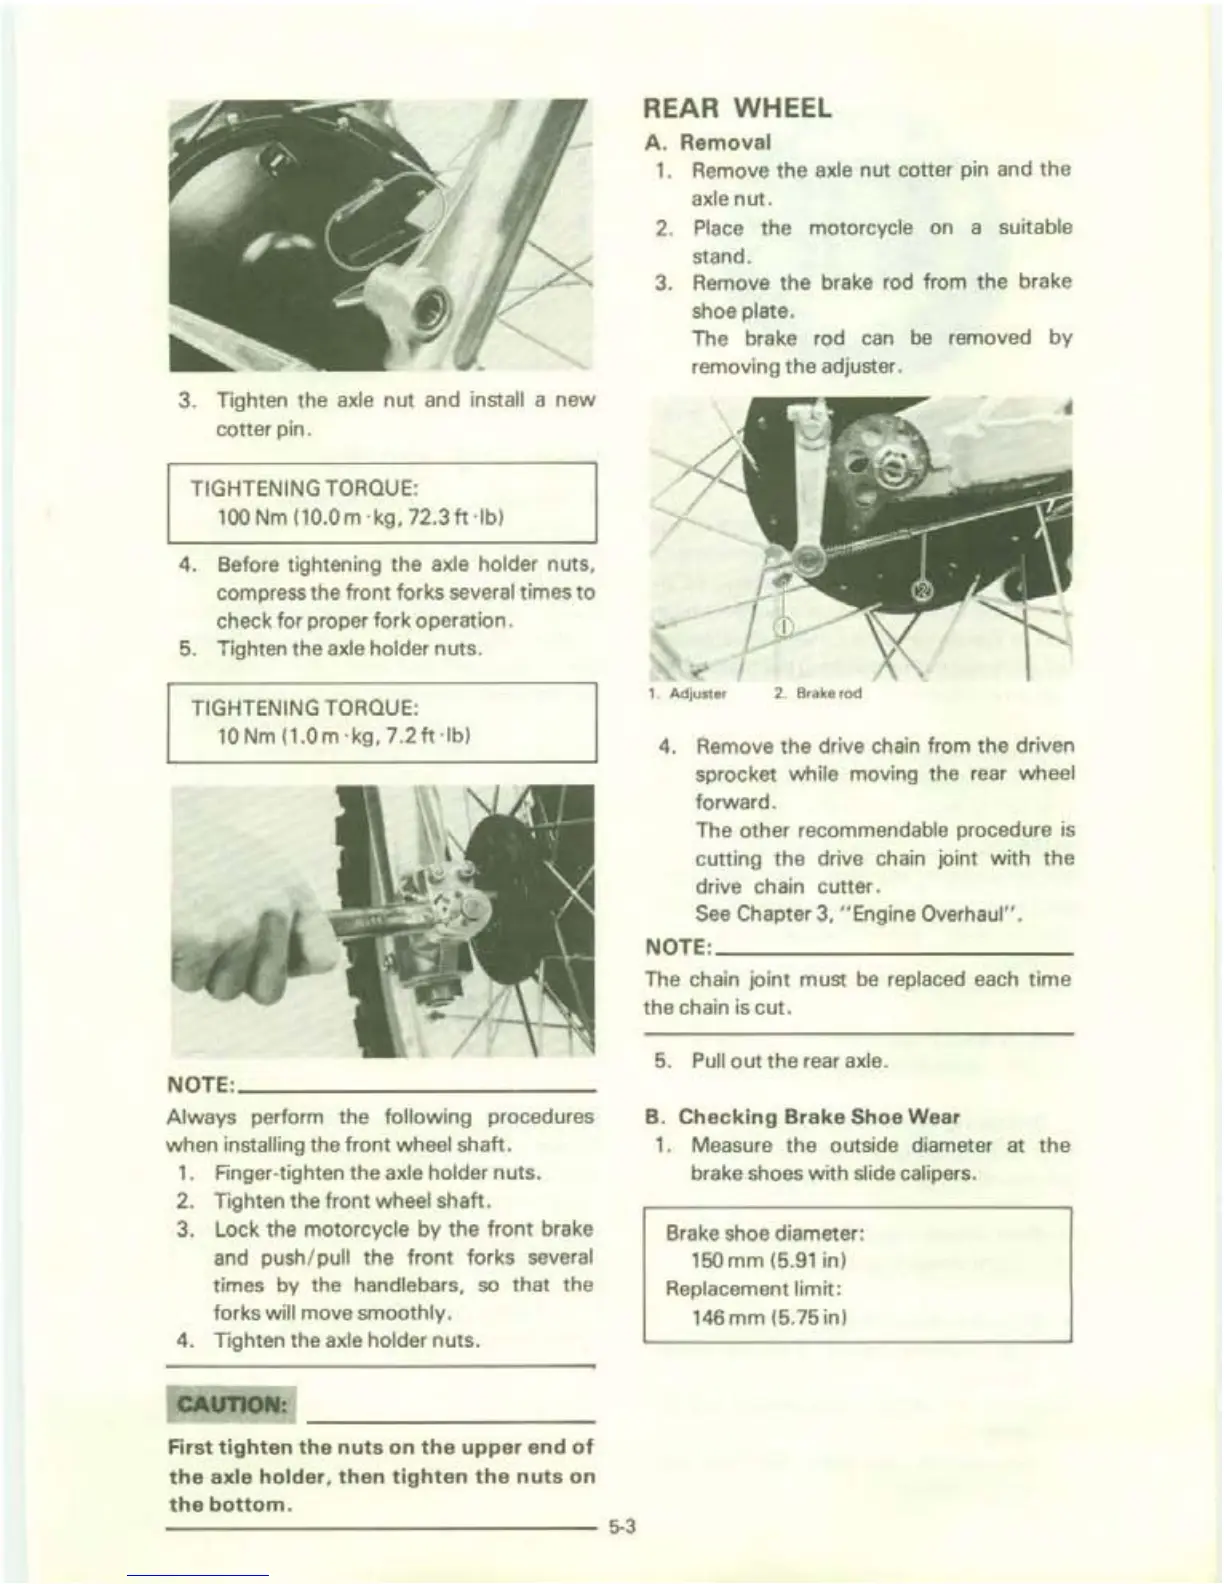
3.
Remove the brake rod from the brake
shoe
plate.
The brake rod
can
be
removed
by
removing
the
adjuster.
1. Adjuster
2. Brake rod
4. Remove the drive chain from the driven
sprocket
while moving the rear wheel
forward.
The other
recommendable procedure is
cutting the drive chain joint with
the
drive chain cutter.
See
Chapter 3, "Engine Overhaul".
NOTE:
____________
_
The chain joint must
be
replaced each
time
the chain is
cut
.
5.
Pull
out
the rear axle.
B.
Checking
Brake
Shoe Wear
1.
Measure the outside diameter at
the
brake shoes with slide calipers.
Brake shoe diameter:
150
mm
(5.91
in)
Replacement limit:
146
mm
(5.75 in)
 Loading...