ENGINE
Pistons and Cylinders
5-34 BY Service Manual
© 2009 Yanmar Marine International
6. NOTICE: Pistons and wrist pins are matched.
NEVER mix parts. Insert the wrist pin and
install the second retaining ring.
Note: Install new piston rings with markings
facing up (Figure 5-54).
Figure 5-54
Figure 5-54
7. Install the piston rings using a piston ring
expander tool. The oil ring (Figure 5-55, (3))
has an expander spring underneath it
(Figure 5-55, (4)). Install the expander spring
end gap and oil ring end gap 180° apart.
Stagger all exposed ring gaps 120° from each
other with none in line with the wrist pin.
Figure 5-55
Figure 5-55
1 – Top Piston Ring
2 – Second Piston Ring
3 – Oil Ring
4 – Oil Ring Expander Spring
Install Piston and Connecting Rod
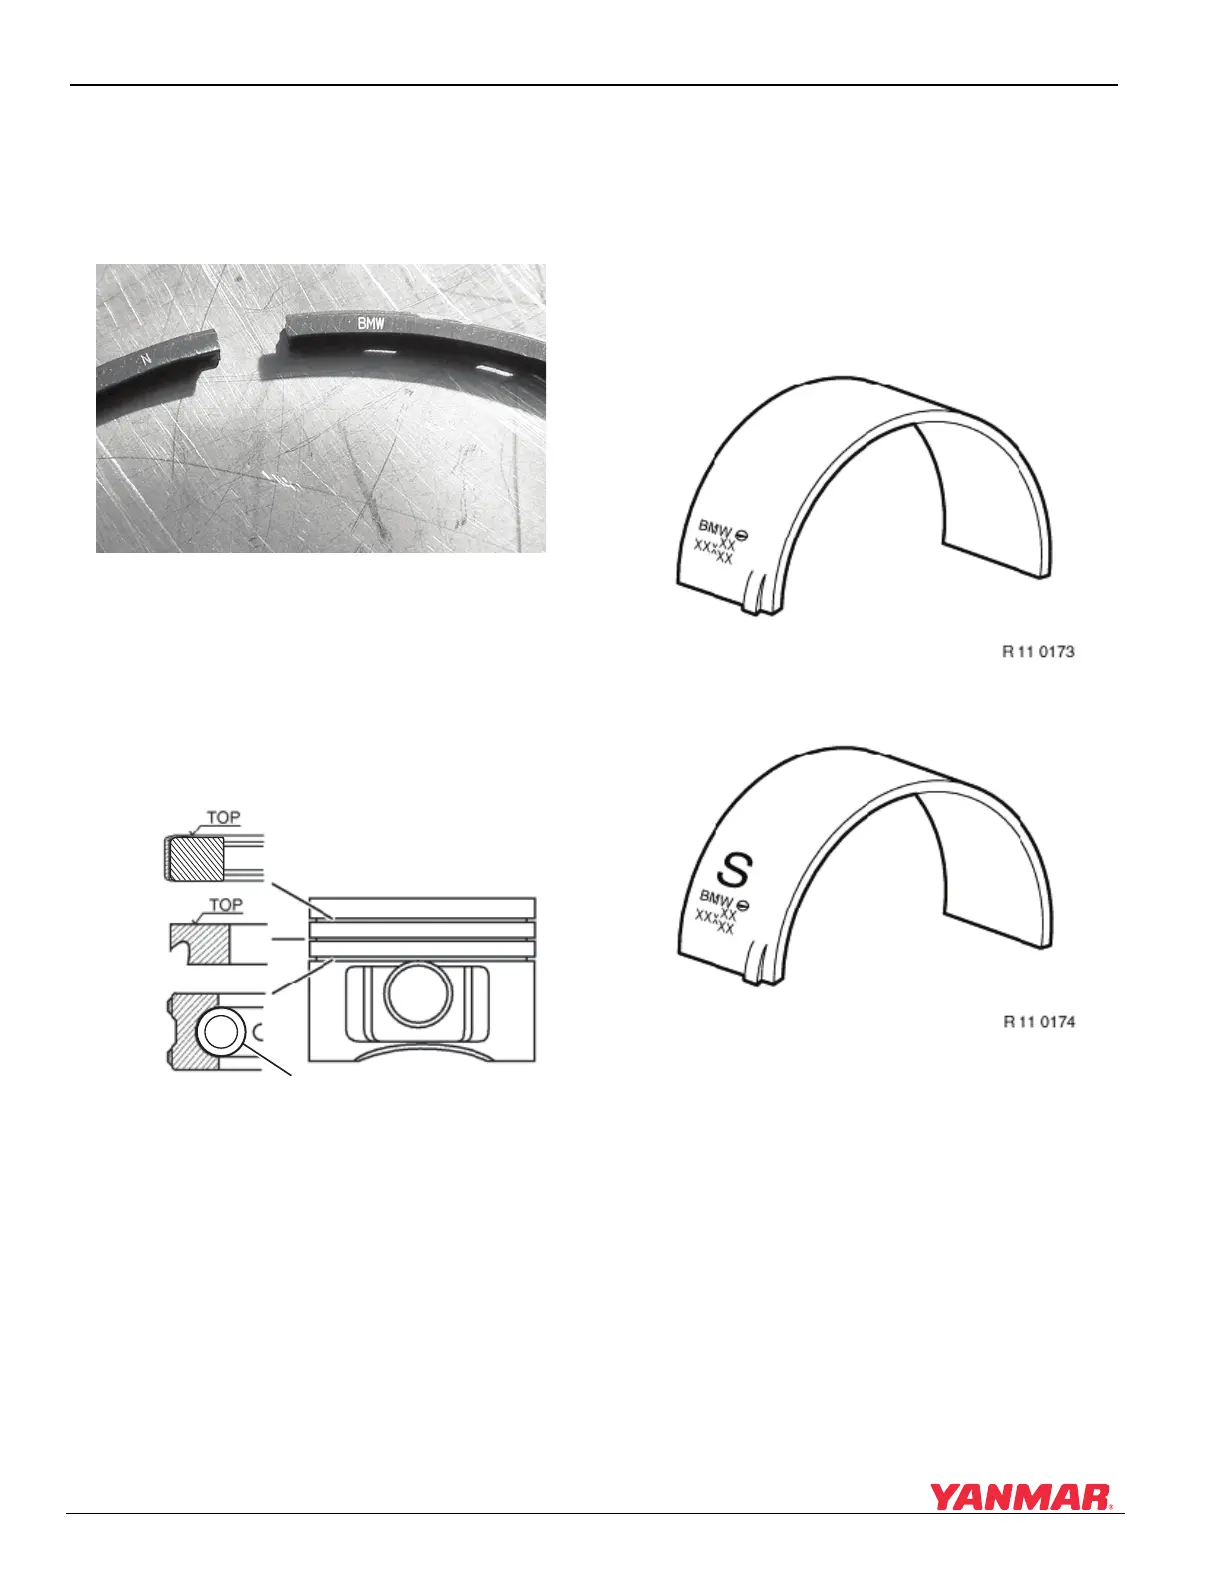
1. NOTICE: ALL parts that are being reused
MUST be installed in their original location and
orientation. Bearing inserts for the connecting
rod and rod cap are different. Install bearing
inserts having an “S” and blue dye
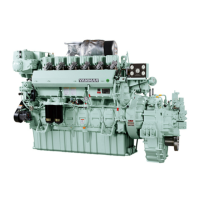
(Figure 5-57) in connecting rod. Install bearing
inserts having red dye (Figure 5-56) in rod cap.
Figure 5-56
Figure 5-56
Figure 5-57
Figure 5-57
2. Install one blue-marked bearing insert in each
connecting rod and one red-marked insert in
each rod cap. NOTICE: Ensure the bearing
inserts, and connecting rod and cap mounting
surfaces are absolutely clean and oil-free.
3. Rotate the crankshaft so the journal for the
piston being installed is near BDC.
4. Apply a light coat of clean engine oil to the
bearing insert.
0003830
(4)
(1)
(2)
(3)