4-1
165559-1CD
HW1481993
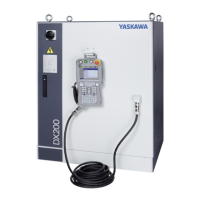
DX200 Standard Setup
4 EAXA21 Boot Setup
4 EAXA21 Boot Setup
Prepare the following item for EAXA21 boot setup operation.
• Boot board (JAPMC-BT2004)
1. With the DX200 main power supply OFF, remove EAXA21 board from
the DX200 and connect the boot board with EAXA21 board connector.
2. Mount the boot board on the EAXA21 board, and turn ON the DX200
power supply. The boot write-in starts. After approx. 30 seconds, boot
write-in is completed and the EAXA21 board LED indicator starts
blinking.
3. Turn OFF the DX200 power supply, and remove the boot board from
the EAXA21 board.
4. Turn ON the DX200 power supply, and select {SYSTEM INFO} and
then {VERSION}. Confirm the version described in the Software
Modification Instructions and the version on the VERSION window are
the same.
Inserted
EAXA21
Boot board (JAPMC-BT2004)
LED
Check that the switch is ON.
Insert
 Loading...


