10 Drive Start-Up Procedure
YASKAWA TOEPC7106170VA GA800 600 V Drive Installation & Primary Operation 41
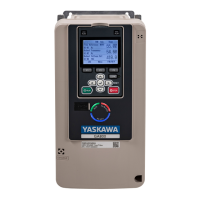
1. Push in on the tabs on the both sides of the LED status ring board to release the board from the bracket. Pull
the board forward to remove it.
NOTICE
When you remove the LED Status Board from the drive bracket, make sure that you temporarily install it
in the holding position provided on the drive. If you cause damage to the LED status ring board, the LEDs will not function
correctly.
Note:
You can temporarily store the LED status ring board with the temporary placement holes on the drive. The location of the
temporary placement holes is different on different drive models.
A - Drive front
B - LED status ring board
C - Temporary placement holes
Figure 10.5 Remove the LED Status Ring Board
A - Drive front
B - LED status ring board
C - Temporary placement holes
Figure 10.6 Remove the LED Status Ring Board
A - Drive front
B - LED status ring board
C - Temporary placement holes
Figure 10.7 Remove the LED Status Ring Board
 Loading...

