User Guide for the SIP-T19(P) E2 IP Phone
16
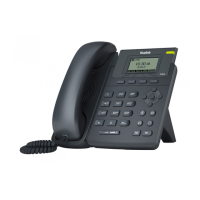
2. Press or to select IPv4, IPv6 or IPv4 & IPv6 from the IP Mode field.
3. Press the Save soft key to accept the change or the Back soft key to cancel.
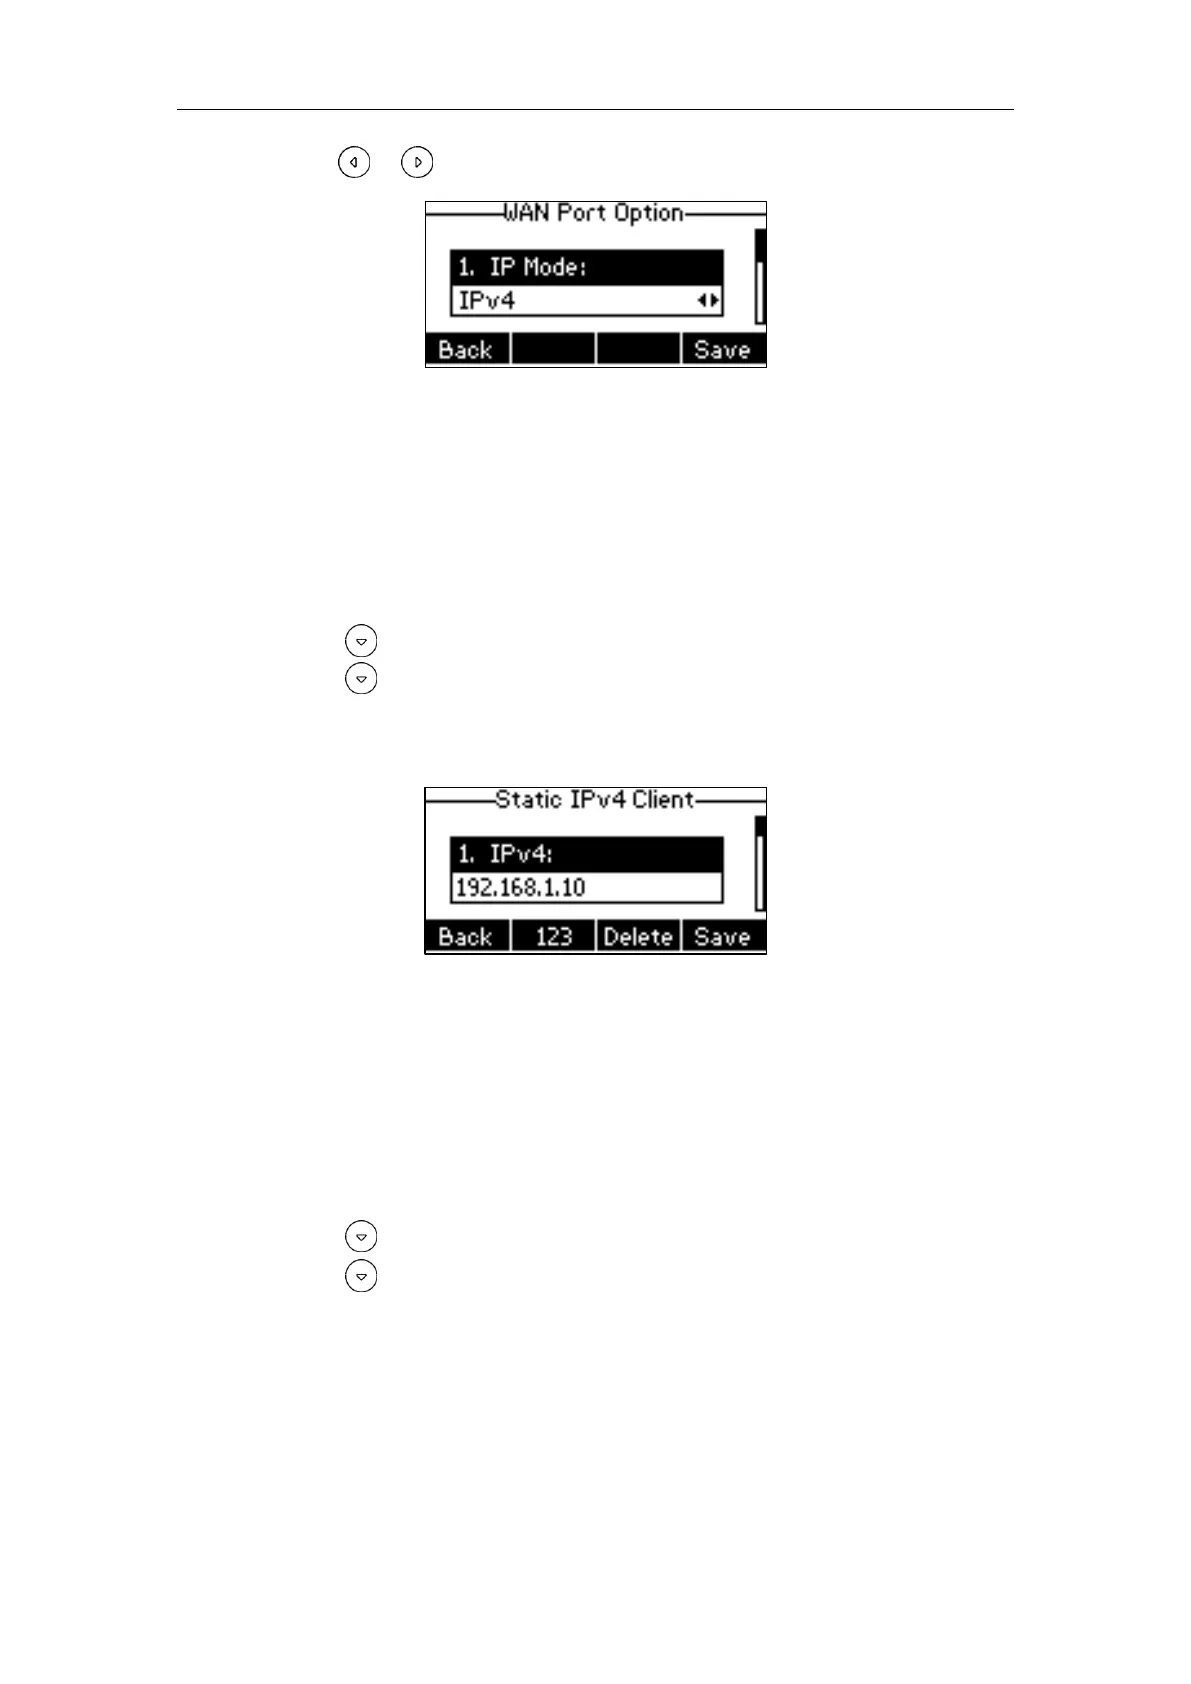
You can configure a static IPv4 address for the IP phone. Before configuring it, make sure
that the IP mode is configured as IPv4 or IPv4 & IPv6.
To configure a static IPv4 address via phone user interface:
1. Press Menu->Settings->Advanced Settings (default password: admin)
->Network->WAN Port.
2. Press to select the IPv4 and then press the Enter soft key.
3. Press to select Static IPv4 Client and then press the Enter soft key.
4. Enter the desired value in the IPv4, Subnet Mask, Default Gateway, IPv4 Pri.DNS
and IPv4 Sec.DNS field respectively.
5. Press the Save soft key to accept the change or the Back soft key to cancel.
You can configure a static IPv6 address for the IP phone. Before configuring it, make sure
that the IP mode is configured as IPv6 or IPv4 & IPv6.
To configure a static IPv6 address via phone user interface:
1. Press Menu->Settings->Advanced Settings (default password: admin)
->Network->WAN Port.
2. Press to select IPv6 and then press the Enter soft key.
3. Press to select Static IPv6 Client and then press the Enter soft key.
 Loading...