The Other YN-622C User Guide v.4.09
11/12/2014 Part 1 – The System Page 20 of 64
4. Check the Firmware
622C
When first released in 2012, there were two changes in the firmware. One (Sep. 2012) fixed a
transmitter mode problem when using 1D series bodies. The other a little later matched a hardware
change.
The firmware has been stable since then, and the 622C does not have a user-upgrade facility, so
future upgrades are unlikely.
C-TX
Firmware in the C-TX can be updated by the user. Ensure that the unit’s Firmware is the latest
version.
• A computer-to-USB 2.0 Mini-B cable (e.g.Canon USB cable) is required.
• A Windows computer platform is required.
• See page 43 for full details for downloading and installing firmware updates.
Version History
1.00 Pre-release version.
1.01 01/07/14 First commercial release built in. Upgrade required only for pre-release testers.
1.02 11/07/14 Added YN560-TX proxy mode. Improved stability.
1.03 12/07/04 Made backlight/setting time longer. Changed Updater display to UP.
1.04 18/08/14 Improved stability and transmission range.
1.05 Fixed 7D HSS problem, and fixed 7D II E-TTL compatibility.
1.06 03/12/14 Improved power supply on some circuit boards. Corrected display errors.
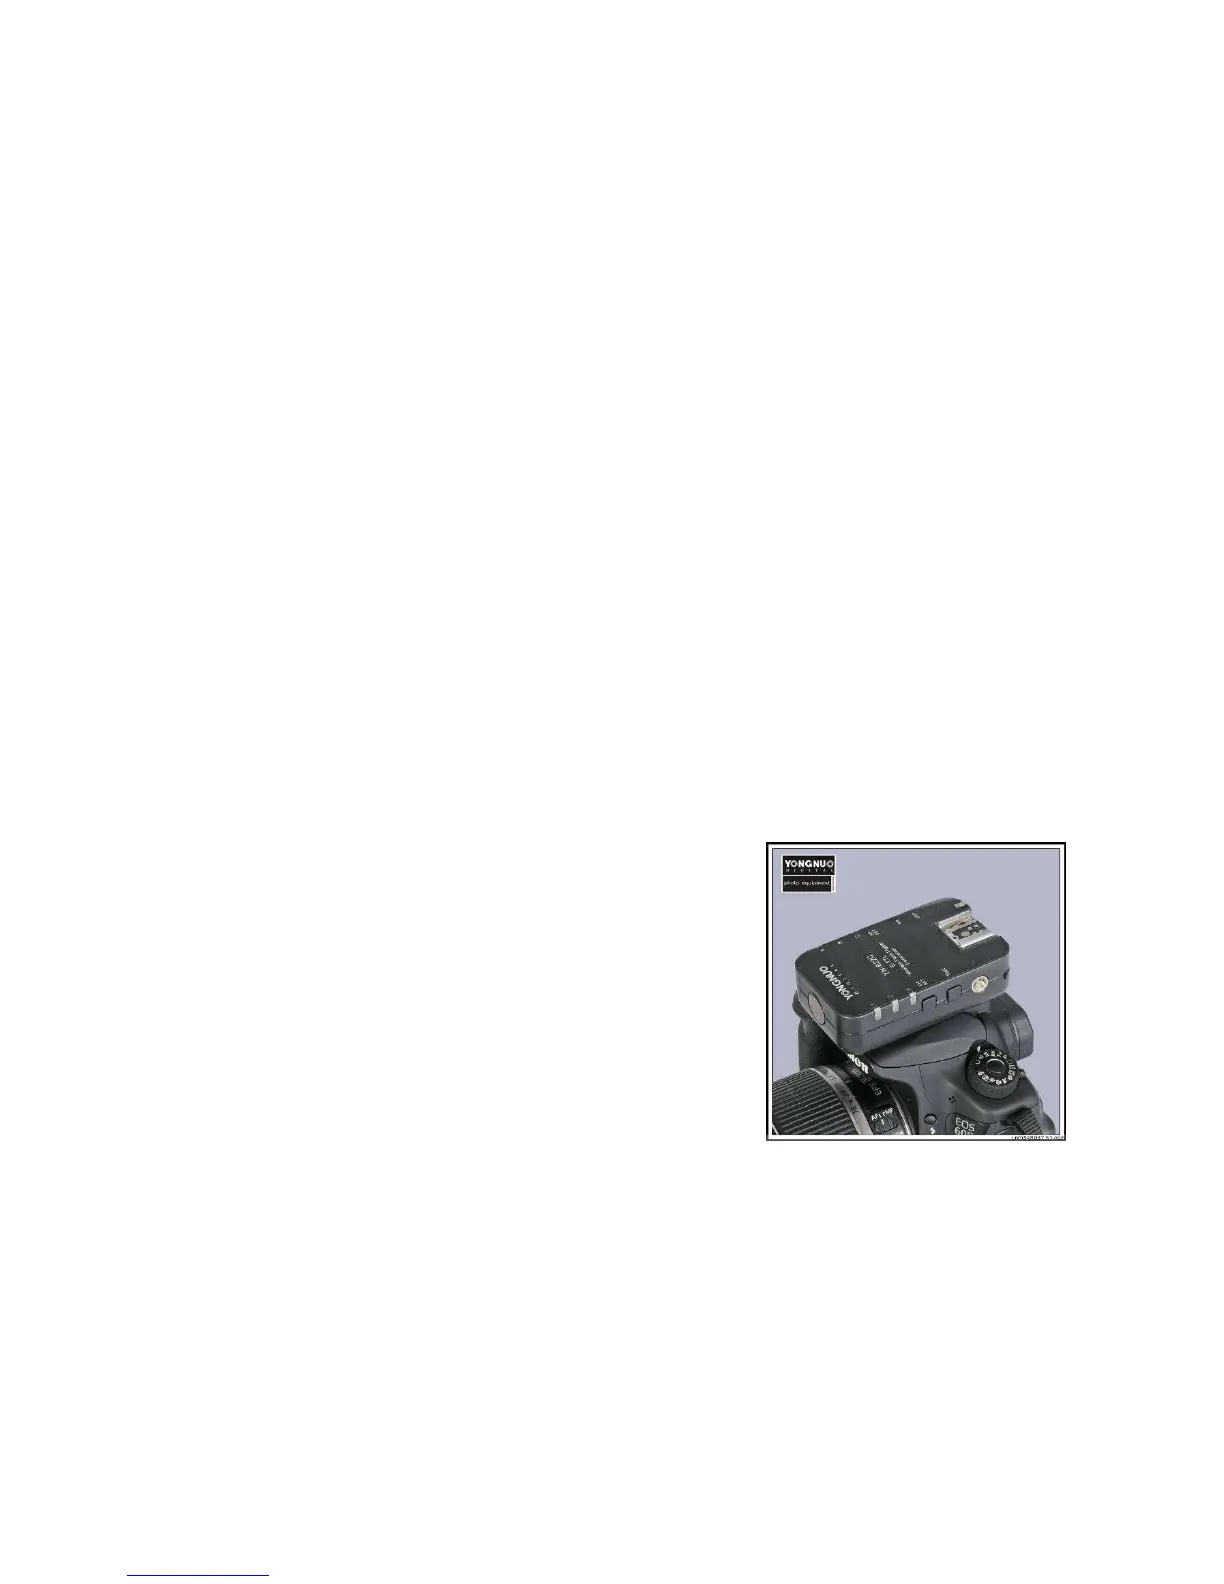
5. Instal a 622C Transmitter or C-TX Controller
• Turn back the hot-foot’s locking ring up to the case to
fully withdraw the locating pin.
• Mount the unit in the camera’s hot-shoe. Use the thumb
to press the foot firmly forward.
• Clamp the locking ring onto the hot-shoe. The locating
pin will engage.
• Turn on camera and transmitter/controller.
• If the unit is a 622C Transmitter, press half-shutter or
open External Flash menus to activate.
 Loading...