The Other YN-622C User Guide v.4.09
11/12/2014
Part II – 622C Transceivers Page 53 of 64
Using class 4 augmenting flashes
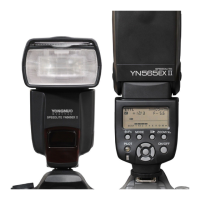
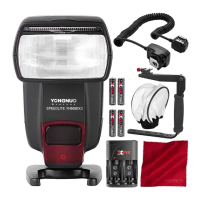
Instead of using Class 1 flashes on stands, use Class 4 flashes like the YN-560. The maximum
sync speed may be 1/250s
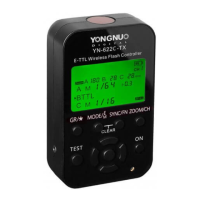
622C Transmitter C-TX Controller
• On camera: Set Flash mode to E-TTL.
• On transmitter: Set to Remote mode. • On C-TX: Set group A’s Flash Mode to
TTL.
• On-TX flash: Mount a class 1, 2 or 3 Flash for Main in E-TTL.
• On stands: Mount class 4 Flashes and set on-flash to a Manual output level.
Manual control of Four Independent Augmenting Zones (Victor S, VA, technique)
This scenario provides for four corner flashes on stands, each remotely controllable, with an on-
camera flash as Main/Fill.
• It requires a Type A camera, Class 1 flashes, a 622C transmitter and a C-TX controller,
plus a sync cable.
Function Item Settings Comments
Type A camera Flash Mode Manual
Wireless = Enabled
Master Flash = Enabled
Ch 2, Gp B Gp B sets the Zone 4 output.
C-TX Ch = 1
Gp A = M 1/x
Gp B = M 1/x
Gp C = M 1/x
Extended
Control
PC-sync cable 622C transmitter sync-
out port to
C-TX sync-in port
Tape C-TX to camera or a flash bracket.
Give as much clearance from camera and
flash as possible.
Zone 1
622C and Flash
Ch 2
Gp B
Level from camera menu Gp B
Change Channel to 3 for Off
• The range of the C-TX may be too short for control in a larger space.
• PC-sync cables are notoriously unreliable – buy a high-quality one!
• Take care using faster shutter speeds. The 622C issues the Fire! signal when the shutter
has opened, and the C-TX must wake up and send instructions to the remote 622C. This
then awakens and instructs the flash to fire, possibly too late due to the propagation delay.
Augmented Ambient continued…
 Loading...