The Other YN-622C User Guide v.4.09
11/12/2014
Part II – 622C Transceivers Page 59 of 64
SERVICING
If a malfunction of a 622C is suspected, first check through this guide, and photographic forums. If
the problem remains, contact your supplier – they are responsible to YongNuo for providing
support. Or, email service@hkyongnuo.com.
AF-Assist Beam
The AF-Assist Beam sometimes needs re-alignment, and some have fixed the LED and cradle.
The vertical angle depends on how close to the subject the camera and 622C will be.
Hot-Foot
The hot-foot can work loose. This repair is simple, but has a high risk of losing parts during the
process.
Solder joints
There is little on the circuit board that is serviceable by even the skilled user, but connections
between it and external items like battery contacts or the pc-sync port can need re-soldering.
Opening C-TX case – don’t.
If you want to open the C-TX case, first decide that you will throw away the remains after your play.
Opening the 622C case
Opening the case voids your warranty. It may be worth risking the unit, depending on urgency,
skill, tools, etc. The next page show what is involved. It’s your risk.
The case can be opened by removing five #0 Philips head self-tapping screws. (One is under the
warranty sticker inside the battery compartment.) These screws are designed for a single insertion,
and removing them can cause damage to the screw posts. Be careful to not over-tighten on re-
insertion.
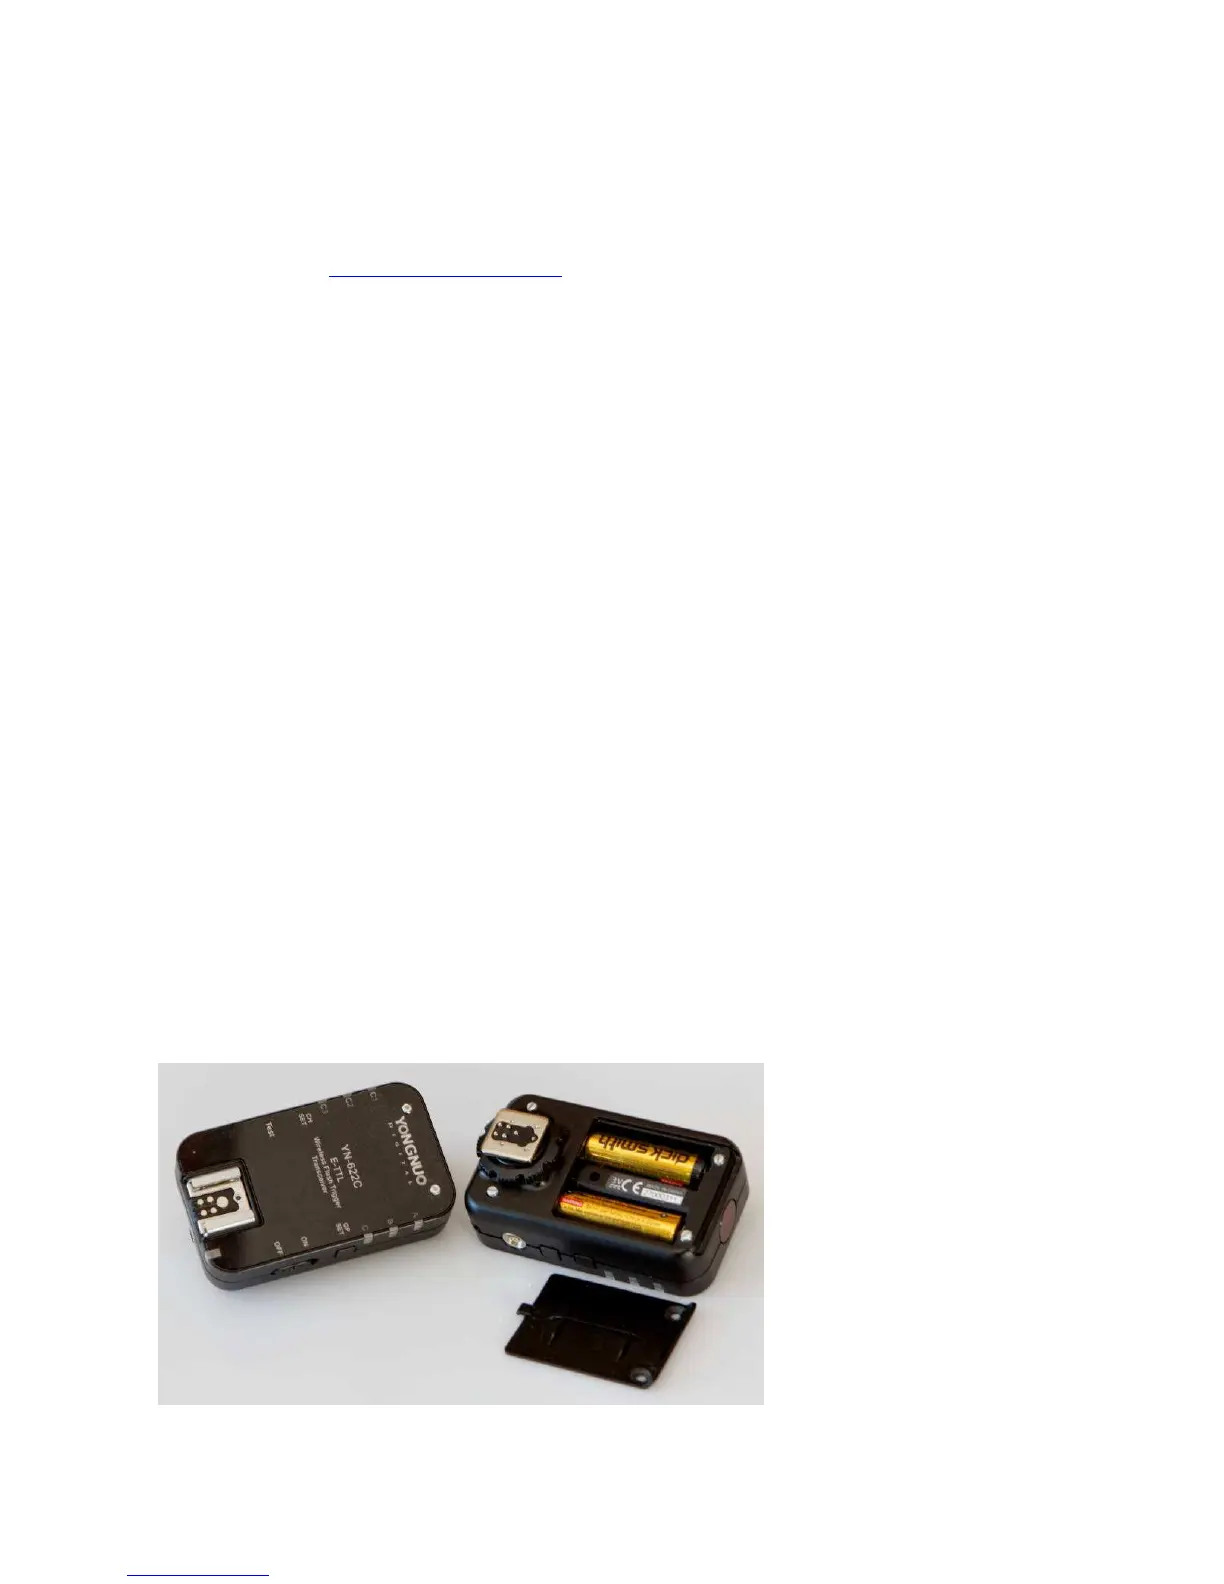
Case repair
Cases that pull apart can be repaired by using 1.6mm x 18mm (20mm cut down) machine screws
and nuts. The left case had two broken top screw posts; drilled right through including the hard
clear top, fixed with screws and nuts. The right case had the clamping posts broken, so four 2.0mm
x 20mm screw heads clamp on top, and the screws went into the original plastic posts after thread-
tapping them. The battery cover did not fit, so two holes were recessed, giving an extra locking to
the cover.

 Loading...