Replacing Parts
Replacing the Platen
40
980618-001 A Thermal Transfer G-Series
TM
Service Manual 8/27/08
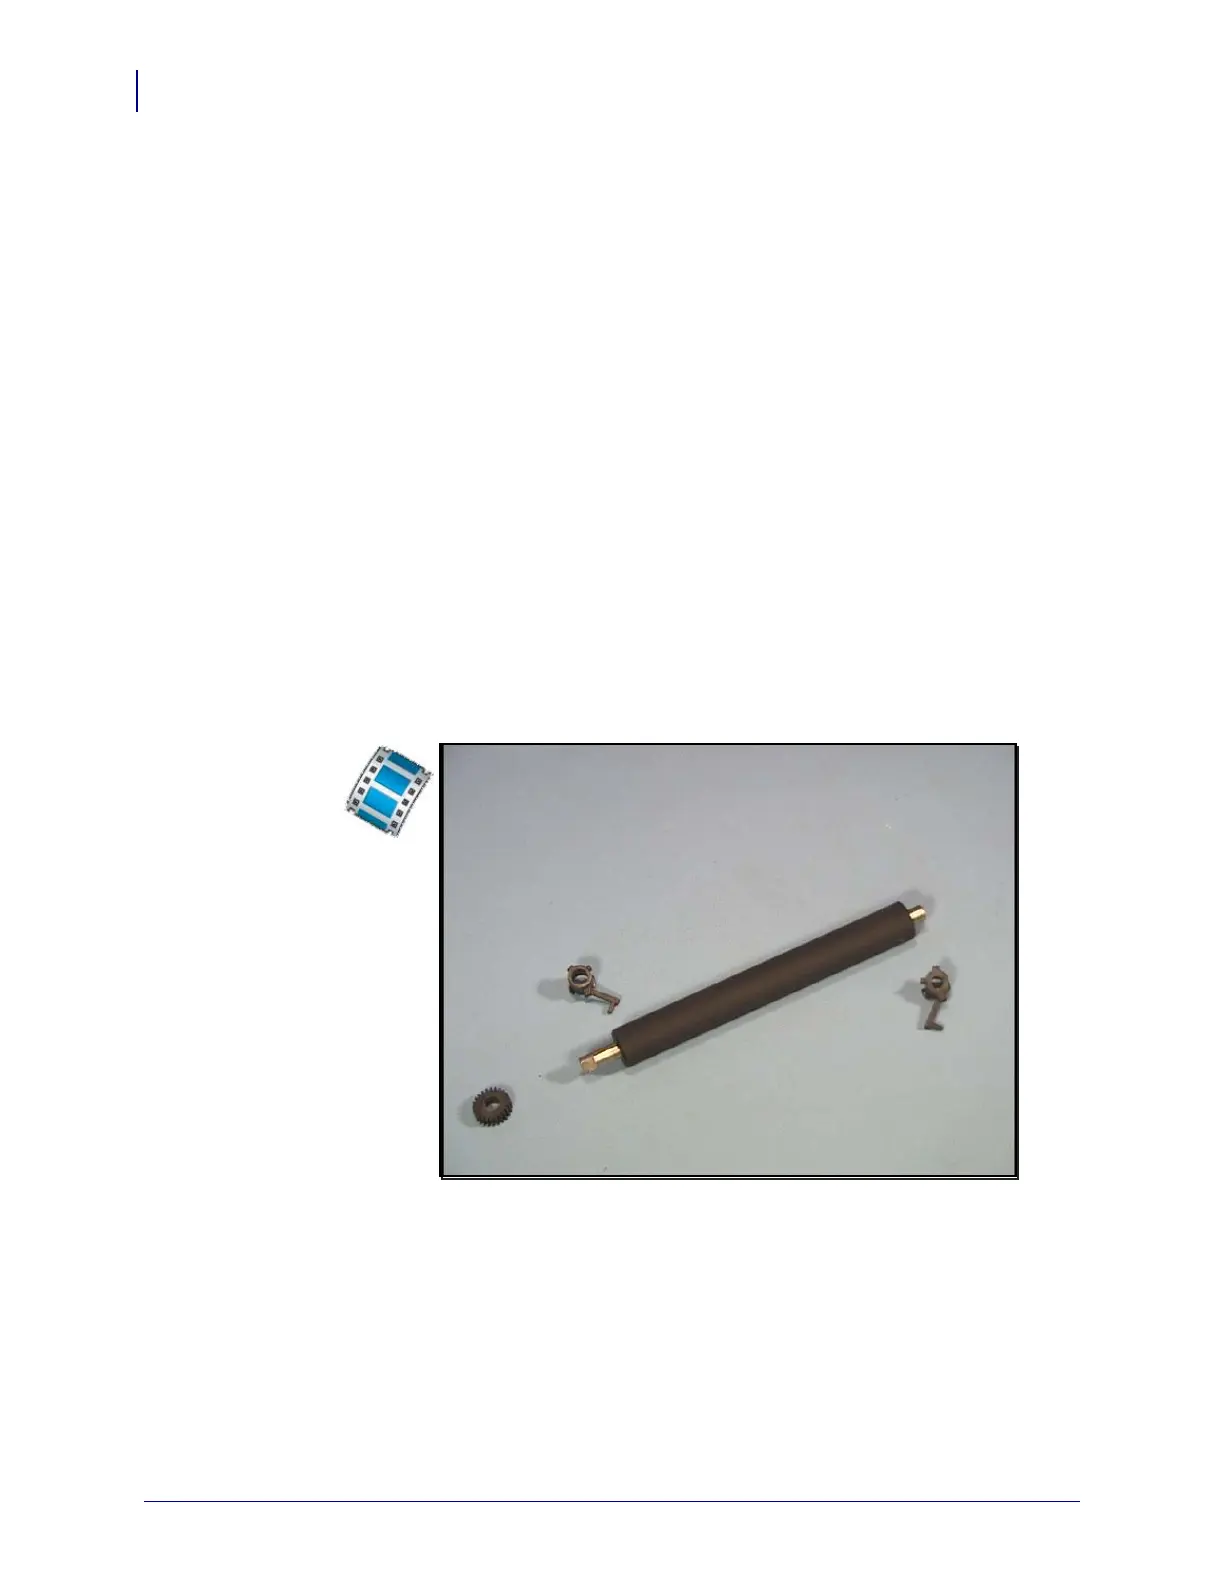
Replacing the Platen
Removal
Open the printer and remove any media.
1. Open the dispenser (peel) door if the dispenser option is installed.
2. Push the tabs on the right and left sides of the platen bearings out slightly to clear the lock
and then rotate them up.
3. Lift the platen out of the printer’s bottom frame.
Installation
1. Make sure the bearings are oriented correctly on the shaft of the platen and press the gear
on the platen shaft.
2. Align the platen with the gear to the left and lower it into the printer’s bottom frame.
3. Rotate the tabs back and snap them into place.
 Loading...