Replacing Parts
Replacing the Bottom Case and Back Panel
48
980618-001 A Thermal Transfer G-Series
TM
Service Manual 8/27/08
Replacing the Bottom Case and Back Panel
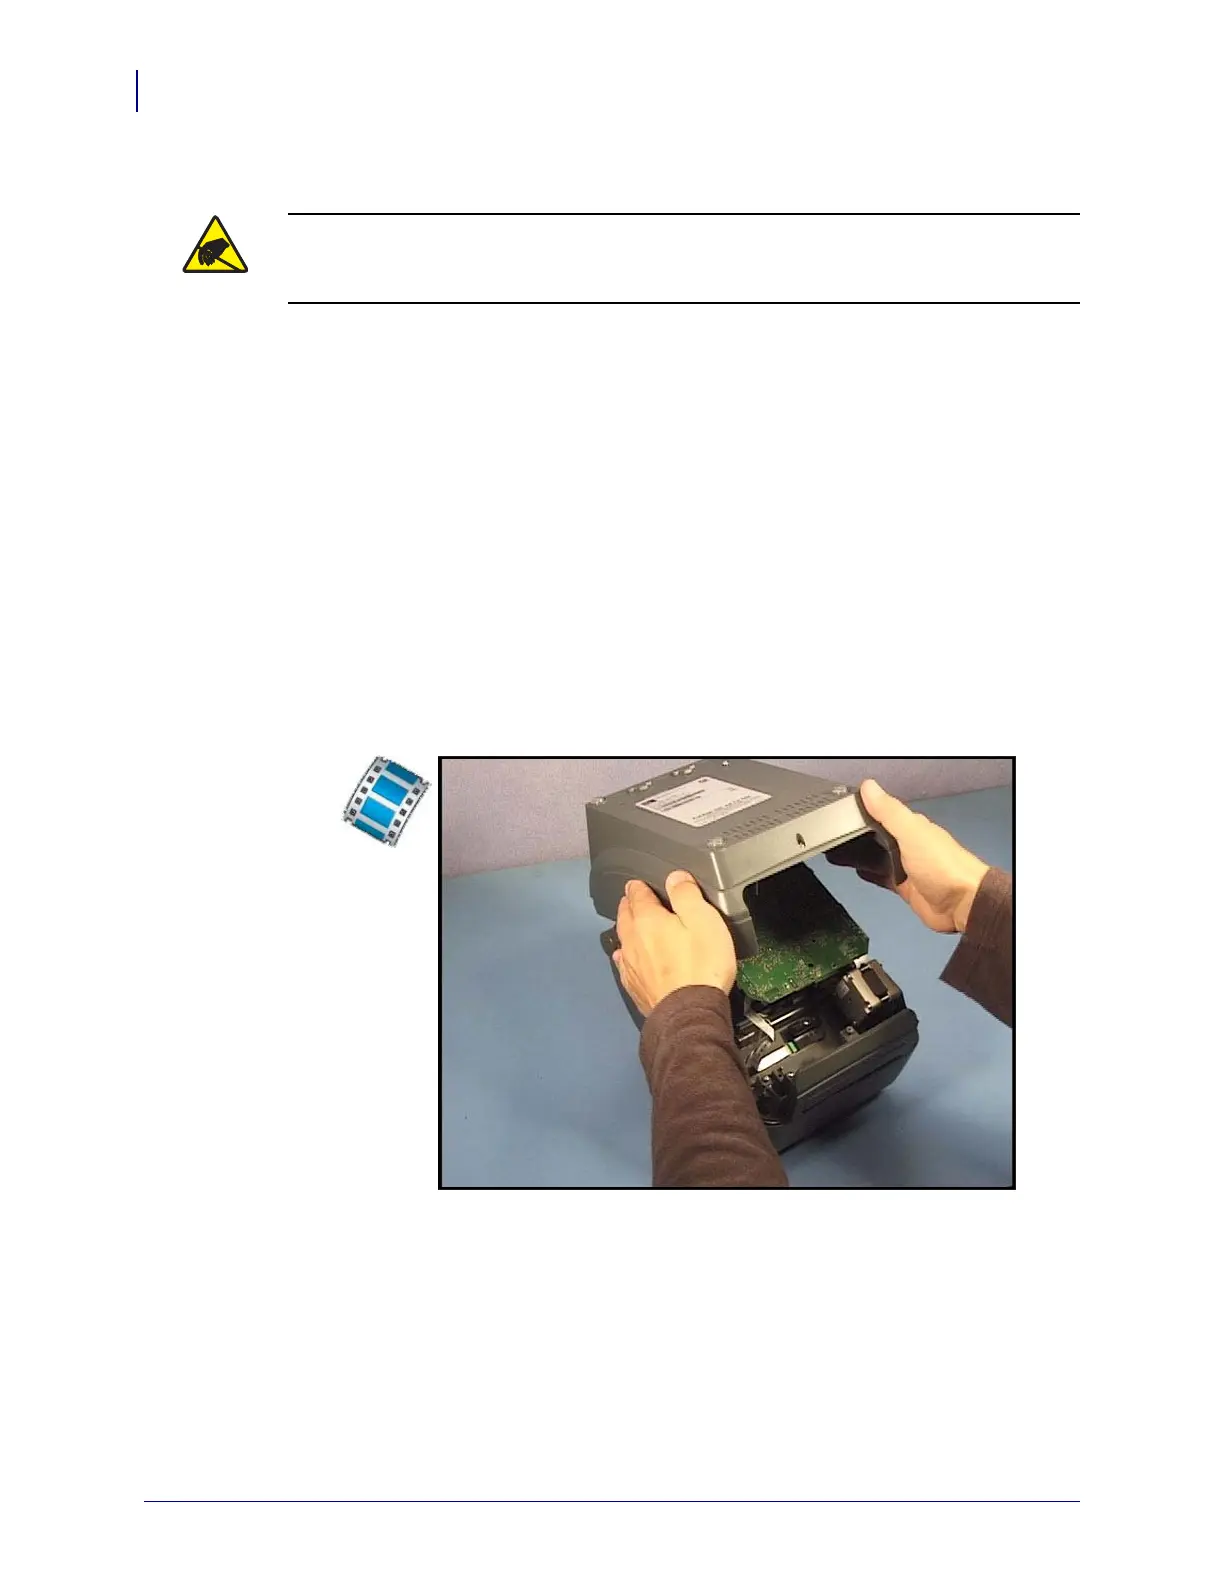
Removal
1. Turn the printer over. Use a #1 Phillips screwdriver to loosen the screws holding the
bottom case to the inner mechanism.
one screw at the front (under the media exit). For printers with the cutter option,
remove the two screws on the bottom of the cutter bezel (cover) and remove the cutter
bezel to access this single screw securing the front of the bottom cover.
two screws on the bottom (near the back)
two screws on the rear (near the hinges)
2. Lift the front of the bottom case away from the printer.
3. Remove the back panel from the bottom case. Gently release the two latches securing the
back panel to the bottom case with a small flat bladed screwdriver or a fingernail.
Caution • Prepare your work area by protecting against static discharge. Your work area
must be static-safe and include a properly grounded conductive cushioned mat to hold the
printer and a conductive wrist strap for yourself.
 Loading...