Replacing Parts
Replacing the Print Mechanism
70
980618-001 A Thermal Transfer G-Series
TM
Service Manual 8/27/08
Installation
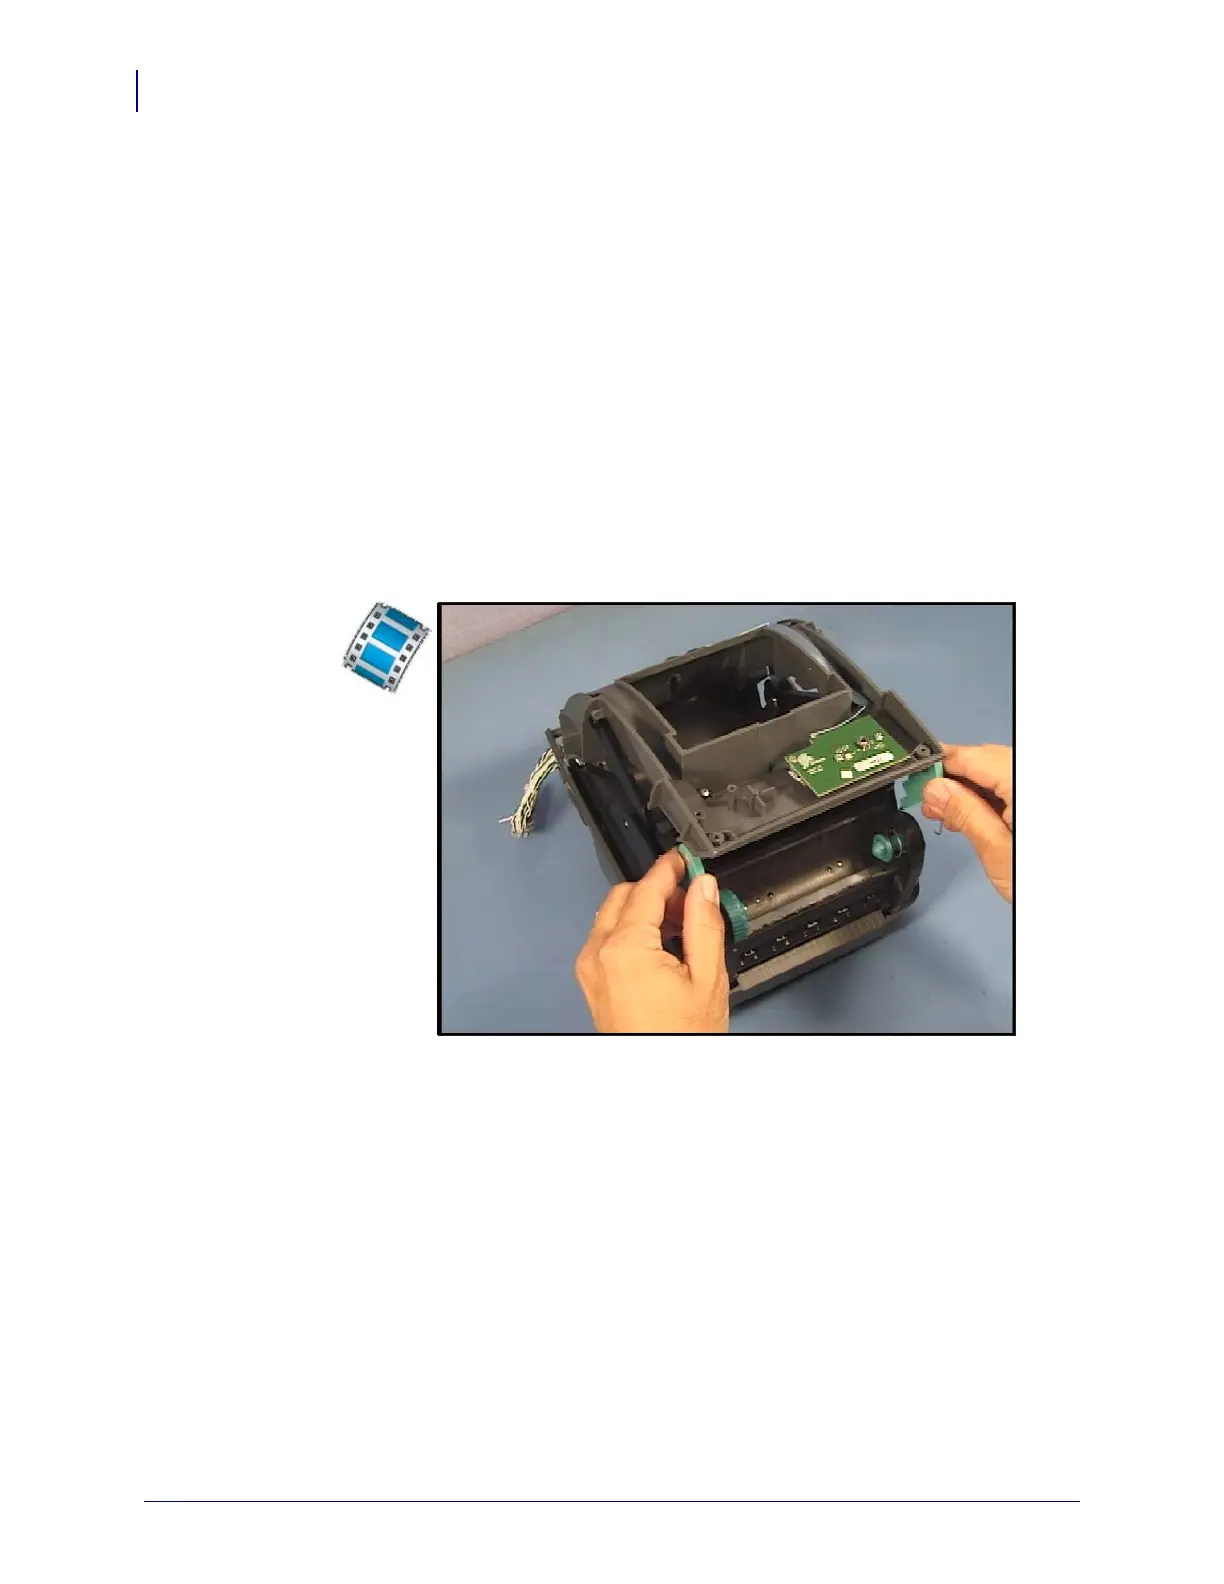
1. Install the ribbon carriage.
2. Install the top, inner frame. Lower the top, inner frame over the ribbon carriage; make sure
the flapper slides into its tracks on the ribbon carriage.
3. Attach the links on both the left and right sides of the top, inner frame to connect it to the
ribbon carriage.
4. Re-attach the hinges.
5. Secure the ribbon out sensor’s cable to the rib on the printer’s chassis.
6. Attach the printhead wire harness and ground wires to the side the print mechanism.
7. Install the Main Logic circuit board, bottom case and top case on the printer.
Clean the printhead.
Reload media. Plug in power, turn on the printer and print a status report to ensure proper
function.
 Loading...