Chapter 1 Getting To Know Your P-79X
P-79X Series User’s Guide
16
• Change the password. Use a password that’s not easy to guess and that consists of different
types of characters, such as numbers and letters.
• Write down the password and put it in a safe place.
• Back up the configuration (and make sure you know how to restore it). Restoring an earlier
working configuration may be useful if the device becomes unstable or even crashes. If you
forget your password, you will have to reset the P-79X to its factory default settings. If you
backed up an earlier configuration file, you would not have to totally re-configure the P-79X. You
could simply restore your last configuration.
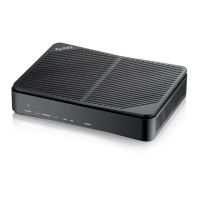
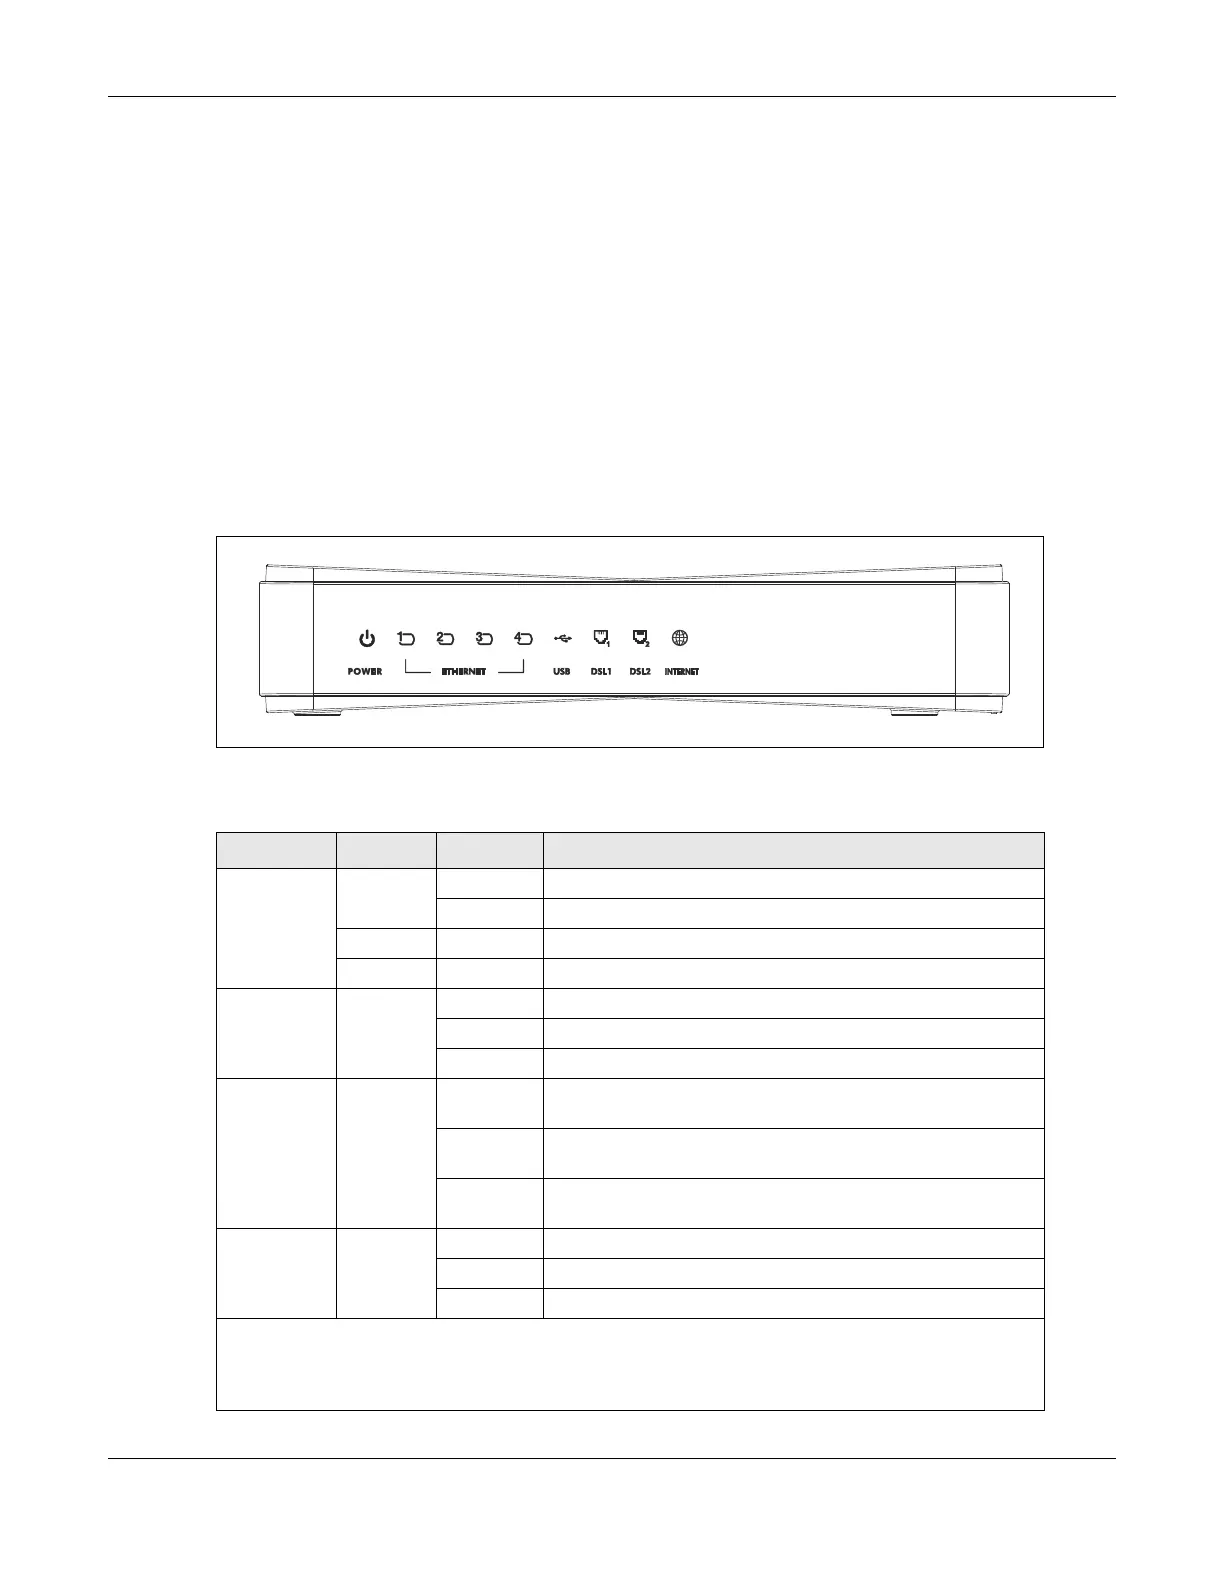
1.4 LEDs
The following figure shows the LEDs.
Figure 4 P-793H v3 LEDs
The following table describes the LEDs.
Table 2 P-793H v3 LEDs
LED COLOR STATUS DESCRIPTION
POWER Green On The P-793H v3 is receiving power and functioning properly.
Blinking The P-793H v3 is rebooting or performing diagnostics.
Red On Power to the P-793H v3 is too low.
Off The system is not ready or has malfunctioned.
ETHERNET
1~4
Green On This port has a successful Ethernet connection.
Blinking This port is sending/receiving data.
Off This port is not connected.
USB Green On The P-793H v3 recognizes a USB connection through the
USB slot.
Blinking The P-793H v3 is sending/receiving data to /from the USB
device connected to it.
Off The P-793H v3 does not detect a USB connection through
the USB slot.
DSL1/DSL2 Green On The DSL line is up.
Blinking The P-793H v3 is initializing the DSL line.
Off The DSL line is down.
Note: For Internet access setup or point-to-point connections, the DSL1 and DSL2 LEDs indicate the
status of a single connection (act as one LED). For point-to-2point connections, the DSL1 and
DSL2 LEDs indicate the status of connection 1 and connection 2 respectively.

 Loading...