Configuration & User Manual: 2N IP Intercoms and CCURE 9000
COPYRIGHT © 2022 2N Telekomunikace a.s. All rights reserved
Part 6 2N Intercoms Configuration
This chapter explains how to configure the 2N Intercoms in C•CURE 9000.
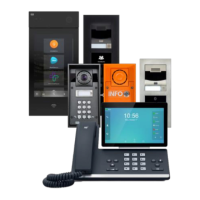
6.1 2N Intercoms Overview
The Intercom object represents a connection to the 2N Intercom. If intercoms are appropriately
configured, they may be auto-discovered on the network by the 2N Integration. Auto-discovery will
occur each time the driver is restarted. Any 2N intercoms discovered on the network will appear in the
first folder of the C•CURE Hardware tree (this is typically Company Name, but may be edited to re-
name).
Auto-discovery only supports the device name and IP address. Username, Password,
Authentication Type and DTMF Code fields will need to be additionally configured for
auto-discovered intercoms. Master stations do not support auto-discovery.
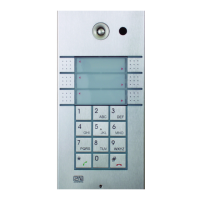
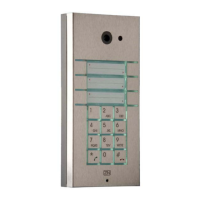
2N IP Intercoms as well as Master Stations must be configured prior to be used with the
CCure. Please see Appendix 1 of this document for more details.
6.2 2N Intercom Tabs
The 2N Intercom Server pane consists of two active tabs:
• General Tab
• Triggers
• State Images
6.3 Accessing the 2N Intercom Server Pane
This section explains how to access the 2N Intercom Server Pane.
6.3.1 To Access the 2N Intercoms Server Pane
• In the Hardware Pane of the Administration Workstation, select New, and create a 2N
Intercoms folder.
• Right click and select 2N Intercom from the context menu.