4. Use the 10-key pad to set the time and press
the
ENTER
key to return to normal. The
clock will start from “00” seconds.
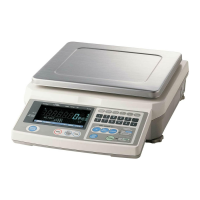
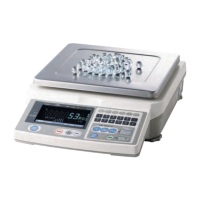
9. CALIBRATION
Calibration of the scale is required when it is initially installed, if it is moved often, or
it is moved a substantial distance. Calibration is also necessary in regular scale
maintenance due to normal mechanical wear-and-tear, changes in seasonal
temperature, humidity, air pressure, etc.
The scale is equipped with gravity compensation, which allows it to be calibrated in
one location and then adjusted to match the gravity acceleration at another location
where it will be used. But don’t worry about this, as far as you calibrate the scale
using a calibration weight and use it at same place.
The scale must perform "warm up" (with the AC adapter connected) for at least 30
minutes before starting calibration.
9-1. Calibration Procedure Using a Weight
The scale should have power connected at least one-half hour to warm it up before
starting the calibration procedure.
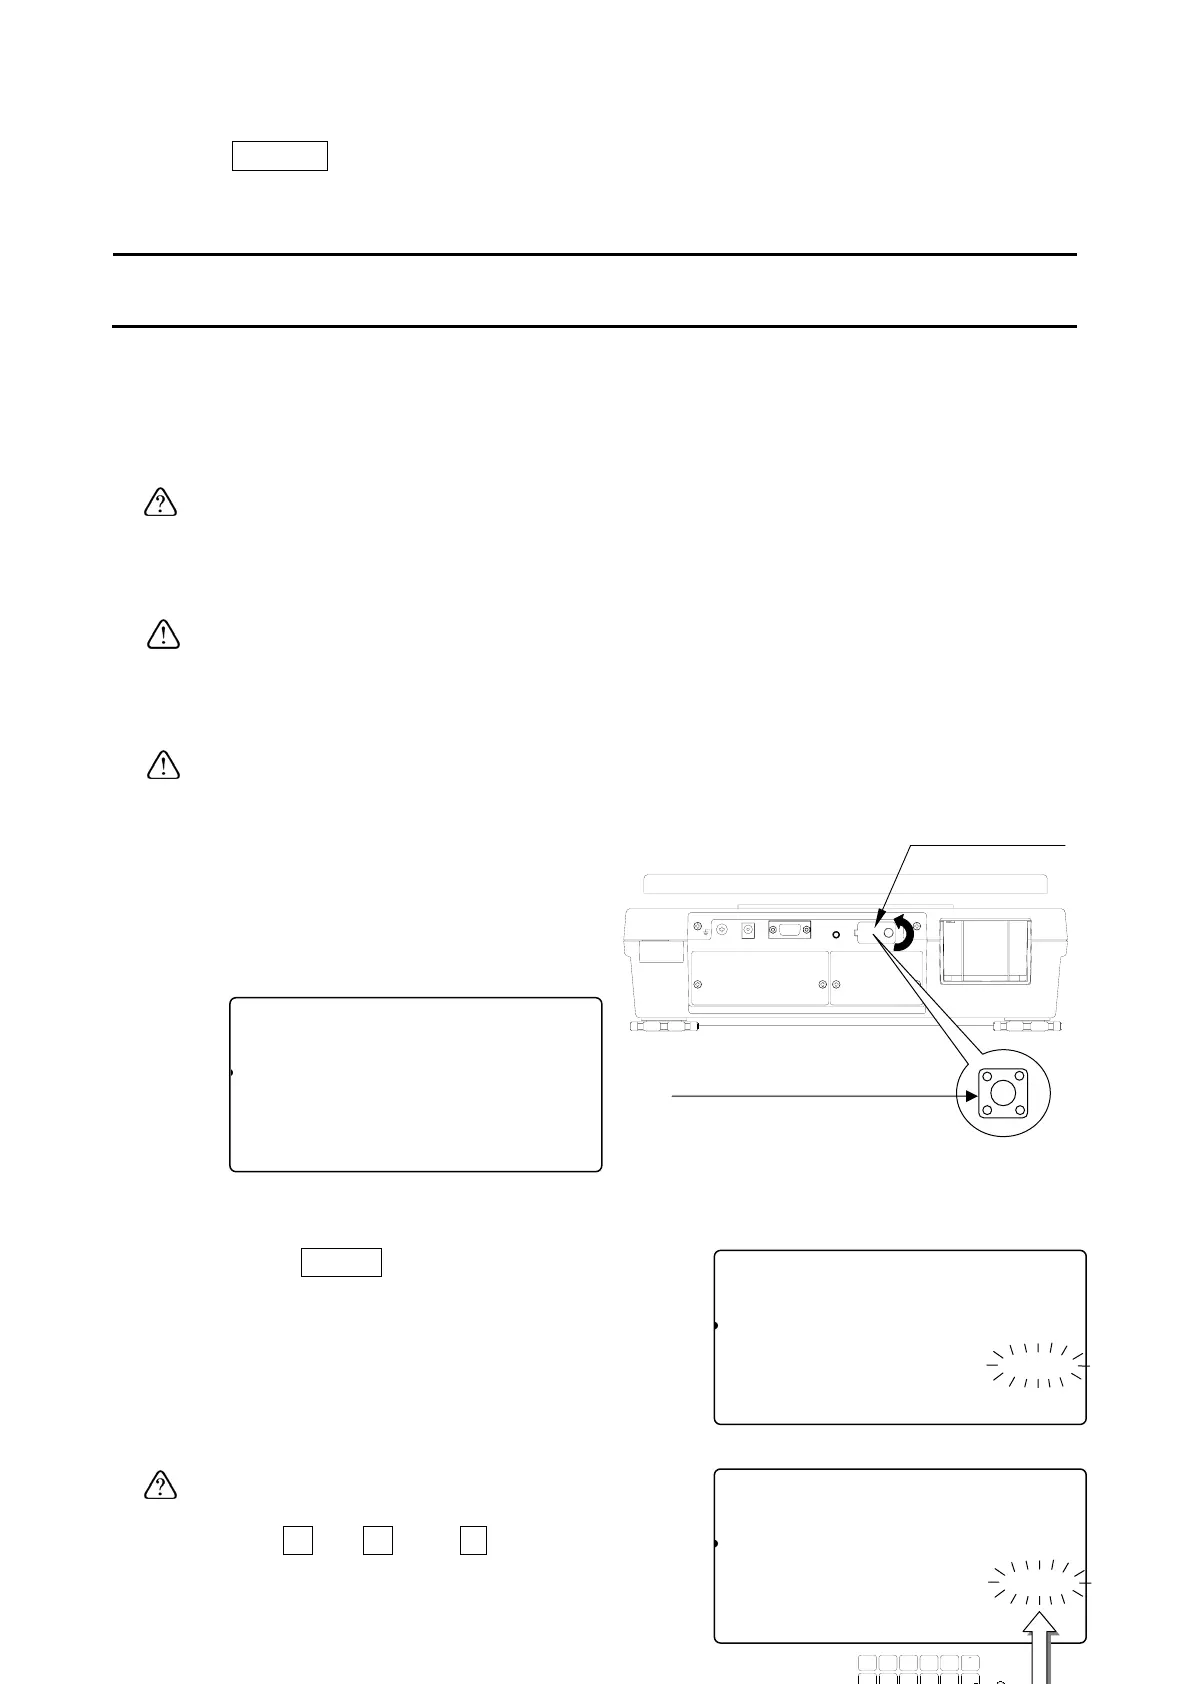
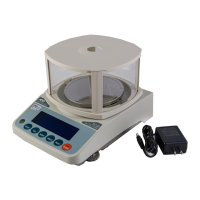
1. Remove the calibration switch cover,
and press the calibration (CAL) switch.
The scale shows “Cal” in the count
display.
Press the CAL switch to exit without calibrating the scale.
2. Press the
ZERO
key to enter into zero &
span calibration mode.
The display flashes the required calibration
weight value.
If you know the exact weight value, or if you
wish to use a different weight,
use the
0
Æ
9
and
.
10-key pad to
88Cal10
81
pcs
[ZERO] Calibration
1234567890123
[TARE] Gravity Acceleration
1234567890123
Calibration
switch cove
Calibration (CAL) switch
88Cal10
81
pcs
Calibration weight (kg)
Cal4567890123aaaaaaaaa10.000
[TARE] Gravity Acceleration
88Cal10
81
pcs
Calibration weight (kg)
Cal4567890123aaaaaaaaa10.002
[TARE] Gravity Acceleration
1234567890123
TUV
DEFABC
MNO
6
1
78
PQRS
23
JKLGHI
09
WXYZ
4
#
5
C
.
31