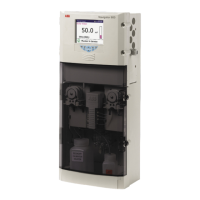
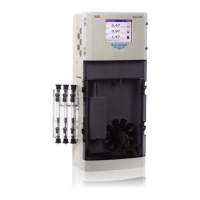
Aztec 600 ISE ammonia and fluoride
Single-stream ion-selective analyzers 4 Getting Started
22 OI/AXM630–EN Rev. I
4 Getting Started
4.1 Overview
The following procedure describes how to start up and
configure the analyzer prior to operation.
1. Ensure the analyzer is installed and electrically connected
correctly – see Section 3, page 10.
2. Ensure the correct reagents / calibration solutions are
connected to the analyzer – see Section 3.6, page 17.
3. Ensure sample is connected correctly to the analyzer and
that the flow rate, temperature, pressure and particulate
size are within the specified limits – see Section 14,
page 70.
4. Switch on power to the analyzer.
After an initial power-up period, the main operator screen
is displayed.
5. Press the key and use the and keys to select
'Common Configuration' to configure the analyzer:
– Setup – see Section 6.1.1, page 28
– Screen – see Section 6.1.2, page 28
– Time – see Section 6.1.3, page 29
– Security – see Section 6.1.4, page 30
– User – see Section 6.1.5, page 33
– Operator Messages – see Section 6.1.6, page 33
6. Press the key and use the and keys to select
'Measurement' to set up the analyzer's measurement
parameters:
– Setup – see Section 6.2.1, page 34
– Streams – see Section 6.2.2, page 34
7. Press the key and use the and keys to select
'Exit' to exit configuration. A prompt is displayed asking if
the current configuration is to be saved:
8. Press the key to save the configuration to the
analyzer’s internal memory.
9. Press the key and use the and keys to select
'Operate' followed by 'Flush Monitor' and press the
key.
Allow the analyzer to flush for a minimum of 1 hour to
enable the measurement probe to stabilize.
 Loading...