NoteAction
If the robot is to be calibrated with fine
calibration:
Remove all external cable packages
(DressPack) and tools from the robot.
Replacement of the axis-1 assembly unit
The axis-1 assembly unit is available for replacement after removing the cable
package and separating from the axis 3-4 assembly unit. Main procedures are
provided as follows.
Removing the axis-1 assembly unit
NoteAction
DANGER
Make sure that all supplies for electrical power,
hydraulic pressure, and air pressure are turned
off.
1
See detailed procedures in Remov-
ing the cable package on page 111.
Remove the cable package.2
See detailed procedure in Separat-
ing the axis 3-4 assembly unit from
the axis-1 assembly unit on
page 204t.
Separate the axis 3-4 assembly unit.
Axis-1 assembly unit is now accessible.
3
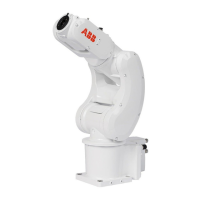
Check the radial sealing on the axis-1 assembly unit
Check the radial sealing on the axis-1 assembly unit before assembly unit
replacement.
NoteAction
xx2200000106
Check the radial sealing on the right side of the
axis-1 assembly unit (facing the lug boss on the
assembly unit).
Replace if damaged, as described below.
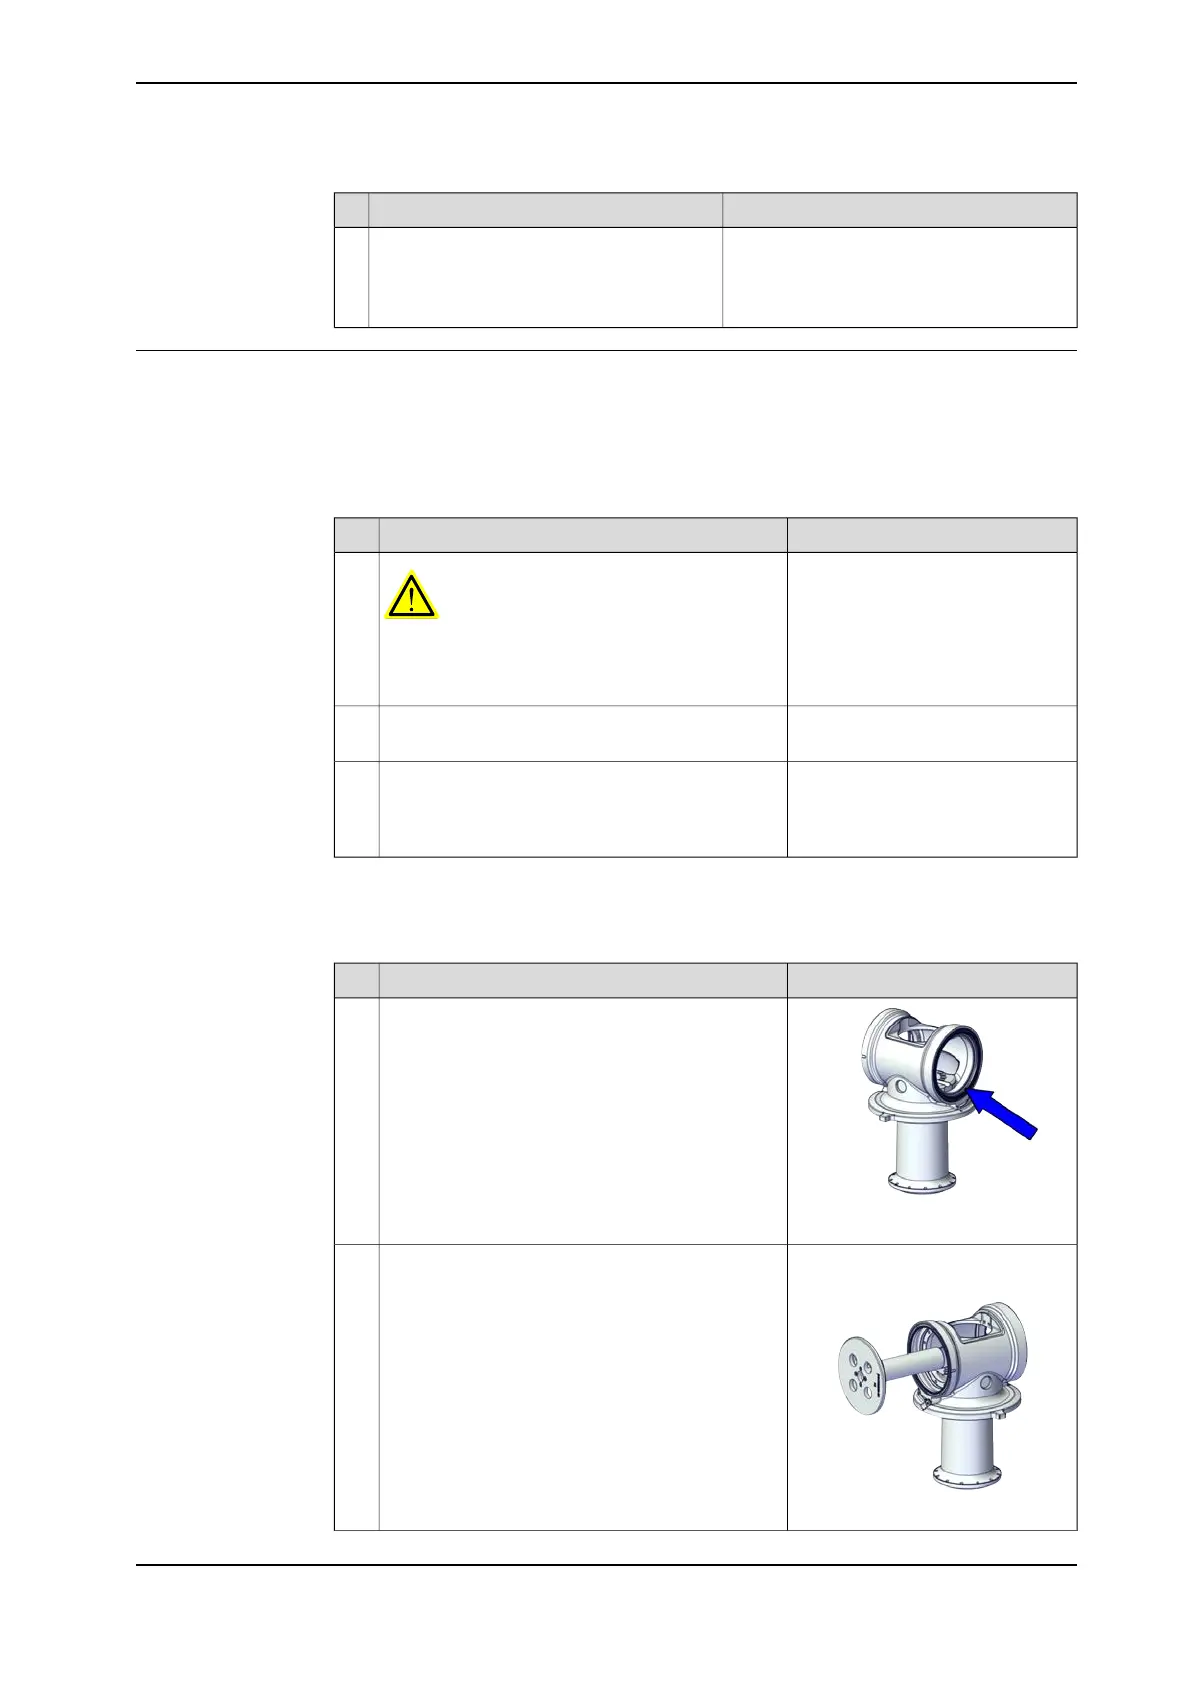
1
Axis-2 radial sealing assembly tool:
3HAC082535-001
Place the axis-2 sealing assembly tool to the left
side of the assembly unit.
2
xx2200000107
Continues on next page
Product manual - IRB 1010 183
3HAC081964-001 Revision: B
© Copyright 2022 ABB. All rights reserved.
5 Repair
5.4.2 Replacing the axis-1 assembly unit
Continued