NoteAction
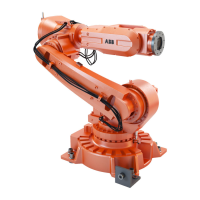
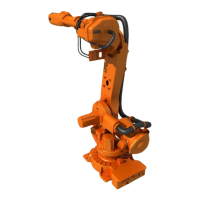
Lift the upper arm with an overhead crane
and move it to its mounting position.
3
Make sure that the upper arm is placed in
a horizontal position.
Note
Refit the axis 3 side first!
4
Shown in the figure View of the assembly
of the upper arm components on page 192.
Refit the axis-3 shaft:
1 Carefully refit the shaft, axis 3 (B) by
hand only.
Do not use force since the threads
can be damaged if fitting is not done
in the correct way.
2 Put the adapter on the shaft and fit
it.
Secure the shaft.
Tightening torque: 800 Nm.
3 Refit the sealing ring (F) on the shaft.
4 Refit the bearing (G) on the shaft with
the pressing tool, upper arm.
5 Fit an o-ring (H) on the sealing ring
(I) and fit it on the shaft.
Note
The o-ring shall be faced against the
bearing.
6 Fit the o-ring (L) on the sealing as-
sembly (J) and refit the sealing as-
sembly on the shaft.
7 Apply locking liquid (Loctite 243) on
the lock nut (K) and refit it using a
KM12 socket.
Tightening torque 90 Nm.
5
Art. no. is specified Required equipment
on page 193
Loctite 243.
Continues on next page
198 Product manual - IRB 660
3HAC025755-001 Revision: W
© Copyright 2006-2020 ABB. All rights reserved.
4 Repair
4.4.3 Replacement of upper arm
Continued
 Loading...
