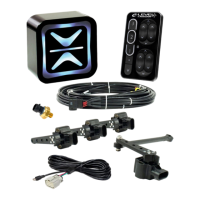
AccuAir Rocker Switch Manual V2.7 © 2007 AccuAir Control Systems, L.L.C.
- Page 12 -
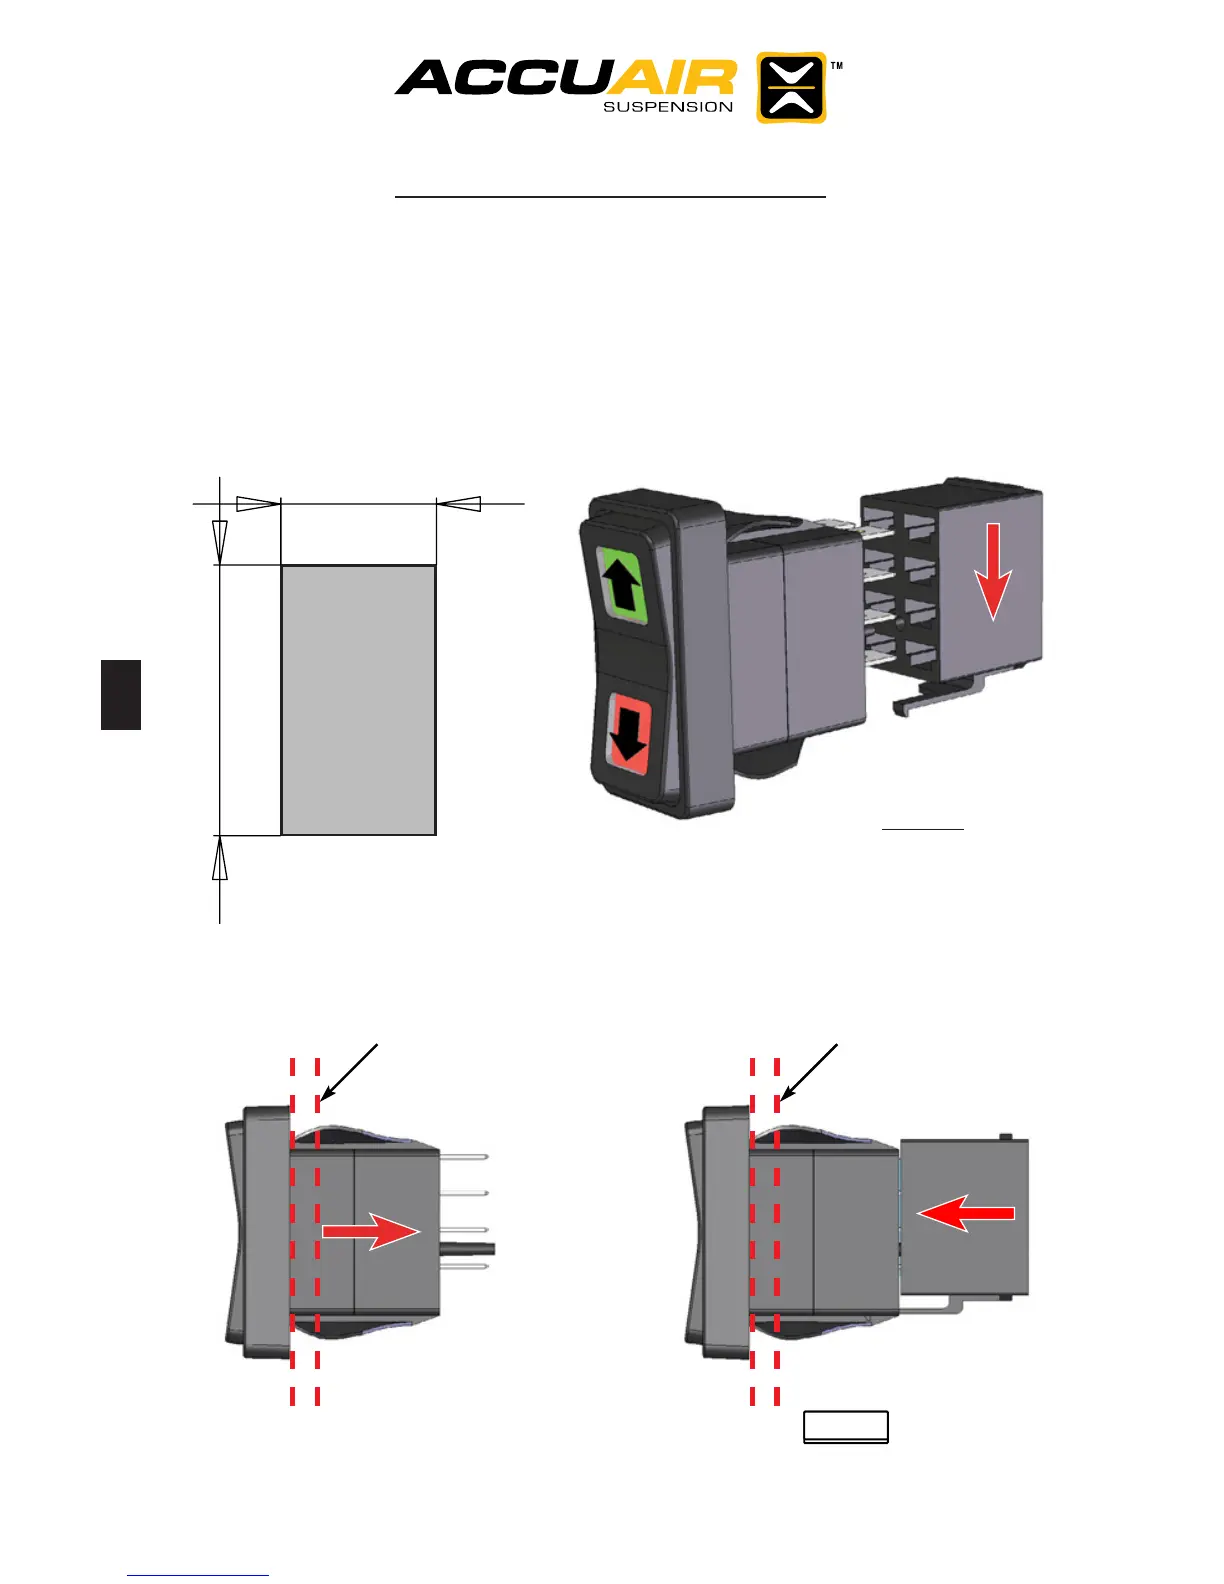
Height Selection Rocker Switch Mounting
• Choose a mounting location that will allow the driver to operate and view the
switch from the driver’s seat. Once your target mounting position has been
found, use the template below to cut a hole in the panel.
• Once the Rocker Switch is mounted inside the vehicle route the single orange
wire labeled “IGN_12V” to the vehicle ignition. Check the manufacturer’s specs
for an ignition source inside the vehicle.
Rocker Switch Mounting:
Install switch so that
lock is DOWN.
Rocker Switch Cutout Template:
0.830”
1.450”
Push the Height Selection Rocker
Switch in from the front of the
panel until ush.
Mounting Panel
Now install the plug from the rear,
(make sure to press until
rmly seated).
Mounting Panel
Now connect the Orange wire labeled “ ”
to a 12 Volt Vehicle Ignition Source.
IGN_12V