A NeoPixel is what Adafruit calls the WS281x family of addressable RGB LEDs. It
contains three LEDs - a red one, a green one and a blue one - along side a driver chip
in a tiny package controlled by a single pin. They can be used individually (as in the
built-in LED on your board), or chained together in strips or other creative form
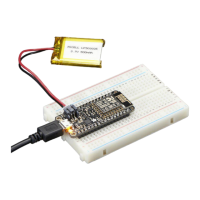
factors. NeoPixels do not light up on their own; they require a microcontroller. So, it's
super convenient that the NeoPixel is built in to your microcontroller board!
This page will cover using CircuitPython to control the status RGB NeoPixel built into
your microcontroller. You'll learn how to change the color and brightness, and how to
make a rainbow. Time to get started!
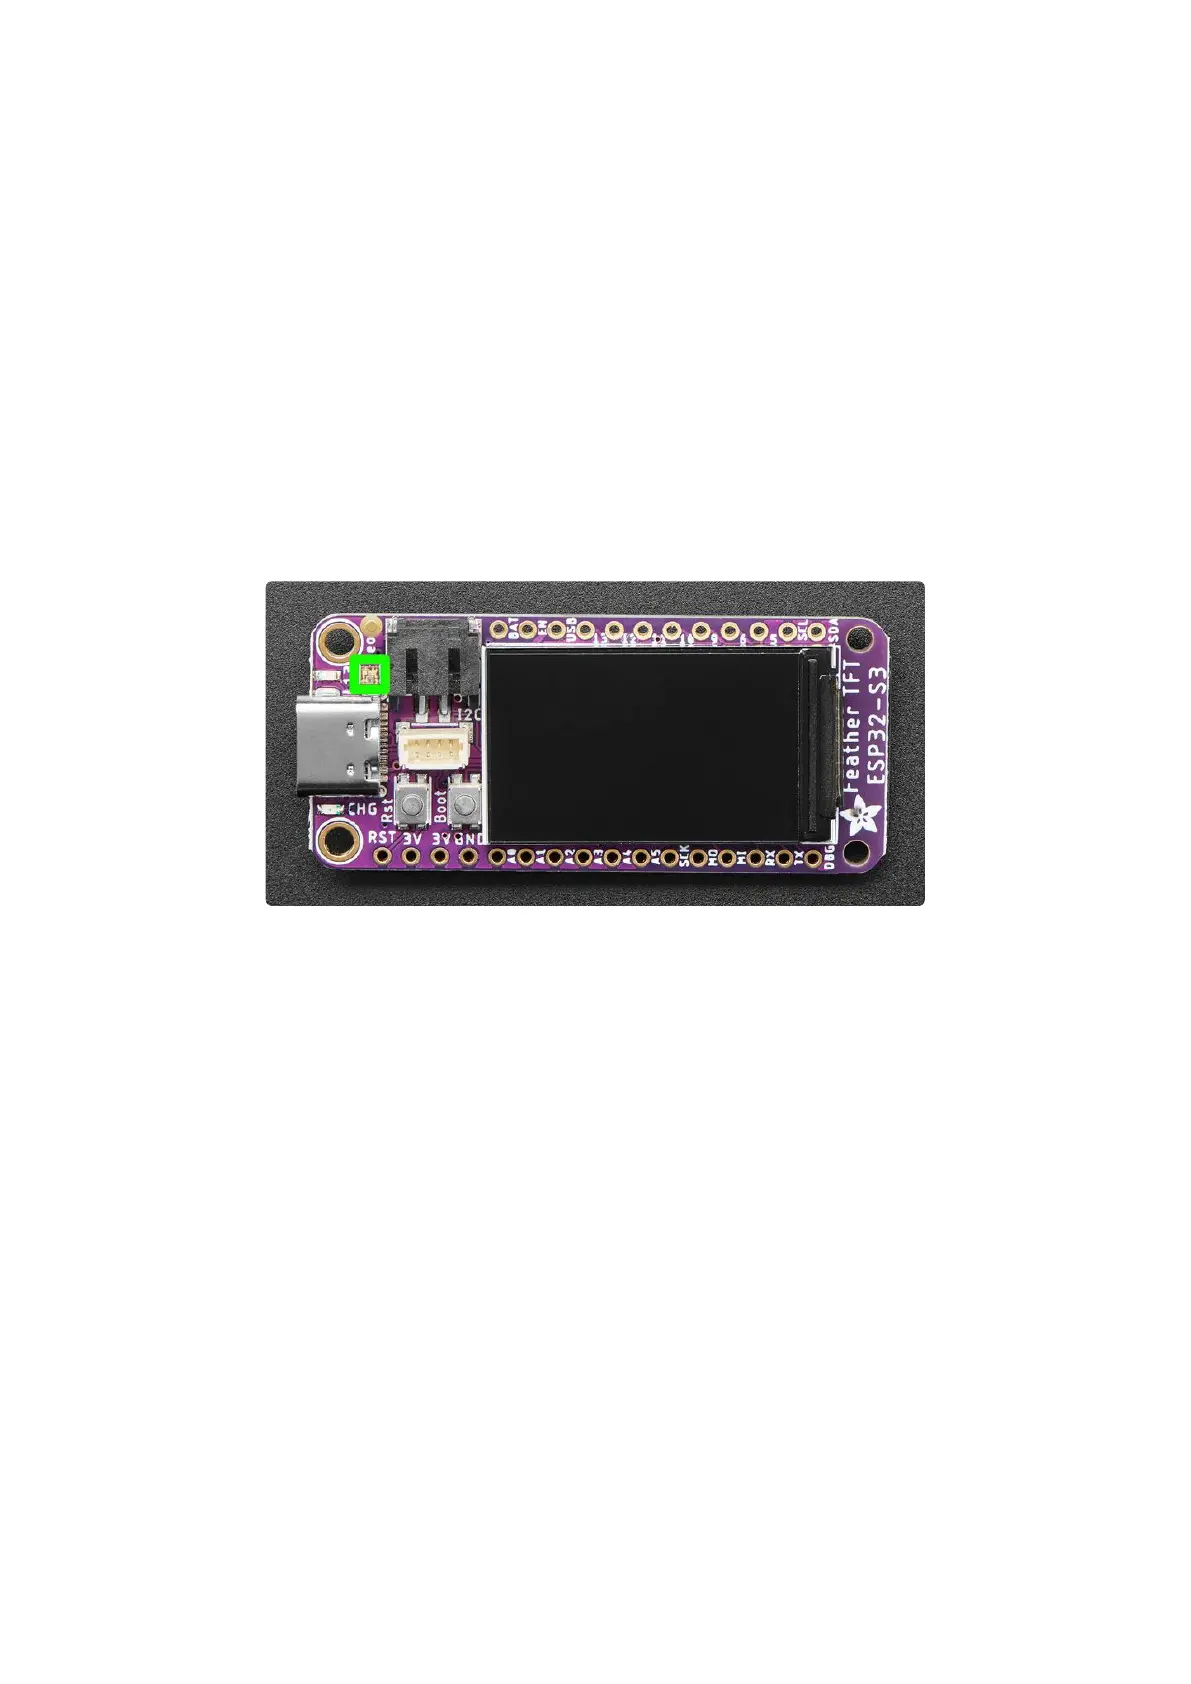
NeoPixel Location
The NeoPixel LED (highlighted in green), labeled Neo on the silk, is located near the
top left corner of the Feather.
NeoPixel Color and Brightness
To use with CircuitPython, you need to first install a few libraries, into the lib folder on
your CIRCUITPY drive. Then you need to update code.py with the example script.
Thankfully, we can do this in one go. In the example below, click the Download
Project Bundle button below to download the necessary libraries and the code.py file
in a zip file. Extract the contents of the zip file, open the directory CircuitPython_Temp
lates/status_led_one_neopixel_rgb/ and then click on the directory that matches the
version of CircuitPython you're using and copy the contents of that directory to your C
IRCUITPY drive.
Your CIRCUITPY drive should now look similar to the following image:
©Adafruit Industries Page 138 of 263
 Loading...