10
Quickly Fix Photographs
To straighten an image that was captured at an
angle, or for more rotation options, choose
Image > Rotate rather than Quick Fix.
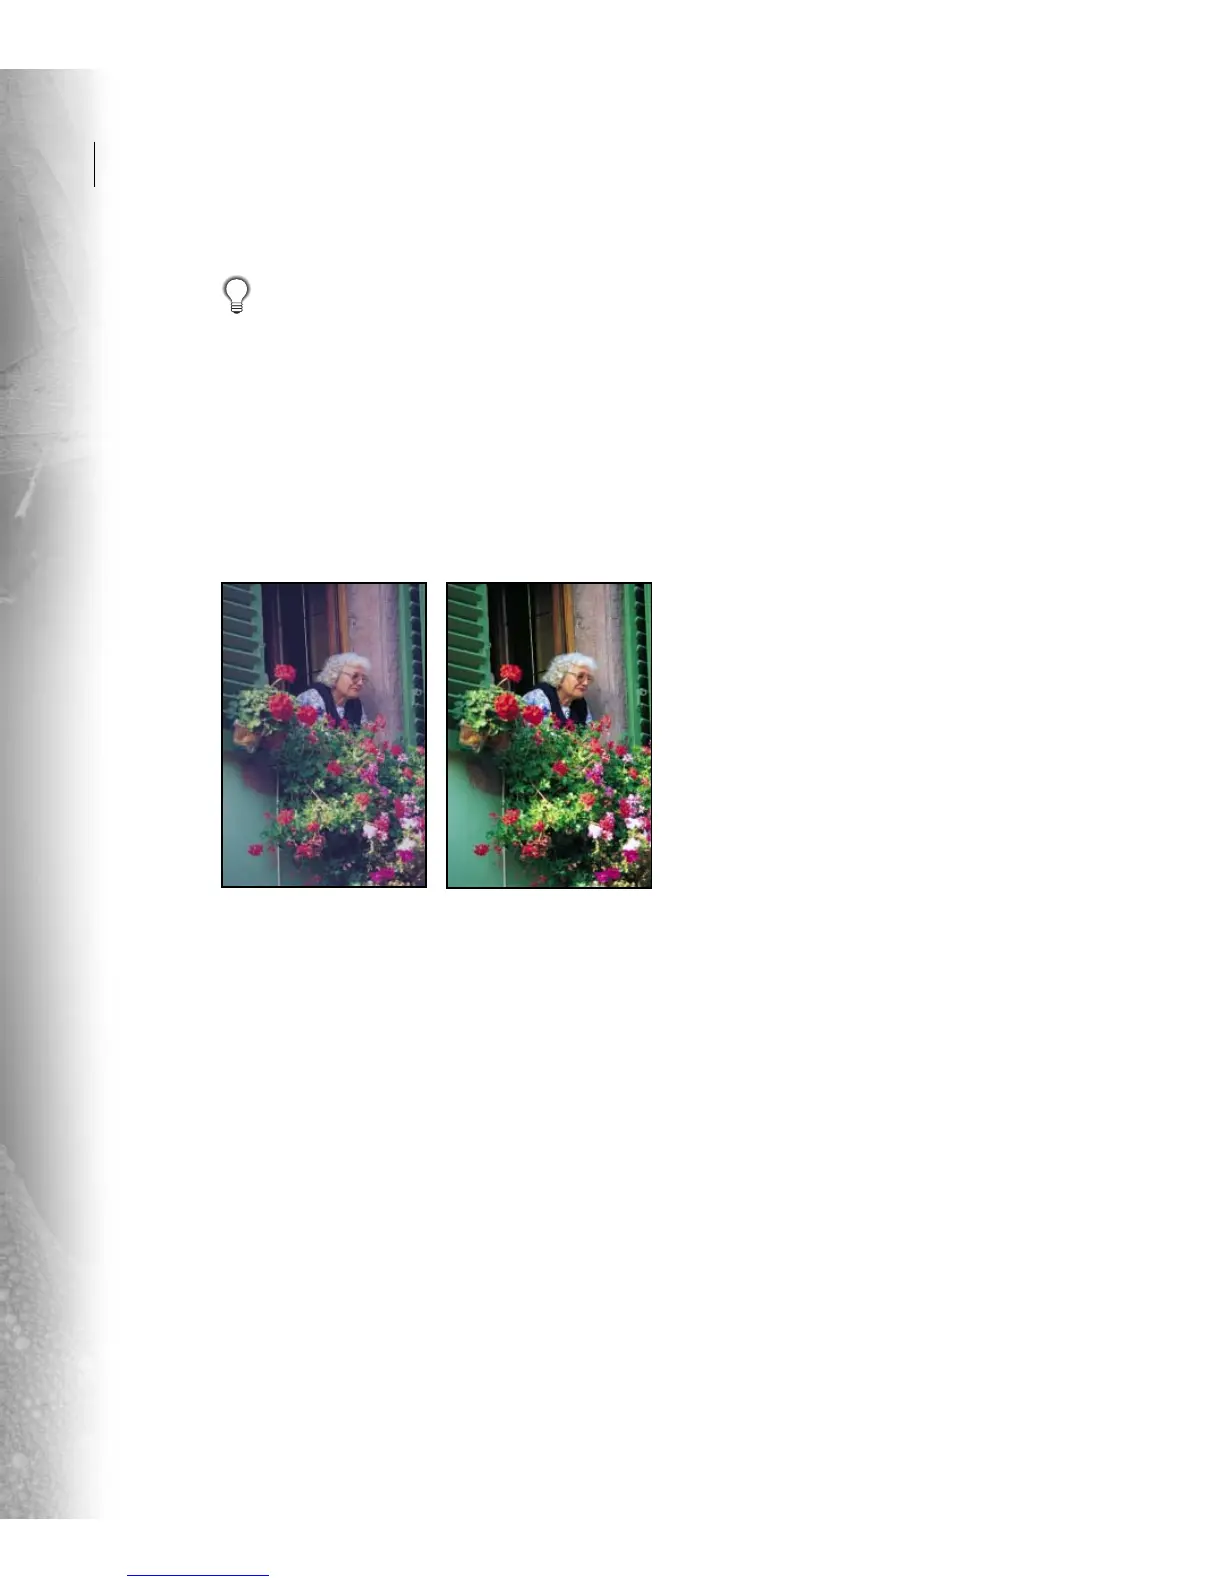
3. Correct the color and contrast.
The photograph in our example has a blue color
cast, and it needs a little more contrast. We can fix
both of these problems using Auto Color.
Choose Color Correction from Select Adjustment
Category, select Auto Color, and then click Apply.
If your photograph needs more contrast, but the
color looks fine, you could use the Auto Contrast
command in the Brightness category. The Tips
provide more information on when to use an
adjustment.
4. Sharpen the photos.
Choose Focus from Select Adjustment Category,
select Auto Focus, and then click Apply. You
can click Apply multiple times for additional
sharpening.
5. Accept the changes.
If you are satisfied with the adjustments click OK.
If you are not satisfied, you can undo, redo, or reset
the adjustments:
• Click Undo once or multiple times for each
successive adjustment you’d like to undo.
Clicking Undo can undo the Reset Image
option.
• Click Redo once or multiple times for each
adjustment you’d like to redo that was undone.
• Click Reset Image to start over and undo all
adjustments you’ve set in the current Quick Fix
dialog box.
6. Learn more correction techniques.
The image adjustment tools in the Quick Fix
dialog box are individually available in the
Photoshop Elements menus. You can work in the
Quick Fix dialog box or choose the tools you need
individually.
In addition, you might want to become familiar
with other image correction tools:
Variations to fix color casts, add color saturation,
and lighten and darken images.
Levels and adjustment layers to have more
control over contrast, brightness, and color
adjustments.
Unsharp mask to precisely control sharpening in
your photo.
Complete information for these tools is available
in the Photoshop Elements Help.