Chapter 1 Installation and setup
12
Anoxomat
®
III Service Guide
5. Have the transportation company inspect items,
complete a “Report of Concealed Damage,” and file
your claim.
6. Notify Advanced Instruments immediately for repair
or replacement.
7. Complete the online warranty card at:
aicompanies.com/warranty
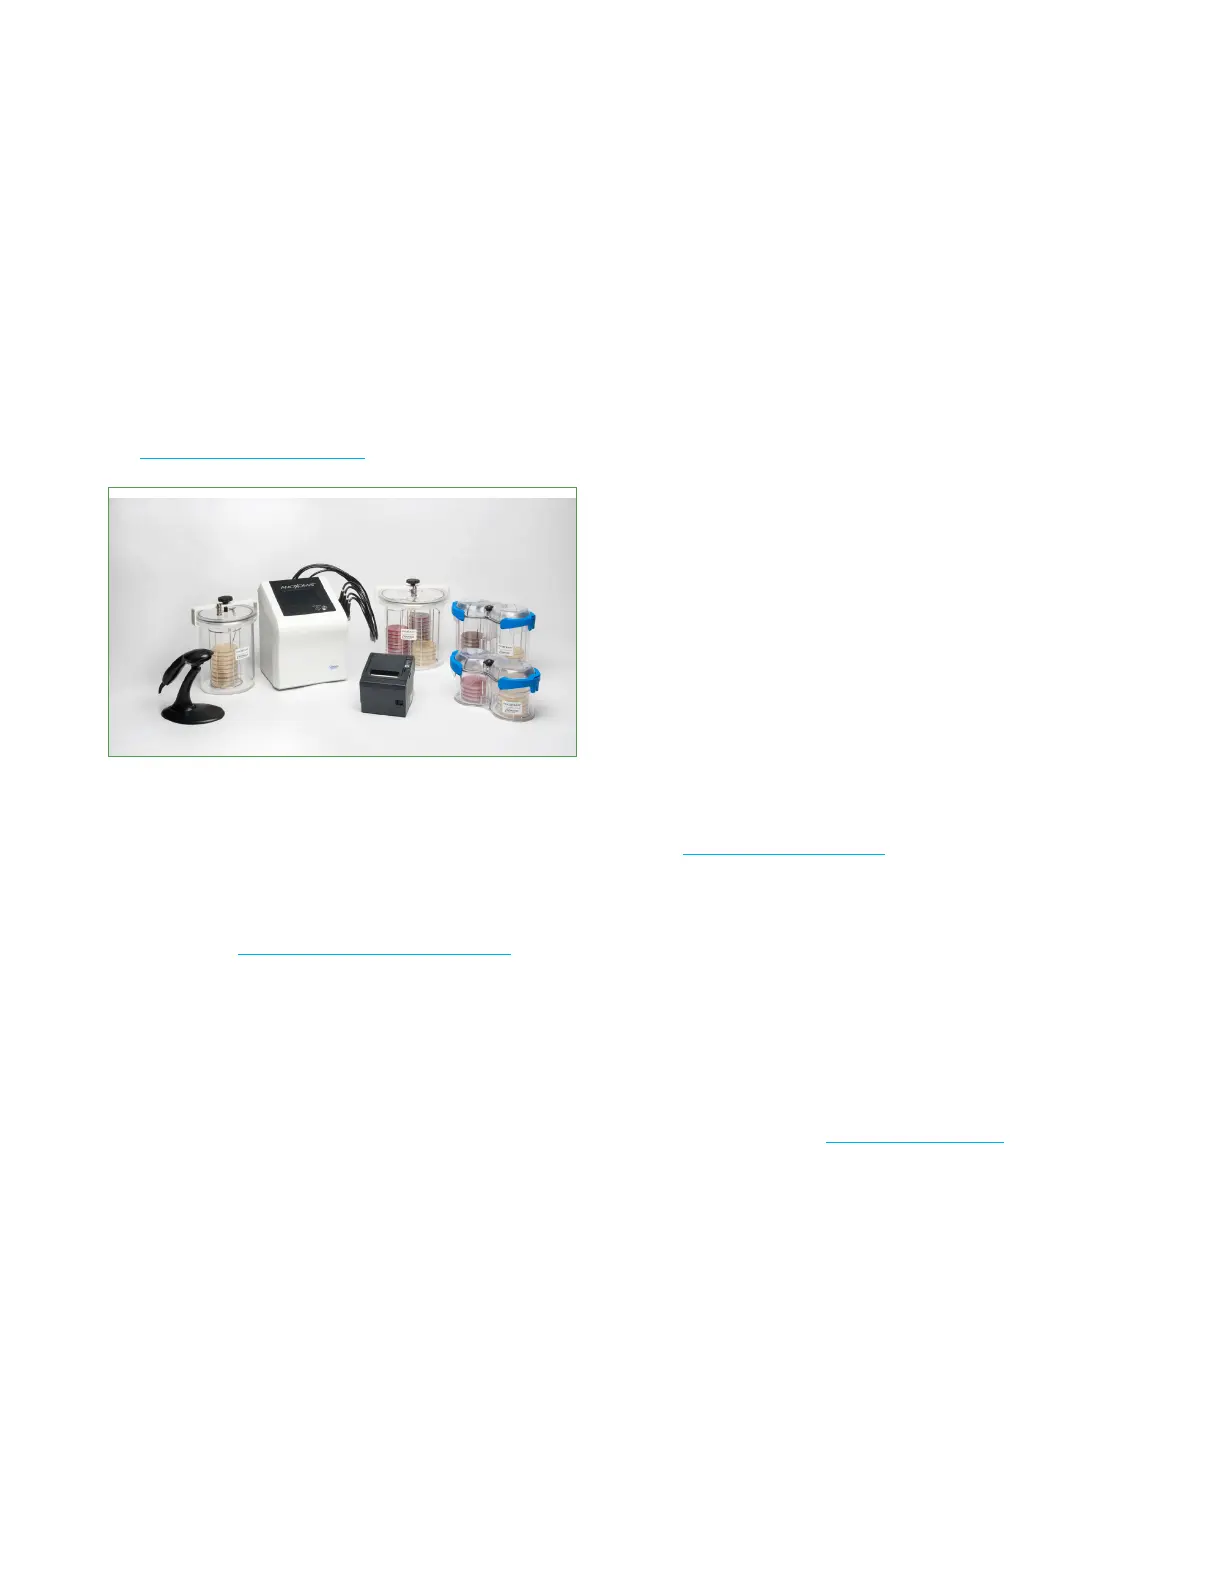
Anoxomat III and accessories
1.4 Installing the gas supply
To use the Anoxomat, you'll need to connect at least one
gas cylinder with a standard gas mixture used for
anaerobic as well as for microaerophilic bacteria
cultivation (see Standard gas mixture on page16).
NOTE: Before you begin, make sure the gas cylinder valve
is o until the gas supply is fully installed.
Caution: Improper connections may cause the instrument
to malfunction.
Regulator requirements
• Reverse thread for mixed gases
• Dual-stage
• Reads 0–3.45 bar (0–50 psi)
• Required connections:
– 220V systems: 8 mm (5/16 in.) hose-barb fitting
– 100 or 110V systems: 1/4 in. NPT port
• Capacity max. 5 m
3
/hr (176 ft
3
/hr)
• Regulator shall comply with safety standards
• Gas cylinder equipped with a CGA350 fitting on tank
• Working pressure: 1.75 bar ± .15 bar 25.5 ± 2 psi
• 220V system: Gas tube is 8 mm (5/16 in.) inner
diameter; working pressure of 15 bar (218 psi).
• 100V or 110V system: Gas hose is 8 mm (5/16 in.) inner
diameter; working pressure of 172 bar (2500 psi) or
less.
Connecting the gas supply to a 220V system
See Installing the gas supply before you begin.
1. Mount the regulator on the gas cylinder
using the adjustable wrench.
2. Tighten the regulator per manufacturer’s
recommendations to avoid gas leakage.
3. Set the regulator's gas pressure to zero.
4. Using the provided tube clamps on each end,
connect the gas tube to the regulator and the gas
input #1 (see the Rear connector panel).
5. Tighten the gas tube clamps.

 Loading...


