Chapter 1 Installation and setup
14
Anoxomat
®
III Service Guide
6. Slowly open the gas cylinder valve and set the gas
regulator to 1.75 bar ± .15 bar 25.5 ± 2 psi.
7. Repeat for each gas connection.
1.5 Install the recipe printer (optional)
1. Connect the printer cable to the RS232 socket on the
rear panel of the Anoxomat.
2. Install the roll of printer paper.
3. Connect the printer's power cord to the Anoxomat's
printer power connector.
See Activating the printer (optional) on page18.
NOTE: The red protection label contains important
information and setup codes for the Key Operator,
and should be stored in a safe place. See Figure 1.1.
1.6 Connect to a computer or network
(optional)
If your Anoxomat includes a data interface to a computer
or network:
• Use a “cross-link” Ethernet cable to connect the
Anoxomat directly to the network card of the
computer.
• Use a standard patch cable to connect to a network.
See instructions for Activating the data interface
(optional) on page18.
1.7 Power up the instrument
1. Connect the power cord to the Anoxomat and into a
power outlet.
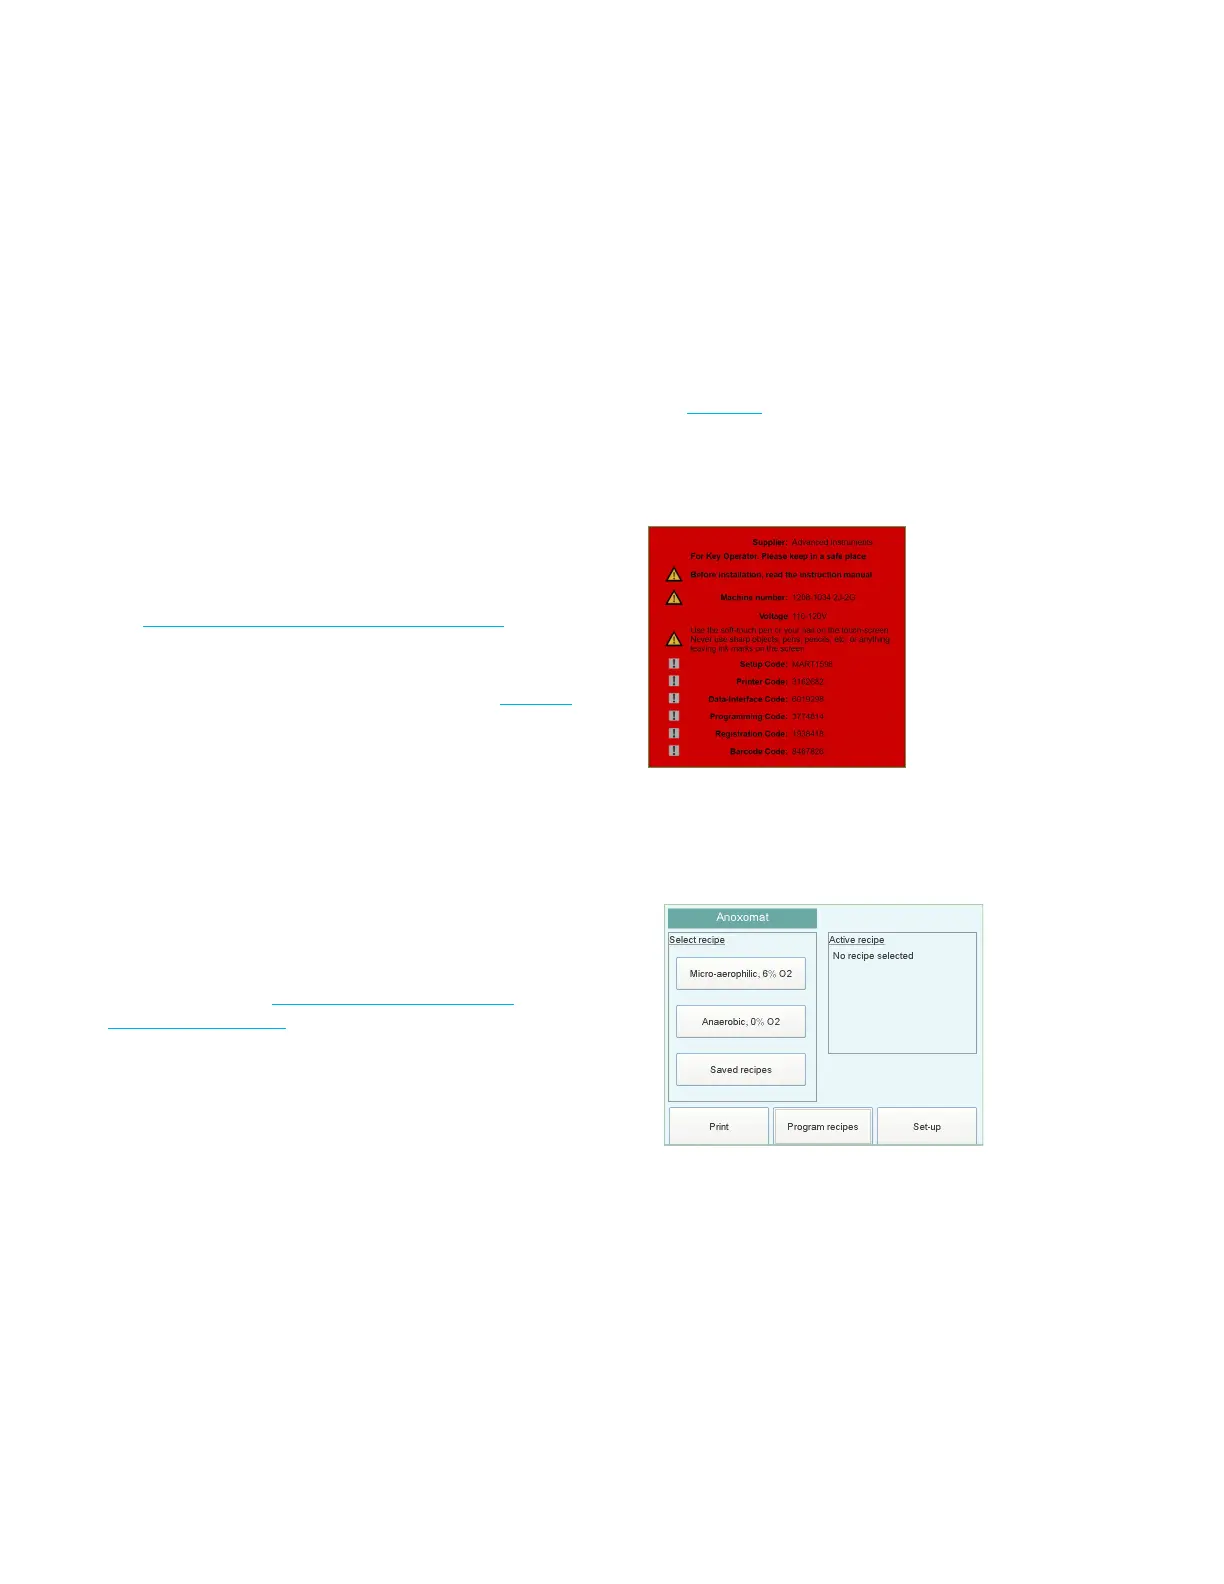
2. Remove and set aside the red protection label
(Figure 1.1) from the touchscreen.
NOTE: Keep the red label in a safe place as it contains
configuration access codes.
Figure 1.1: Red touchscreen protection label
3. Turn on the power switch and wait for the Main
operation screen to display.
4. The Anoxomat is equipped with a touchscreen that
responds to the soft-touch pen supplied with the
instrument or the tips of your fingers. The
touchscreen may not respond well if you press with
the flat of your finger. Never use sharp objects, pens,
pencils, or anything that would leave a mark on the
screen.

 Loading...


