Chapter 6 Diagnostics
36
Osmo1™ Single-Sample Micro-Osmometer Service Guide
Figure 46: Events log
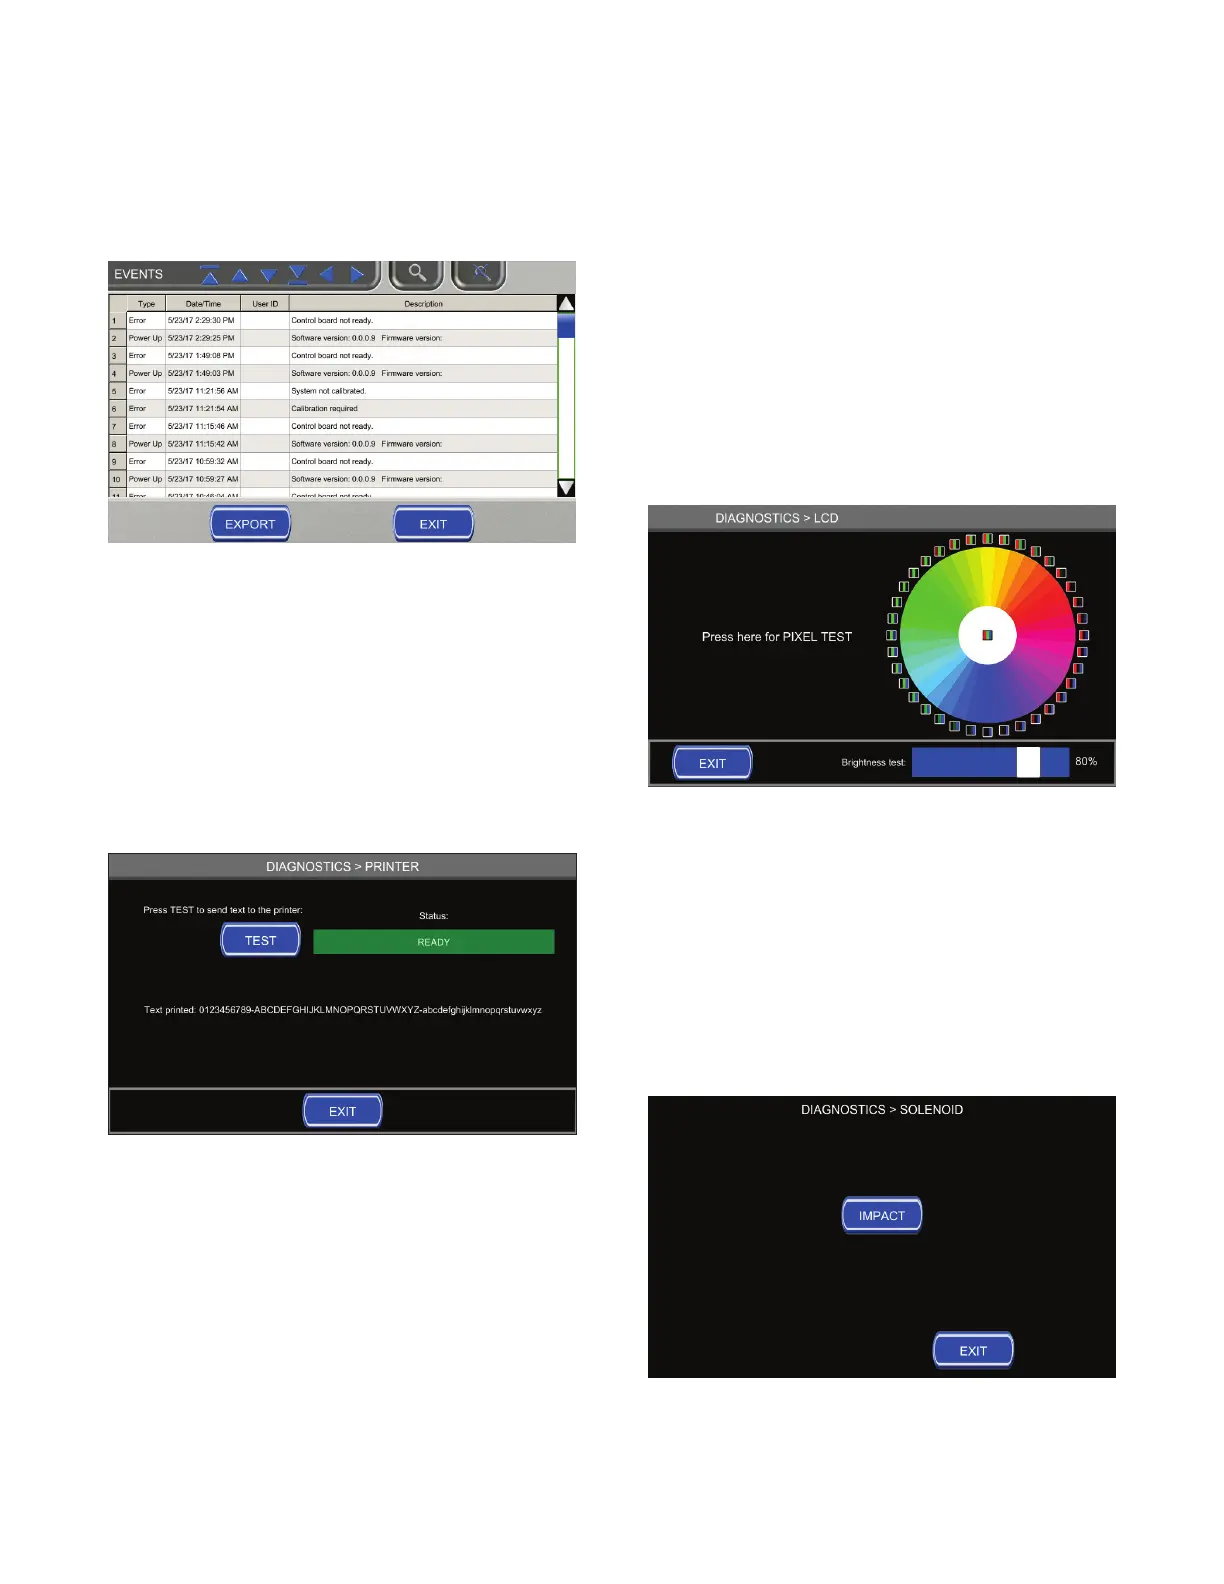
6.7 Printer
From the Diagnostics menu, select Printer to open the
Printer diagnostics screen (Figure 47).
From the Printer screen, tap Test to initiate a built-in
print test of all alpha-numeric characters. The status
display is Ready if the printer is functioning properly.
Tap Exit to return to the Diagnostics menu.
Figure 47: Printer screen
6.8 LCD
From the Diagnostics menu, select LCD to open the LCD
diagnostics screen (Figure 48).
From the LCD screen, you can initiate a pixel test to
check the screen for “dead pixels” of various colors.
You can also test the LCD backlight using the brightness
test slider.
Tap Exit to return to the Diagnostics menu.
Figure 48: LCD screen
6.9 Solenoid
From the Diagnostics menu, select Solenoid to open the
Solenoid diagnostics screen (Figure 49).
You can test that the instrument solenoid is working
from this screen. To activate the solenoid test, tap
Impact.
Tap Exit to return to the Diagnostics menu.
Figure 49: Solenoid screen