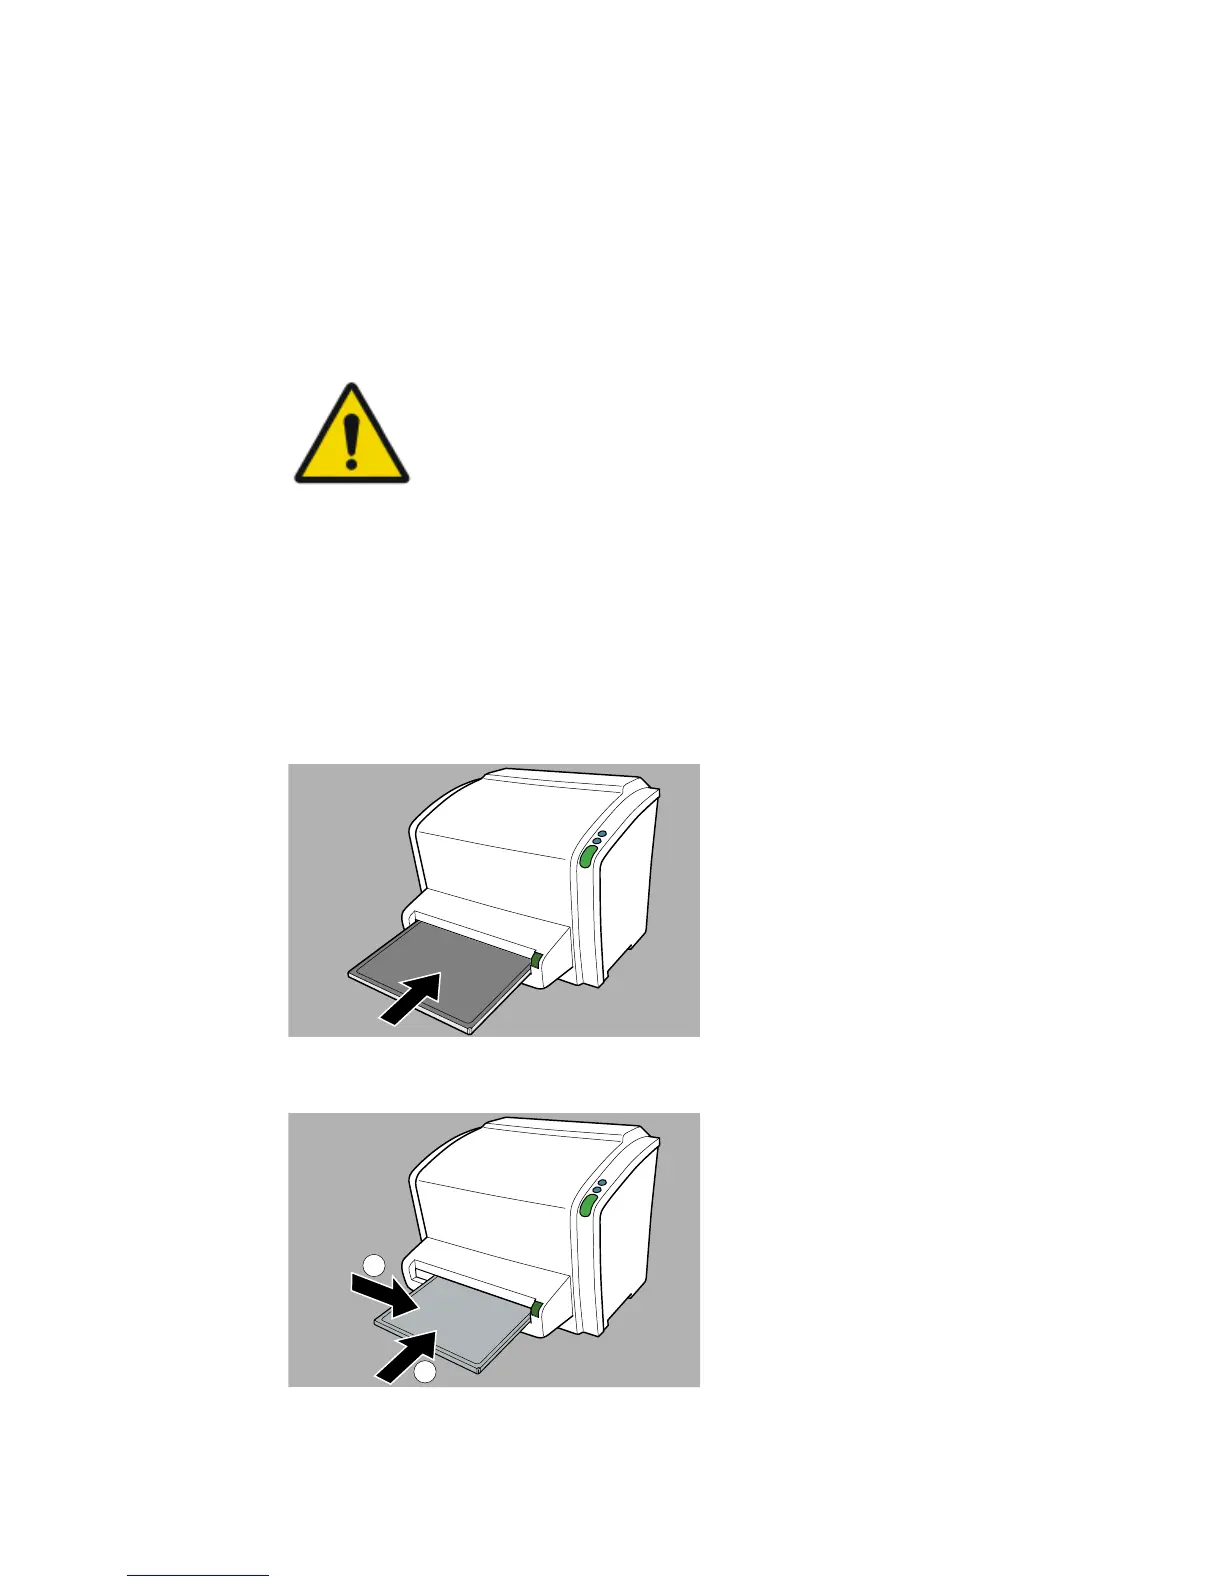
Step 2: Digitize the image
At the digitizer:
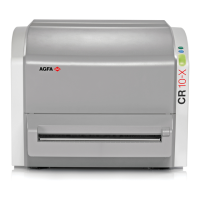
1. Check that the digitizer is ready for operation:
The status indicator on the digitizer constantly lights up in green.
2. Insert the cassette containing the exposed image plate into the cassette
slot of the digitizer.
CAUTION:
Using a not supported cassette format can cause an
image being lost, a need to retake the image or delayed
diagnosis.
Only insert cassettes of a supported format in the digitizer.
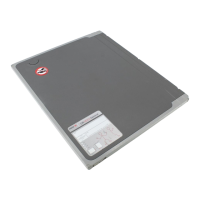
Make sure to insert the cassette with the black side (X-ray tube side) to the
top and with the shutter opening mechanism and the locking mechanism
inside the digitizer. Small cassettes must be pushed to the right side of the
slot.
Make sure that the cassette is firmly pushed into the slot, so that it is
locked (you should hear a click). Otherwise, the digitizer cannot read the
image plate.
Figure 4: Inserting 35 cm x 43 cm cassette
Figure 5: Inserting small cassette
42 | CR 10-X, CR 12-X, CR 15-X | Getting started
2491E EN 20150409 1543